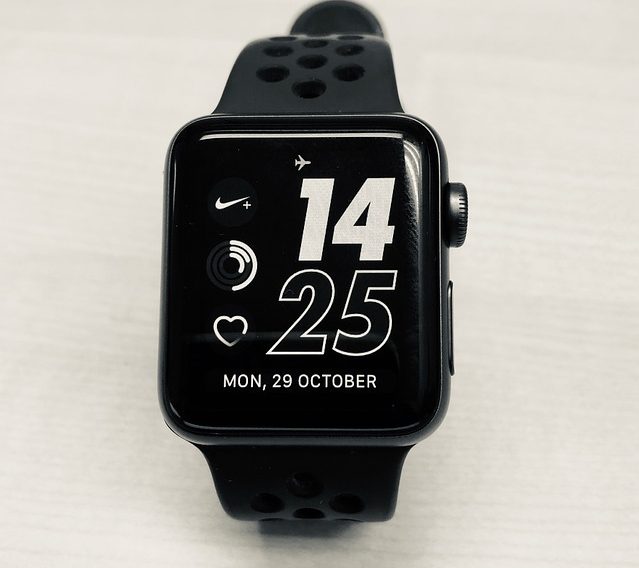
Congratulations! You just bought your smartwatch and now you need to know how to set time on a smartwatch. In this article, we’ll be explaining how you can do that quickly and easily.
Thanks to synchronization between smartwatches and smartphones, the process of setting the time on your smartwatch is even more seamless and easier than ever. If you’re not the technologically savvy type, you don’t need to be worried about how to set the time on your smartwatch.
All you need to do is follow the steps whether you have an Android smartwatch or an Apple smartwatch.
How To Set Time On A Smartwatch
How To Set Time On The Apple Watch
If you want to set the time on your Apple watch manually, you can use the settings app on the watch. You can also set it so it runs up to 59 minutes ahead of the correct time. You can also change the time zone settings on your iPhone to make your watch display any time you desire.
Under normal circumstances, setting the time on your Apple Watch is not something you need to worry about. `This is because your smartwatch automatically takes the time from your iPhone. This means it never needs to be adjusted because it’s based on your current time zone. Additionally it never runs too fast or too slow and it automatically adjusts for Daylight Saving Time.
Regardless, it is still possible to set the time on your Apple watch manually if you want or need to. There are two ways of achieving this:
First, if you want to change the time on both your smartwatch and your iPhone at the same time, you can manually change the time zone settings on your iPhone.
Second, if you only want to change the time on your Apple Watch then you can adjust it via the settings app on the watch.
How To Manually Set The Time On An Apple Smartwatch
- Start the settings app on your apple watch. To do this, press the digital crown and tap the app icon which is shaped like a gear.
- Scroll down and tap on the clock menu.
- On the clock page, tap +0 min.
- Spin the digital crown to select how many minutes ahead you want the clock to display the time. Tap set. Now you can set the watch to display a time that’s even ahead of your iPhone’s correct local time if you so wish. Please note you can only do this with the minutes and not the hours.
- Once you’ve set the time to your desired choice, exit the settings app.
To see a visual description, watch the video below:
How To Manually Set The Time On An Android Smartwatch
- First, you will need to download the Android Wear app on your smartphone. Now turn on your smartwatch. If your watch does not have a physical button, place it in its charging cradle while the power is connected. You will also need to ensure the Bluetooth functionality turned on on your smartphone.
- Your smartwatch will ask you so select your preferred language. It will now show you a prompt to start the Android Wear app.
- Now, you have to pair your two devices to communicate with each other. Tap through the automatic prompts on your Android device until you get to a selection screen. Tap the device in the list of the available Bluetooth devices that has the same code as the one your smartwatch is displaying. The last thing you want is for someone else to have access to your notifications.
- Confirm on both your Android devices and your smartwatch and tap through the next few prompts your phone will display. This is the point where most smartwatches will begin to update its software. According to Google Engineers, this update can be quite large so it’s advisable to do this update when your phone is connected to Wi-Fi.
- Depending on your settings, the Android Wear app may ask you to enable notification access. All you need to do is follow the prompts and check the box next to Android Wear under Notification Settings. Once you’ve done this, you’ll be able to continue.
- If you don’t have Google Now enabled, the Android Wear app will ask you to enable it. If you’re a Google Apps user, you may notice that you don’t have access to Google Now. Don’t worry all you need to do is log in to Google with your personal Google account or switch to your personal account. Once Google Now is activated on your phone, it will work on your watch.
- By this time, your smartwatch should have finished updating. Even though each watch is different, you will still run through an Android Wear tutorial. The tutorial explains the fundamentals of what you can do with your smartwatch. The system is fairly natural but you have to still pay attention so you can get the best functionality out of your smartwatch.
Check out the video below for a visual description:
Remember that your smartwatch is actually just an extension of your smartphone. The Android Wear app has important settings and your smartwatch requires apps installed on your phone in order to function effectively.
Click here to learn How To Set Up A Smartwatch.
Additional Tips
Changing The Format Of The Time
- If the screen of the smartwatch is dim, tap it to wake up the watch.
- Swipe down from the top of the screen.
- Tap on settings. If you don’t find it immediately, swipe left.
- Tap system, then tap date and time.
- Scroll down and tap on “use 24-hour format.”
Manually Set The Time Zone On Your Smartwatch
- If the screen is dim, tap it to wake up the smartwatch.
- Swipe down from the top of the screen.
- Tap on settings. If you don’t find it immediately, swipe left.
- Tap system, then tap date and time.
- Scroll down and tap on “Set Time Zone.” If you can’t tap it that means your smartwatch is already showing the time zone you’re currently in. To change it, turn off automatic time zone.
- Tap the time zone you want to use.
If The Time Or Date On Your Smartwatch Is Wrong
If your smartwatch and smartphone are disconnected, your watch may show the wrong time. When your watch and phone are not connected, you’ll notice it reads disconnected.
