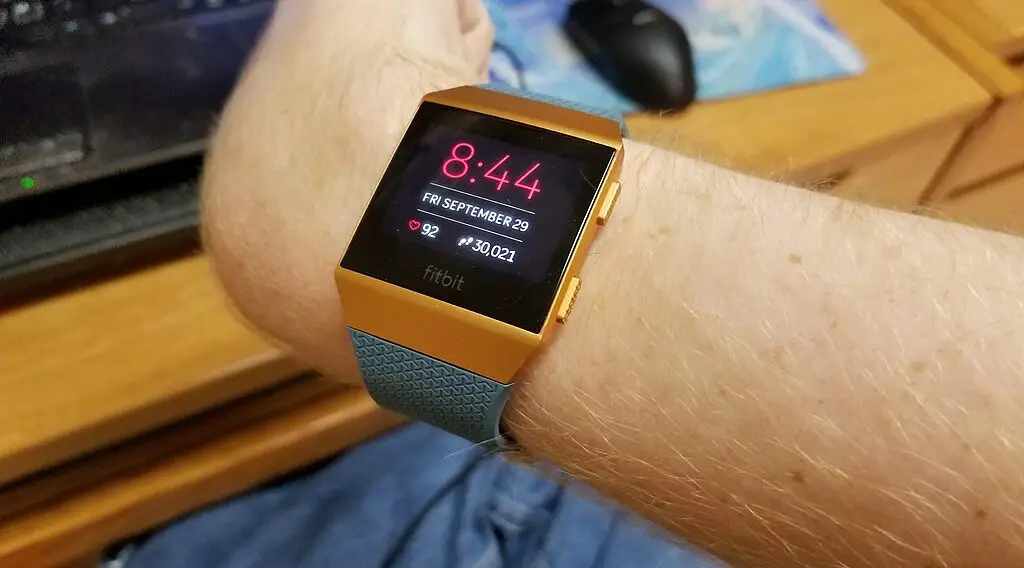
Struggling with how to change time zone on Fitbit? This common issue is easily solvable with our step-by-step guide. Our easy-to-follow instructions will walk you through the process, ensuring accuracy and efficiency in updating your device.

Steps on How to Change Time Zone on Fitbit
The steps below will guide you on how to change time zone of Fitbit:
Step 1: Open Fitbit App on Your Mobile Device
The first step in changing your Fitbit’s time zone is to access the Fitbit app on your mobile device. If you haven’t installed it yet, you can find the Fitbit app in the App Store for iOS devices or Google Play for Android devices.
Download and install the app, then open it. If you’re an existing user, sign in with your credentials. If you’re a new user, you’ll need to create an account by providing your email and creating a password.
Follow the prompts to connect your Fitbit device to your account via Bluetooth.
Step 2: Tap on Your Profile Picture
Once the app is open and your Fitbit is connected, you’ll see the dashboard that displays your daily stats and activities. In the top left corner of the screen, you’ll find your profile picture. If you haven’t added a profile picture, you’ll see a default icon.
Tap on this picture or icon to open a new page where your personal details and device settings are located. This is where you can make changes to various preferences, including the time zone, so it’s a crucial step in the process.
Step 3: Choose ‘Advanced Settings’
After tapping on your profile picture, you’ll be presented with a list of options related to your account and device settings.
Scroll down this list until you locate the ‘Advanced Settings’ option. This section contains more detailed preferences that are usually set once and rarely changed, which is why they are hidden under ‘Advanced Settings.’
Tap on this option to access further settings, such as language preferences, units of measurement, and, of course, the time zone settings. The ‘Advanced Settings’ section is usually organized in a user-friendly manner, so you should have no trouble locating the time zone option.
Step 4: Select Your Time Zone
Under the ‘Time Zone’ section within ‘Advanced Settings,’ you’ll find a list of time zones organized either by the city or the standard UTC offset. You can scroll through this list to locate your current time zone. It might also include a search function to make the process quicker.
Tap on your correct time zone to select it. A checkmark or highlight will indicate your selection.
Confirm your choice if prompted, by tapping ‘Save’ or ‘OK.’ Your Fitbit will now sync to the new time zone, and this change will be reflected across all functions of the device that rely on time, such as alarms and activity tracking.
If you travel to a different time zone in the future, simply repeat these steps to update the time on your Fitbit accordingly.
Will Fitbit Change Time Zones Automatically?
Some Fitbit devices are designed to change time zones automatically based on the connected mobile device’s settings. However, this feature may not always work as expected, especially if there is an issue with synchronization or location services.
When traveling or facing issues with automatic updates, it’s good practice to check and manually adjust the time zone using the steps provided above.
Troubleshooting Common Time Zone Issues
If you encounter any difficulties while trying to change the time zone on your Fitbit, make sure your Fitbit device is properly connected to your mobile phone, the app is up to date, and your mobile device has an active internet connection.
Restarting the app or the device may resolve any temporary glitches.