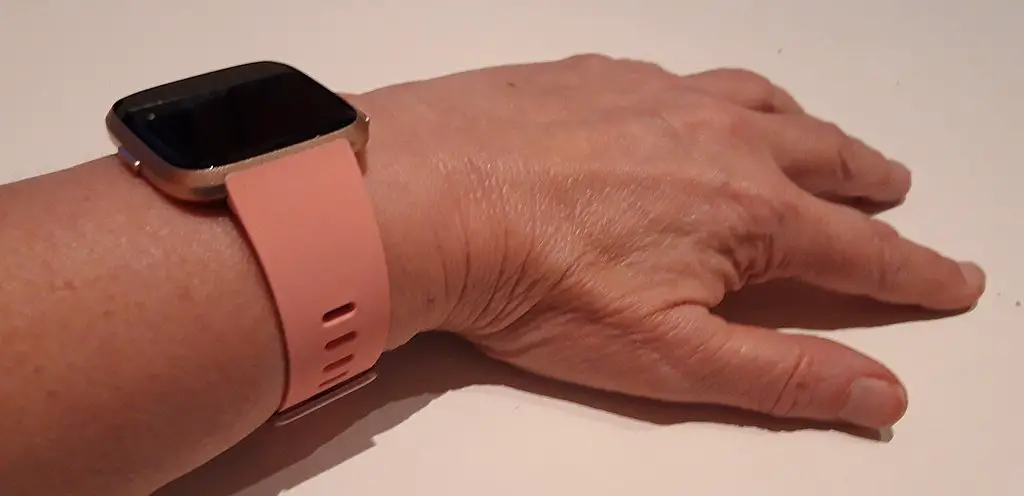
If you’re struggling with a Fitbit time reset, you’re not alone. This guide will walk you through every step, ensuring that even those unfamiliar with technology can effortlessly reset their Fitbit’s time. Let’s get started!

Step 1: Sync Your Fitbit Device with Your Smartphone
Syncing your Fitbit with your smartphone ensures that both devices communicate with each other. This step is crucial for resetting the time, as the time zone adjustment needs to be coordinated between both devices.
Open the Fitbit app on your smartphone: Locate the Fitbit app icon on your phone. It’s usually on the home screen or within your app drawer. Tapping it will launch the app, giving you access to your Fitbit settings and data.
Navigate to the device you want to sync: Inside the Fitbit app, you will find a list or grid of connected devices. Tap the one you wish to sync. If you only have one Fitbit device, it should be the only option available.
Tap on ‘Sync Now’: The ‘Sync Now’ button forces your Fitbit to connect with your smartphone, ensuring all settings and data are up to date. If you cannot find the ‘Sync Now’ button, you might find an option to sync within the settings or preferences section.
Step 2: Navigate to Time Settings in the Fitbit App
Once your Fitbit device is synced with your smartphone, you’ll need to locate the time settings. This is where you can control the time and time zone on your Fitbit device.
Tap on the ‘Profile’ icon in the Fitbit app: This icon is often found in the top corner of the app. Tapping it will take you to your profile, where you can access various settings related to your account and devices.
Select ‘Advanced Settings’: Look for a menu or tab labeled ‘Advanced Settings’ or similar. This area holds more specific settings for your device, including time and system settings.
Choose ‘Time Zone’: This is the option where you can set your specific time zone. It’s crucial to ensure that your Fitbit reflects the accurate time for your location.
Step 3: Set the Correct Time Zone
Setting the correct time zone is crucial for accurate timekeeping on your Fitbit. Your Fitbit needs to know your exact location to display the right time, especially if you travel or if there’s a change in daylight saving time.
Choose your current time zone from the list: Scroll through the list of time zones and tap the one that corresponds to your current location. If you’re unsure, you can search online for your specific time zone.
Toggle on the ‘Set Automatically’ option if available: This setting enables your Fitbit to automatically update the time based on your geographic location. It can be useful when traveling to different time zones.
Tap ‘Save’ to apply the changes: After selecting the appropriate time zone and options, you must save these settings. Without saving, the changes will not be applied to your Fitbit device.
Step 4: Sync Your Fitbit Again to Apply Changes
After you have made the necessary changes to the time settings, you need to sync your Fitbit again. This final sync ensures that all the new settings are applied to your device.
Return to the device section in the Fitbit app: Go back to the main page of the device you were working with. This will allow you to access the sync option again.
Tap on ‘Sync Now’: Pressing ‘Sync Now’ will initiate a final synchronization between your Fitbit and your smartphone, applying all the new time settings. Once completed, your Fitbit device should reflect the correct time and time zone.
If you followed these steps correctly, your Fitbit time should now be reset. If you face any difficulties or need further assistance, please consult the Fitbit support page or contact customer service.
