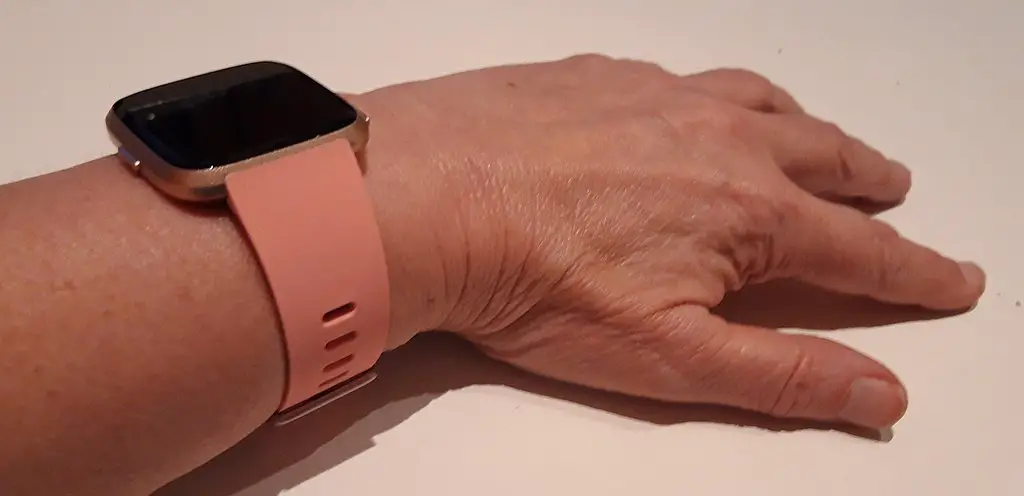
If you’re looking to understand how to change time on Fitbit, you’ve come to the right place. From switching time zones to adjusting for daylight saving time, our in-depth guide will walk you through every step to ensure a seamless experience.

Steps on How to Change Time on Fitbit
The steps below will guide you on how to change time on Fitbit:
Step 1: Connect Your Fitbit to Your Smartphone
Connecting your Fitbit to your smartphone is a crucial first step, as it allows the devices to communicate with each other. Follow these detailed instructions:
Enable Bluetooth on your smartphone through the settings menu.
Open the Fitbit app on your smartphone. If you don’t have the app, download and install it from the App Store (for iOS) or Google Play Store (for Android).
If you don’t have a Fitbit account, create one. If you already have an account, log in.
Select the ‘Account’ or ‘Profile’ icon, usually located at the top right or left corner.
Choose ‘Set Up a Device’ and follow the on-screen instructions to pair your Fitbit with your smartphone.
Make sure your Fitbit is close to your smartphone during this process to establish the connection.
If you’re looking to upgrade your Smartphone, the SAMSUNG Galaxy Z Flip 5 will surely thrill you.
Step 2: Open the Fitbit App
Once connected, you’ll need to open the Fitbit app to access the settings:
Locate the Fitbit app icon on your smartphone. It is usually blue with white dots forming a diamond shape.
Tap the icon to open the app.
Make sure you are logged into your Fitbit account. If not, enter your username and password to log in.
Step 3: Access the Device Settings
Now, you’ll need to access the settings specific to your Fitbit device:
In the Fitbit app, tap on your profile picture or icon (often at the top left corner).
You’ll see a list of connected Fitbit devices. Select the one you want to change the time for.
Tapping on the device will lead you to the settings menu where you can manage all aspects of your Fitbit.
Step 4: Change Time Zone
Changing the time zone is essential if you’re in a different region or need to adjust for daylight saving time:
Scroll through the device settings until you find the ‘Time Zone’ option.
Tap it, and a list of time zones will appear.
Scroll to find the desired time zone, and tap to select it.
If available, enable automatic time zone detection, so your Fitbit will adjust time-based on your smartphone’s location. This is handy for travelers.
Step 5: Confirm Changes
After selecting the time zone, you must confirm the changes:
Look for a ‘Save’ or ‘Confirm’ button at the bottom of the screen and tap on it.
If the Fitbit time doesn’t update immediately, pull down on the app’s main screen to sync it manually.
Your Fitbit device will now reflect the correct time according to the selected time zone.
Common Errors and Solutions
If you’re facing issues in changing the time on your Fitbit, consider the following common problems and solutions:
Error: Time Not Updating
Solution: Ensure that your Fitbit is properly synced with your smartphone. If necessary, restart both the Fitbit device and the Fitbit app and attempt to sync again.
Error: Incorrect Time Zone
Solution: Double-check the time zone you’ve selected. Make sure that it matches your current location. Enable automatic time zone detection if possible.
Error: Fitbit Not Connected to Smartphone
Solution: Verify that your Fitbit is paired with your smartphone via Bluetooth. If not, reconnect it following the instructions in Step 1.
