If you’re here to figure out how to change Fitbit time to 24hr, rest assured that this article will guide you through each and every step. The procedure is broken down into easy-to-follow, detailed sections.
Before You Start: Requirements
Before you proceed, gather these essential tools:
Your Fitbit Device: Make sure it has sufficient battery and is within Bluetooth range of the device with your Fitbit app.
Fitbit App: If you don’t have the Fitbit app installed, you can download it from Fitbit’s official website or your device’s app store.
Internet Connection: Both your Fitbit device and your smartphone, tablet, or computer should be connected to the internet for synchronization.
Check out this HP 2023 Newest 17 Laptop available at Walmart.
Steps on How to Change Fitbit Time to 24hr
The following steps will guide you on how to change Fitbit time to 24hr:
Step 1: Open the Fitbit App
Begin by locating the Fitbit app icon on your device. This is usually a blue icon with white lines that resemble a diamond.
Open the app by tapping or clicking on it. You’ll see a login screen if you’re not already signed in.
Type in your email and password associated with your Fitbit account and tap ‘Login’ to access your dashboard.
Step 2: Access Settings
Your Fitbit dashboard displays your recent activity, sleep data, and other personalized information.
To access settings, look for the account icon. It is often found in the top left corner of the dashboard screen.
This icon might be your own profile picture if you’ve added one, or a generic avatar. Tap or click this icon to navigate to the settings menu.
Step 3: Locate Time Settings
Once you’re in the settings menu, you’ll see multiple options like ‘Profile,’ ‘Devices,’ and ‘Privacy.’ Scroll down until you spot the section labeled either ‘Advanced Settings’ or just ‘Settings.’ The label can vary based on the app version.
Tap this option to enter another menu with a list of additional settings. Scroll through this list until you find an option related to ‘Time’ or ‘Clock.’ Tap this to enter the time settings.
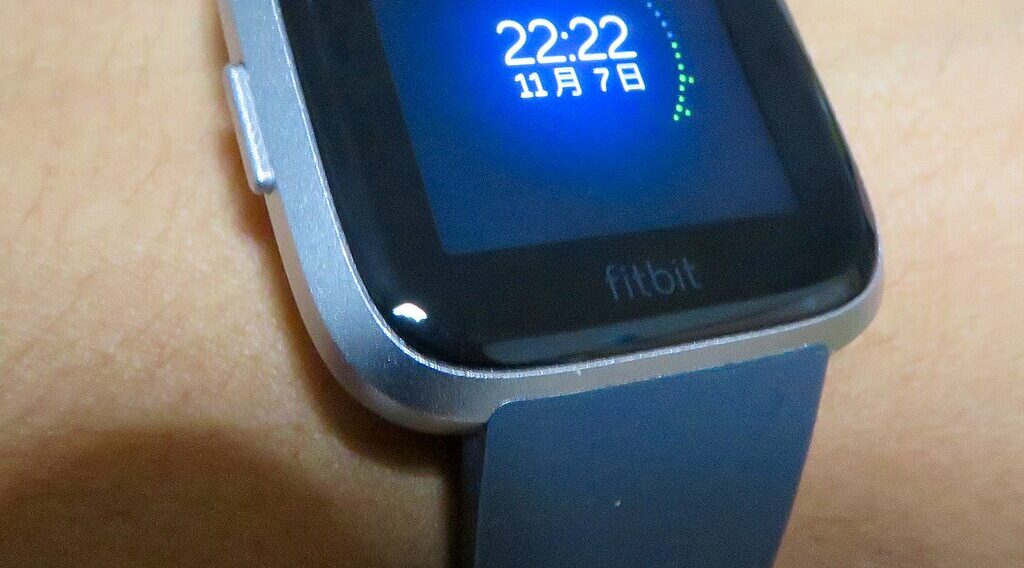
Step 4: Change Fitbit Time to 24hr Format
Upon entering the time settings, you’ll likely see the 12-hour format enabled by default. You’ll need to switch this to the 24-hour format.
There will be a clear option allowing you to toggle between ’12-hour’ and ’24-hour’ formats. Tap the ’24-hour’ option to select it.
Before exiting this menu, locate the ‘Save’ or ‘Confirm’ button—this could be at the bottom of the screen or at the top-right corner. Press this button to ensure your changes are saved.
Step 5: Sync Your Fitbit
After changing the time format, you must sync your Fitbit device for the change to take effect. Most of the time, the app automatically initiates a sync when settings are saved. If it doesn’t, you can manually trigger a sync.
To do this, return to your Fitbit dashboard and look for a sync icon—usually two curved arrows forming a circle. Tap this icon to initiate a manual sync. A progress bar or spinning icon will appear, which disappears once the sync is complete.
Why Change Fitbit Time to 24hr Format?
The 24-hour format, commonly known as military time, offers a simpler way to keep time. It eliminates the need to distinguish between AM and PM, which can be particularly helpful when tracking your sleep cycle, setting reminders, or coordinating workouts.
