If you’re struggling with how to set time on Fitbit, you’ve come to the right place. This comprehensive guide will walk you through the entire process, from accessing the settings to confirming the time.
Step 1: Connect Your Fitbit to the Fitbit App
Connecting your Fitbit to the Fitbit app is essential for managing all device settings, including time. Follow these sub-steps:
Download the Fitbit app from the App Store (iOS) or Google Play Store (Android).
Speaking of Androids, have you seen the SAMSUNG Galaxy Z Flip 5 on Amazon, its features are amazing.
Open the app and sign in or create a new account if you don’t have one.
Tap on the profile icon and then tap on ‘Add a Device.’
Select your Fitbit model and follow the on-screen instructions to connect it via Bluetooth.
You may be prompted to enter a code displayed on your Fitbit screen to confirm the connection.
Step 2: Access Time Settings
Once connected, you will have access to various settings, including time. Here’s how to reach them:
Tap on your profile picture in the Fitbit app.
Select your connected Fitbit device.
Scroll down and tap ‘Advanced Settings’ or ‘Clock Settings,’ depending on your app version.
This is where you will find the options to adjust the time settings.
Step 3: Set the Time Zone
Setting the time zone correctly ensures that your Fitbit displays the right time for your location:
If automatic time zone is enabled, your Fitbit will use your phone’s location to set the time zone.
If it’s off, tap ‘Time Zone’ and manually select your city or region from the dropdown menu.
If your region observes daylight saving time, ensure that the option is enabled if available.
Step 4: Set the Time Format
You can customize the time format according to your preference. Here’s how:
In the ‘Time Settings’ menu, look for the ‘Time Format’ option.
Tap on it and select either the 12-hour or 24-hour format.
Confirm your choice, and the time on your Fitbit will change to the selected format.
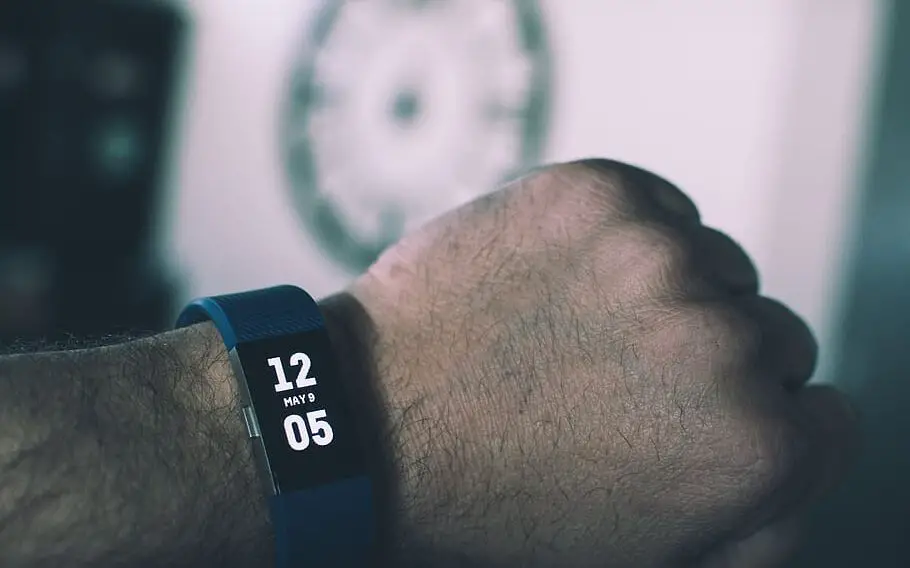
Step 5: Confirm the Time
Make sure the time on your Fitbit device is now correct:
Check the displayed time against a reliable source like your phone or computer.
If the time is not correct, restart your Fitbit by holding down the button until the Fitbit logo appears, then release.
Your Fitbit will restart, and the time should now be updated.
Step 6: Sync Your Device
Synchronization ensures that all the changes are saved and applied to your device:
In the Fitbit app, pull down on the main screen or tap the sync icon.
Wait for a spinning icon, indicating the sync is in progress.
Once completed, the time on your Fitbit should be correct, reflecting all the changes made.
