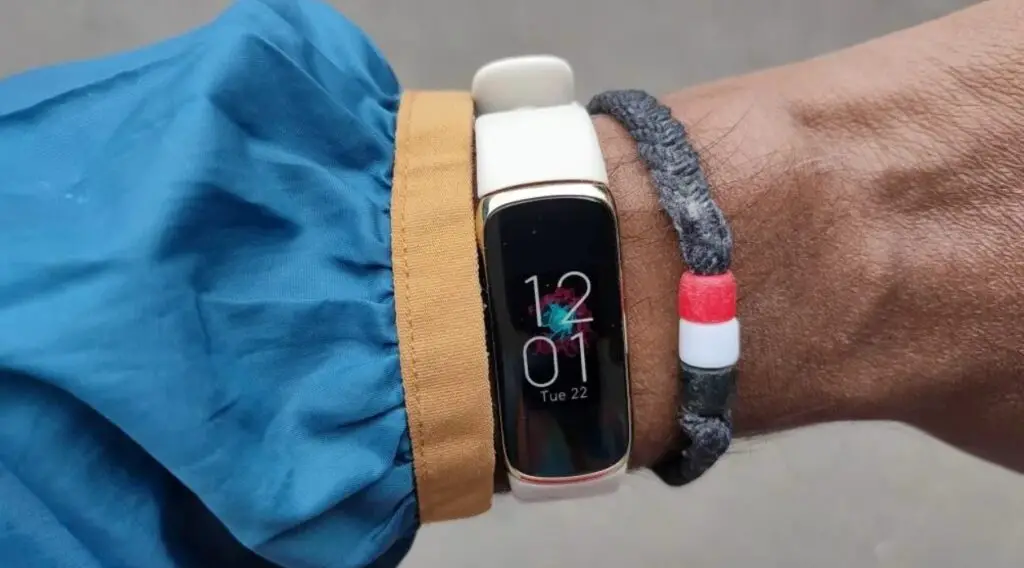
We have compiled this comprehensive guide to assist you in resolving the Fitbit Luxe clock error, so you can get back on track without delay.
Understanding the Fitbit Luxe Clock Error
The Fitbit Luxe clock error can occur due to a variety of reasons including software glitches, incorrect syncing, or outdated firmware. Understanding why this error has occurred can play a crucial role in pinpointing the most effective solution.
Solution Steps to the Fitbit Luxe Clock Error
To resolve the Fitbit Luxe clock error, do the following solution steps in the given order.
Step 1: Restart Your Fitbit Luxe
Restarting your Fitbit Luxe can be likened to giving it a fresh start. This action can remedy minor system glitches that might be causing the clock error. Before we dive into the restarting process, ensure that your device has a substantial battery level to prevent any disruption.
Here’s a detailed breakdown of how you can successfully restart your device:
Locate the Button: Find the button on your Fitbit Luxe device; it is the only physical button on the device, usually situated on the left or right side.
Press and Hold: Once you locate the button, press and hold it for approximately 10 seconds. This duration allows the device to initiate the restarting process.
Fitbit Logo: Keep a watchful eye on the screen as you hold the button. Release it as soon as you see the Fitbit logo appearing. This logo signals the initiation of the restart.
Wait: Allow the device some seconds to complete the restart process. It usually doesn’t take long – roughly a few seconds to a minute at most.
After restarting, give it a moment before checking to see if the clock now displays the correct time.
Step 2: Sync Your Device Correctly
Correct syncing is quintessential in maintaining the accuracy of your Fitbit Luxe’s clock. It involves updating your device with the latest data from the Fitbit app. Here is a step-by-step guide to ensuring a successful sync:
Open the App: Start by opening the Fitbit app on your smartphone or tablet where the app is installed.
Check out this SAMSUNG Galaxy Tab A7 on Amazon.
Access Your Profile: Tap on your profile picture, which is generally located at the top left corner of the app’s interface to access your account details and connected devices.
Select Your Device: Find and select ‘Fitbit Luxe’ from the list of devices connected to your Fitbit account.
Initiate Sync: Tap on the ‘Sync Now’ option to start the synchronization process, which will update your device with the latest data, including the correct time.
Completion: Allow some moments for the sync to complete. Ensure your device stays close to your phone or tablet during this process to maintain a stable connection.
After the synchronization process, check your device to confirm that the time displayed is correct.
Step 3: Update Your Fitbit Luxe Firmware
Firmware updates come with bug fixes and improvements, which might potentially resolve the clock error. Ensuring your device operates on the latest firmware is pivotal. Here’s a detailed explanation of how to update the firmware:
Stable Connection: Ensure your Fitbit Luxe is connected to a stable Wi-Fi network to facilitate a smooth update process.
Open the App: On your smartphone or tablet, open the Fitbit app where you manage your device settings.
Follow the Prompts: The app will guide you through the update process with on-screen instructions. Adhere to these prompts diligently to initiate and complete the update.
Battery Life: Verify that your Fitbit Luxe has sufficient battery life to prevent any interruptions during the update. It is advisable to have at least 50% battery life before initiating the update.
Upon completion of the update, inspect your device to ascertain that the clock error has been resolved.
Step 4: Factory Reset Your Device
If the clock error persists despite trying the aforementioned solutions, resorting to a factory reset might be necessary. This action will erase all your personalized settings and data, returning the device to its original factory settings. Here is how you can carry out a factory reset:
Backup: Before initiating a reset, ensure to backup all your essential data as it will be erased in the reset process.
Settings: On your Fitbit Luxe, navigate to the ‘Settings’ menu which is accessible through the device’s main screen.
Factory Reset: In the settings menu, scroll to find and select the ‘About’ option. Here you will find the ‘Factory Reset’ or ‘Clear User Data’ option which when selected, initiates the reset process.
Confirmation: Confirm your decision by following the on-screen instructions. It’s a step to prevent accidental data loss by ensuring the user is certain about the reset.
Remember to restore your backed-up data after the reset process is completed to personalize your device anew.