In this article, you will find a step-by-step guide on how to diagnose and fix the Fitbit Charge 4 clock error, to get your fitness tracker running accurately again.
Understanding the Fitbit Charge 4 Clock Error
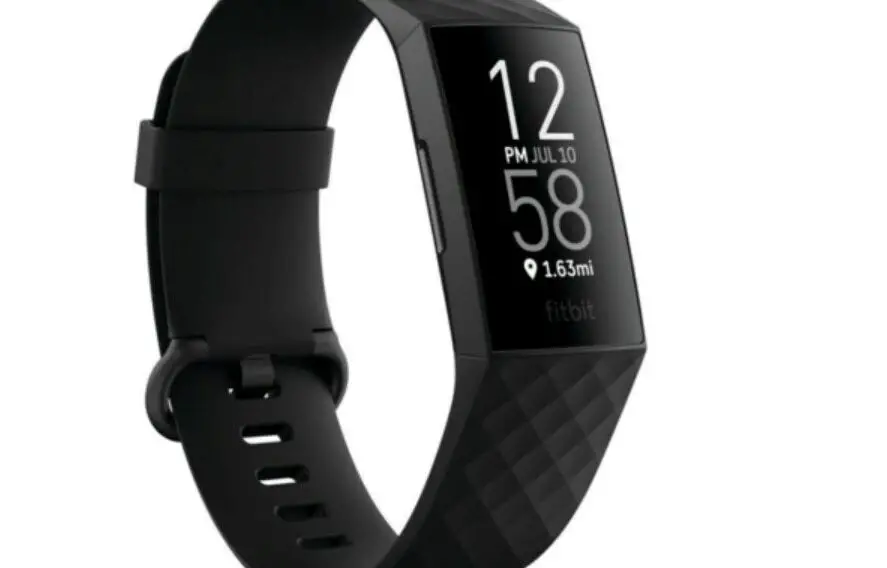
The Fitbit Charge 4 clock error typically manifests as a discrepancy in the time or date displayed on your device. This issue can be caused by a range of problems including software glitches, incorrect timezone settings, or syncing errors. Knowing the potential sources of this error enables you to address it more effectively, and ensures you can prevent it in the future.
Step-by-Step Guide to Resolving the Fitbit Charge 4 Clock Error
In this section, we will walk you through each step to help you rectify the Fitbit Charge 4 clock error. These guidelines are crafted to aid even those with no prior experience in troubleshooting a Fitbit device.
Step 1: Restart Your Fitbit Charge 4
If you’re facing the Fitbit Charge 4 clock error, one of the initial, straightforward solutions to try is restarting your device. Restarting can help in resetting the system and clearing any temporary glitches or bugs. Here’s how you can restart your Fitbit Charge 4:
Find a quiet space where you can focus on the task without interruptions.
Locate the button on the side of the device. This is the only physical button present on the Charge 4.
Press and hold this button for about eight seconds. Ensure to count slowly and accurately to give the device enough time to initiate the restart.
Keep an eye on the screen. Release the button as soon as you see the Fitbit logo appear.
Wait for the device to reboot fully. This might take a few more seconds. Once rebooted, it will power back on automatically.
Check the time displayed on your Fitbit. If it is accurate, the error has been resolved. If not, proceed to the next step.
Note: Remember to remove your device from the charger before restarting if it’s plugged in.
Step 2: Ensure Correct Time Zone Settings
Having the correct time zone setting is vital for the proper functioning of your Fitbit Charge 4’s clock. Sometimes, the issue can be as simple as your device being set to the wrong time zone. Here’s how you can ensure that your time zone settings are correct:
Open the Fitbit app on your smartphone or tablet.
Check out this Google Pixel 7 Pro Smartphone on Amazon.
Tap on your profile picture located at the top left corner to access your account settings.
Now find and tap on ‘Device Settings’ or sometimes labeled as ‘Devices’.
From the list of devices, select ‘Fitbit Charge 4’.
Scroll to find the ‘Time Zone’ option. Tap on it to open.
Check if the time zone selected is correct. If not, select the correct time zone from the list available.
Save the changes by tapping on the confirm button, usually depicted with a check mark or ‘OK’.
Tip: It is generally recommended to set your time zone settings to automatic, so it adjusts when you travel.
Step 3: Synchronize Your Device
Synchronizing your Fitbit Charge 4 with the Fitbit app can also help in fixing the clock error by updating all the data, including the correct time. Here’s how to manually synchronize your device:
Ensure your Fitbit Charge 4 is within the Bluetooth range of your phone or tablet, which is typically about 30 feet.
Open the Fitbit app on your mobile device.
On the main dashboard, pull down the screen using your finger to initiate a manual sync.
Wait for the synchronization process to complete, keeping an eye on the progress bar if available.
Once completed, verify if the clock error has been resolved by checking the time displayed on your Fitbit device.
Tip: Regular synchronization can prevent many issues, including clock errors, and ensures your fitness data is up-to-date.
Step 4: Update Your Fitbit Charge 4
Running the latest software ensures that all known bugs and glitches are fixed. If the above steps didn’t resolve the issue, it might be worth checking if there are any pending updates for your Fitbit Charge 4. Here’s how to do it:
Ensure your Fitbit device has a sufficient battery charge to prevent interruptions during the update process.
Connect your Fitbit to a stable Wi-Fi network if possible, as updates can consume a considerable amount of data.
Open the Fitbit app and go to ‘Device Settings’.
Find your ‘Fitbit Charge 4’ and tap on it.
Look for an option labeled ‘Update’ or ‘Firmware Update’. If there is an update available, tap on it to start the updating process.
Follow the on-screen instructions patiently, as updates can sometimes take a while to complete.
Once the update is completed, your device will restart automatically. After this, check to see if the clock error has been resolved.
Note: Always backup your data before updating to prevent any data loss during the update process.