If you’re wondering how to set date and time on Fitbit, you’ve come to the right place. This guide will walk you through every step, ensuring that even those new to Fitbit can easily complete this essential task.
Step 1: Connect Your Fitbit to Your Smartphone
Before you can set the date and time on your Fitbit, you need to connect it to your smartphone. This ensures synchronization between the devices. Here’s a detailed breakdown:
Download the Fitbit app: Search for the Fitbit app in your phone’s app store. Tap ‘Install’ and wait for the app to download.
Open the Fitbit app: Find the Fitbit app icon on your phone and tap it to open. If you don’t have an account, you’ll need to sign up and log in.
Navigate to the devices tab: This tab usually appears at the bottom of the screen. It’s where all connected devices are listed.
Select your Fitbit device: If you haven’t added your Fitbit, tap ‘Add a Device’ and follow the prompts. If already added, tap your device’s name or image.
Pair the devices: Follow the on-screen instructions to connect via Bluetooth. You may need to enter a code displayed on your Fitbit or confirm the pairing on your phone.
Check out this SAMSUNG Galaxy A14 on Amazon with 5G and 64GB memory storage.
Step 2: Navigate to the Time Settings
Now that your Fitbit is connected, you’ll need to locate the time settings. Here’s how:
Tap on the device image: In the Fitbit app, your device will be displayed. Tap on it to access specific settings.
Select ‘Advanced Settings’: You may find this within other categories like ‘General’ or ‘Device Settings.’ It’s where more detailed configurations are made.
Tap on ‘Time Settings’: This opens the menu where you can adjust the date and time. If you don’t see it immediately, you might have to scroll down.
Step 3: Adjust the Date and Time
Adjusting the date and time can be done automatically or manually. Here’s an explanation of both options:
Select ‘Automatic’: Choosing automatic synchronization means your Fitbit will use the same date and time as your smartphone. This is useful if you travel between time zones or for daylight-saving adjustments.
Choose ‘Manual’: If you want to set the time yourself, choose the manual option. You’ll have control over:
Setting the Date: A calendar interface will appear. Tap the correct month, day, and year.
Setting the Time: Use the provided controls to adjust hours and minutes. Some devices will ask you to choose between a 12-hour and 24-hour format.
Step 4: Confirm the Changes
Your last step is to make sure the changes are saved and applied. Here’s how:
Tap ‘Confirm’ or ‘Save’: One of these buttons will be available, depending on your Fitbit model. Tapping it applies the changes.
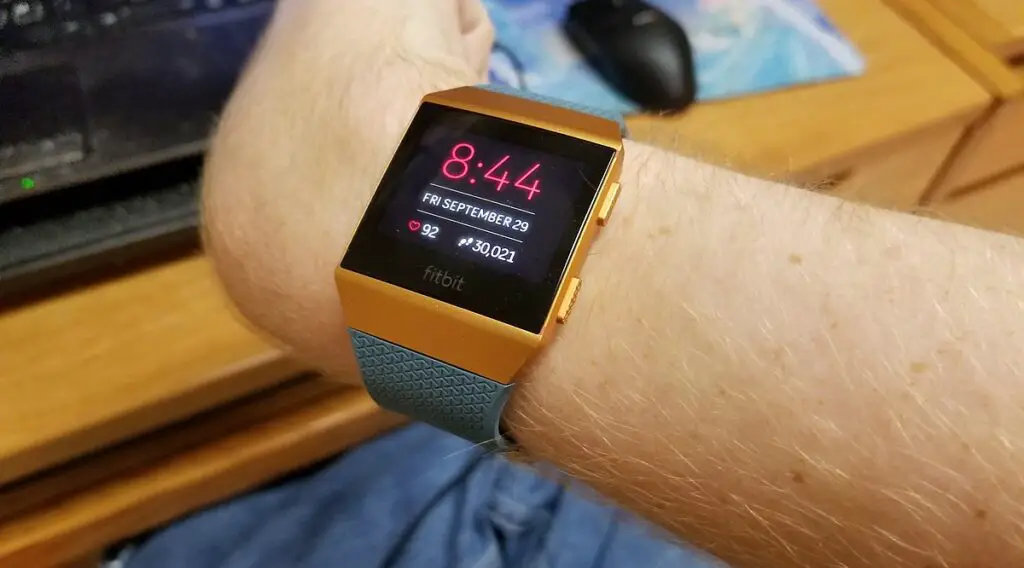
Check your Fitbit: Look at your device’s screen. The date and time should now be correct. If not, you may need to repeat the previous steps or consult the official Fitbit support if issues persist.
Congratulations! You’ve learned how to set date and time on Fitbit. Remember, this process may slightly vary depending on your Fitbit model, so always refer to your specific model’s manual or online support if needed.