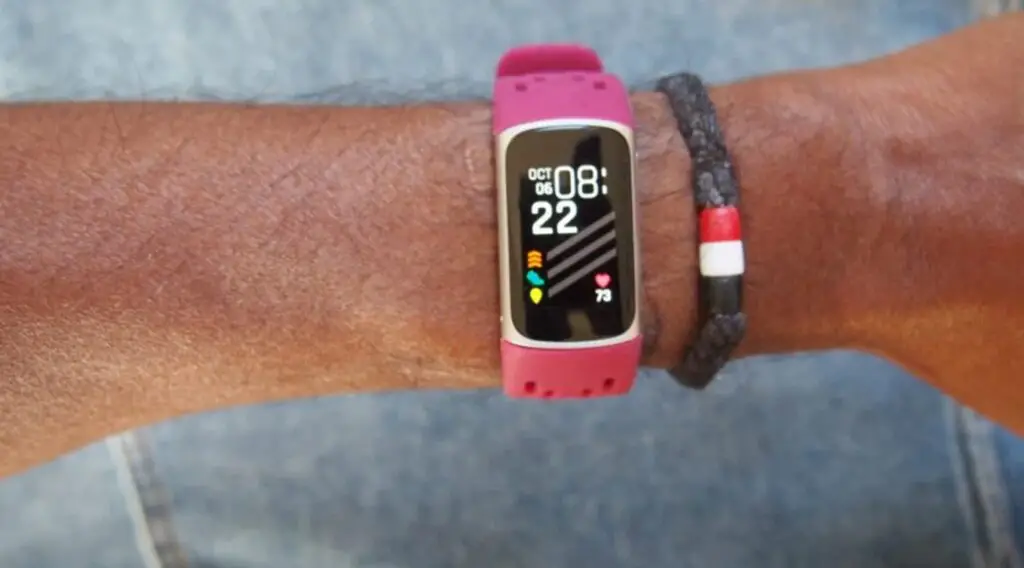
Are you grappling with the Fitbit Charge 5 clock error? Fear not, let us walk you through resolving the Fitbit Charge 5 clock error efficiently and effectively.
Understanding the Fitbit Charge 5 Clock Error
Before venturing into the solutions, it is important to understand what triggers the Fitbit Charge 5 clock error. Typically, the error arises due to software glitches, synchronization problems, or improperly installed updates.
Sometimes, the error might be a result of minor bugs that can be addressed with some straightforward solutions. Understanding the root cause of the error is pivotal to determining the right approach to fix it.
Solutions to the Fitbit Charge 5 Clock Error
Try the following solutions in the given order to resolve the Fitbit Charge 5 clock error.
Checking the Sync Settings
To rectify the Fitbit Charge 5 clock error, one of the initial steps is to confirm the synchronization settings of your Fitbit device with your smartphone. Proper synchronization ensures accurate time display, aiding the smooth functioning of other features as well. Follow the detailed steps below:
Open the Fitbit app on your smartphone, a central hub for all settings and configurations related to your Fitbit device.
Check out this OnePlus 11 smartphone listed on Amazon.
Find and tap your profile picture or icon usually located at the top left corner of the app interface to access a menu with several options.
In the list of devices displayed, find and select ‘Charge 5’. This takes you to a dashboard that centralizes all settings specific to your Fitbit Charge 5.
Now, search for an option named ‘All-Day Sync’. It is a feature that allows your Fitbit to stay synchronized with your phone throughout the day, sharing data in real time. If it is off, enable it to ensure regular automatic updates, including the current time.
For instantaneous synchronization, initiate a manual sync by pulling down on the dashboard of the app. This refreshes the connection between your phone and Fitbit, updating all data including correcting any time discrepancies.
Restarting Your Fitbit Charge 5
If checking sync settings doesn’t solve the problem, restarting your Fitbit device might be the solution. This action reboots the system, potentially clearing any glitches causing the clock error. Here is how to restart your Fitbit Charge 5 effectively:
Find the button on the left side of the Fitbit Charge 5 device. This button serves as a control hub for various functions, including initiating a restart.
Press and hold this button for about 8 to 10 seconds. Keep an eye on the screen for the appearance of the Fitbit logo, a signal indicating the initiation of the restart process.
Once you spot the Fitbit logo, release the button. Allow the device a few moments to complete the restart process, during which it will reset its internal systems, hopefully fixing any glitches.
After the restart, check the time displayed on your device. If the restart process worked, the time should now display correctly.
Updating Your Device
Sometimes, the clock error might be due to outdated software. Fitbit regularly releases updates to enhance performance and fix known bugs. Here’s how you can ensure your device operates on the latest software:
Open the Fitbit app on your smartphone, the primary platform for receiving and installing updates for your device.
Access your account settings by tapping on your profile picture or icon, usually located at the top left corner of the screen.
From the list of connected devices, select ‘Charge 5’ to view all available settings and updates for this specific device.
If there is a newer software version available, a pink update button will appear. Tap this button and patiently follow all the on-screen instructions to complete the update, ensuring your device benefits from the latest features and bug fixes.
Factory Reset as a Last Resort
If all else fails, you might consider performing a factory reset. This action erases all data and returns the device to its original settings. It is a drastic step and should be reserved as a last resort. Here is a step-by-step guide to performing a factory reset:
Locate the button on your Fitbit Charge 5; this control center allows you to navigate various functions, including initiating a factory reset.
Press and hold this button continuously until the device vibrates, signaling the onset of the reset process. Subsequently, you will see a prompt asking ‘Factory Reset?’ appear on the screen.
Upon seeing this prompt, release the button. From here, follow the on-screen instructions to complete the reset process, erasing all existing data and returning the device to its fresh-out-of-the-box state.
