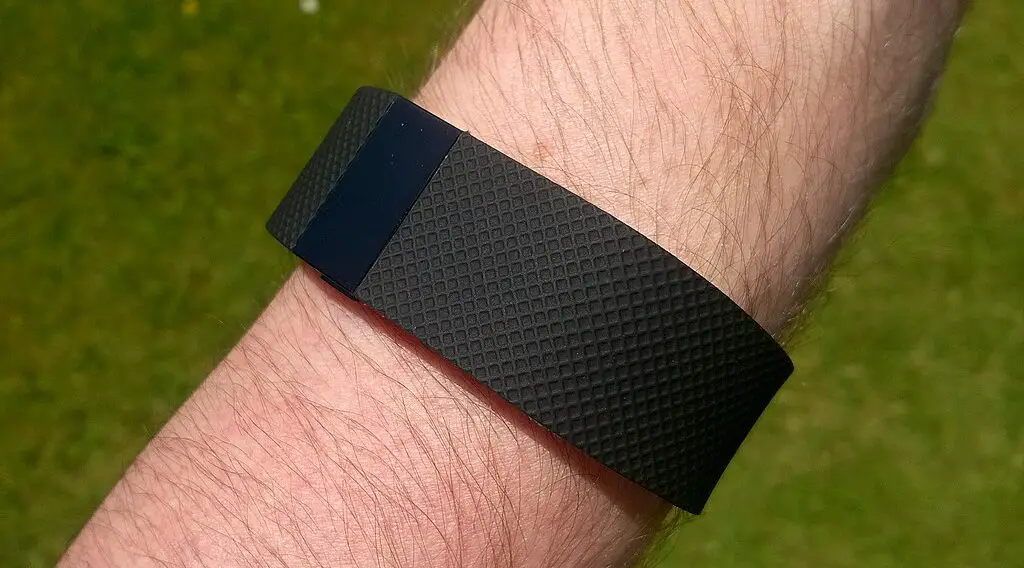
If your Fitbit HR time is wrong, this article will guide you on how to rectify this problem, ensuring your Fitbit HR is back to keeping accurate time for your tracking needs.
Understanding the Cause of Incorrect Time
The incorrect time display on your Fitbit HR can stem from a variety of issues. It’s crucial to identify the underlying cause to apply the right solution. Below, we discuss the most common factors:
Time Zone Change: Traveling across time zones or the onset of daylight saving time can cause discrepancies if your device doesn’t automatically update.
Sync Errors: If the sync between your Fitbit HR and the paired device is interrupted or fails, the time may not update correctly.
Software Glitches: Software problems, often due to outdated firmware or interruptions during updates, can lead to incorrect time displays.
Understanding these causes helps tailor your troubleshooting steps more effectively, saving time and effort.
‘Fitbit HR Time is Wrong’ Solutions
If your Fitbit HR time is wrong, do these solutions:
Syncing Your Fitbit HR
Proper syncing between your Fitbit HR and the paired device is often the simplest fix for time discrepancies. Follow these detailed steps:
Bluetooth Connectivity: Confirm that Bluetooth is active on your smartphone or tablet. Bluetooth is essential for the syncing process, and the devices should be within 30 feet of each other.
Check out this SAMSUNG Galaxy S23 Ultra Cell Phone from Walmart.
Fitbit App Access: Open the Fitbit app on the device you usually sync with. If you’re using a new device, you may need to log in to your Fitbit account.
Dashboard Navigation: Within the app, navigate to the ‘Today’ tab. This is your central dashboard for viewing all your statistics and device settings.
Account Settings: Click on your profile icon, usually at the top of the screen, to access your account and device list.
Selecting Your Device: Choose your Fitbit HR from the list to access its settings.
Manual Sync: Drag down on the screen to initiate a manual sync. You should see an animation or indicator showing the sync process has started.
Completion: Wait for the sync to complete without closing the app. This might take a few minutes, especially if it’s been a while since the last sync.
Time Check: Once the sync is complete, review the time on your Fitbit HR.
If the time displayed is still incorrect, make sure the Fitbit app is up to date before attempting another sync.
Checking the Time Zone Settings
Incorrect time zone settings in the Fitbit app can lead to the wrong time displayed on your Fitbit HR. Here’s how to check and adjust these settings:
Accessing Settings: In the Fitbit app, select the ‘Account’ icon to view your personal and device settings.
App Settings: Scroll to the ‘App Settings’ section and tap it.
Time Zone Adjustment: Look for ‘Time Zone’ within the settings. If ‘Set Automatically’ is active but the time is incorrect, you might need to set your time zone manually. This is often necessary if your device didn’t update after traveling.
Manual Selection: Disable the automatic setting and manually select your current time zone from the list provided.
Sync Again: After updating your time zone setting, carry out another manual sync as per Step 1 to apply the changes to your Fitbit HR.
Restarting Your Fitbit HR
If syncing and adjusting time zones don’t fix the issue, a restart of your Fitbit HR might be needed to clear out any minor software glitches:
Charging Connection: Connect your Fitbit HR to its charger and plug it into a power source to ensure it doesn’t power off mid-restart.
Restart Button: Locate the button on your device, which can vary by model, meant for restarts.
Initiating Restart: Press and hold the restart button for about eight seconds. Wait for the Fitbit logo to appear, signaling the restart is in process.
Completion of Restart: Once the device turns back on, disconnect it from the charger. The device should now be fresh from a restart, and ready for use.
Final Sync: Perform a final sync to ensure that the correct time is showing on your Fitbit HR.
Updating Your Fitbit HR
Outdated software can cause numerous issues, including incorrect time display. Here’s how to check and install updates for your Fitbit HR:
Charge and Connect: Before starting, ensure your Fitbit HR is adequately charged and connected to its charger. Updates can take time, and a low battery could interrupt the process.
Update Via App: Go to the ‘Today’ tab in the Fitbit app, select your profile picture, then your device. If an update is available, you will see an ‘Update’ button.
Stable Connection: Keep your Fitbit HR close to your smartphone or tablet to maintain a strong Bluetooth connection throughout the update process.
Installing Updates: Tap ‘Update’ and follow any prompts. A progress bar will appear in the app, showing you the update status.
Wait for Completion: Do not interrupt the update by closing the app or disconnecting your device. Once the update is complete, your device will restart automatically.
Post-Update Sync: After the device restarts, perform one last sync to ensure the correct time is displayed.
Regularly checking for updates can prevent many issues and improve your Fitbit HR’s functionality and accuracy.
Contacting Fitbit Support
If none of the above steps have corrected the time on your Fitbit HR, it may be time to seek further assistance:
Visit the official Fitbit Help website using a web browser.
You can search the help articles for further advice or use the contact options provided to get in touch with a customer support representative.
Live chat is often the quickest way to get help, but you can also send an email if you prefer.
When contacting support, be prepared to describe the issue you’re experiencing, the steps you’ve already taken to try to resolve it, and any error messages you’ve seen.
