We’ve crafted this article to guide you on how to set time on Fitbit Charge 3. Let’s dive into the steps.
Step 1: Connect Your Fitbit to the Fitbit App
This initial step is crucial for all subsequent actions with your Fitbit. Here’s how you can do it:
Download and install the Fitbit app: Open your phone’s app store, search for “Fitbit,” and download the official app. Installing the app is typically done by tapping the “Install” button. This app will be your main interface with your Fitbit device.
Create or log in to your Fitbit account: Open the Fitbit app. If you’re new, you will need to create an account by providing your email and creating a password. If you’re an existing user, enter your email and password to log in. This account helps you track your fitness goals and sync your device’s data.
Pair your Fitbit Charge 3 with your phone: In the app, look for the option to add a new device. Select ‘Fitbit Charge 3’ from the list and follow the on-screen instructions. Make sure your Bluetooth is on, as the app will connect to your Fitbit using this feature. Once paired, your Fitbit will be ready to sync with the app.
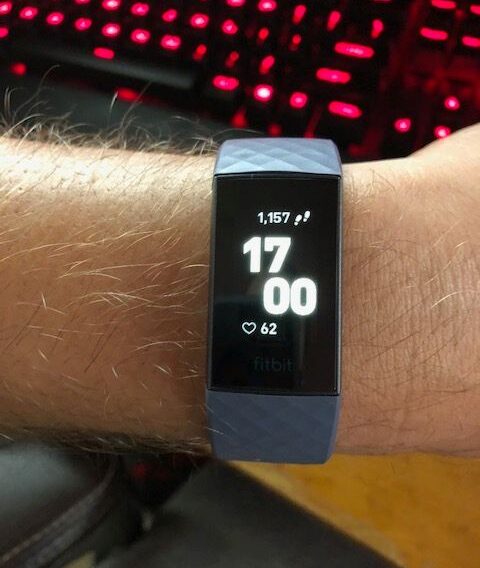
Step 2: Synchronize the Time
Syncing the time ensures that your Fitbit displays the correct local time. Here’s a detailed breakdown:
Ensure your phone’s time and date settings are correct: Your Fitbit will synchronize with the time and date on your phone. Make sure these settings are accurate on your phone by going to the settings app, then to ‘Date & Time,’ and adjust if necessary.
Check out this Amazon-listed Motorola Moto G Stylus phone.
Navigate to your Fitbit device in the app: Open the Fitbit app, tap the account icon, usually in the top right corner, and select your Fitbit device. This takes you to the device management screen where you can sync and adjust settings.
Find the ‘Sync’ option and tap it: Look for the ‘Sync Now’ button. Tapping this will start the synchronization process, updating the time on your Fitbit to match your phone. This process might take a minute, and you should ensure that your Fitbit is close to your phone during this process.
Step 3: Adjust Time Settings Manually (Optional)
If you want to manually set the time, this step-by-step guide will help you:
Tap on your Fitbit device in the app: Access the device management screen in the Fitbit app, the same as in step 2.
Find the ‘Advanced Settings’ option and tap it: This section may be hidden in a sub-menu, but it allows for detailed adjustments. Here, you’ll find options related to time settings.
Adjust the time settings as needed, then tap ‘Save’: You can change the time zone or set a custom time. You can also switch between a 12-hour and 24-hour clock. Once you’ve made your adjustments, tap ‘Save’ to apply the changes. This manual adjustment overrides the automatic sync, so make sure you’ve set it exactly as you want.
