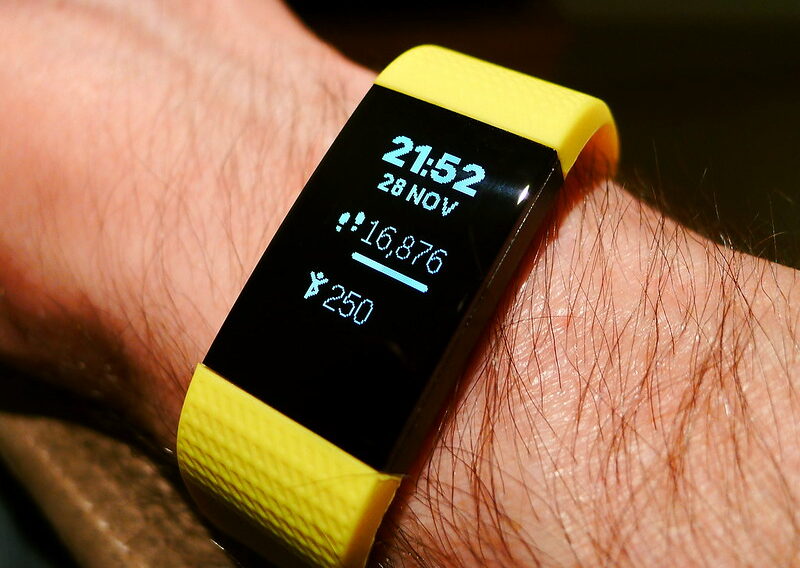
Are you struggling with how to change time on Fitbit Ace 2? Don’t worry; it’s a common issue that can be easily resolved. This guide will provide you with clear and concise step-by-step instructions to get your Fitbit Ace 2 displaying the correct time in no time.

Step 1: Connect Your Fitbit to the Mobile App
To adjust the time on your Fitbit Ace 2, the device needs to be linked to the Fitbit app on your smartphone. Here’s a step-by-step guide to ensure a successful connection:
Download the Fitbit App: Go to the App Store (iOS) or Google Play (Android) on your smartphone. Search for ‘Fitbit,’ tap on the app, and press the download button. Wait for the installation to complete.
Check out this TCL 20 Pro 5G Unlocked Smartphone on Amazon
Create or Sign In to Your Account: Open the Fitbit app. If you’re a new user, you’ll need to create an account by providing an email address and creating a password. Existing users can enter their credentials to sign in.
Pair Your Device: Upon logging in, tap the device icon (usually located in the top left corner). Select ‘Add a Device,’ then ‘Fitbit Ace 2’ from the list. The app will search for your Fitbit device.
Confirm Pairing: A unique code will appear on your Fitbit Ace 2 screen. Enter this code in the app to confirm the pairing. This ensures that the correct device is being linked to the app.
Complete the Setup: Follow the on-screen instructions to finalize the setup, including entering personal details and preferences. This helps in tailoring the Fitbit experience to your needs.
Step 2: Access the Time Settings
Once your Fitbit Ace 2 is connected to the app, you will have the ability to access and adjust the time settings. Here’s how you can navigate to the time settings:
Select Your Device: In the Fitbit app, tap the device icon in the top left corner, which will open a list of connected devices. Select your Fitbit Ace 2 to access its specific settings.
Find Advanced Settings: Scroll through the options until you find ‘Advanced Settings.’ This section contains various settings including time, date, and units of measurement.
Enter Time Settings: Tap on ‘Time’ or ‘Time Settings’ (the wording may vary based on the app version). This will open a new screen where you can adjust the time on your Fitbit Ace 2.
Step 3: Change the Time
After accessing the time settings, you can now adjust the time on your Fitbit Ace 2. Here are the detailed steps:
Select Time Zone: Tap ‘Time Zone,’ and a list of time zones will appear. Choose the one that corresponds to your current location.
Enable Automatic Time Update: If you prefer to have the time update automatically, turn on the ‘Set Automatically’ switch. This will synchronize the time on your Fitbit with your phone’s time settings.
Manual Time Adjustment: For manual time adjustment, turn off the ‘Set Automatically’ switch. This allows you to enter the desired time and date manually. Tap the hours, minutes, and date to adjust them as needed.
Save Changes: After making your desired adjustments, tap ‘Save,’ ‘Confirm,’ or a similar button (this may vary by app version) to apply the changes. Your Fitbit Ace 2 will now display the new time settings.
Verify the Changes: Look at your Fitbit Ace 2 and ensure that the displayed time matches your selected settings. If not, repeat the above steps or consult Fitbit’s support page for assistance.
