Are you wondering how to change time on Fitbit Charge 3? Follow this step-by-step guide, and you’ll have your Fitbit displaying the correct time in no time!
Step 1: Connect Your Fitbit Charge 3 to the Smartphone App
To make any adjustments to your Fitbit Charge 3, including changing the time, it must be connected to the Fitbit app on your smartphone. Follow these detailed steps:
Download and Install the App: If you don’t have the Fitbit app, you can download it for free from the App Store (for iOS devices) or Google Play Store (for Android devices).
Open the App and Sign In: Open the app, and if you already have an account, sign in with your credentials. If you’re new, you’ll need to create an account by following the on-screen instructions.
Enable Bluetooth: Make sure the Bluetooth setting is enabled on your smartphone. You can usually find this in the settings menu.
Pair the Device: Tap the account icon in the top left corner, and select your Fitbit Charge 3 under “Devices.” Follow the on-screen instructions to pair your device. This might require you to input a code displayed on your Fitbit screen.
Verify Connection: Ensure that the device status shows as “Connected” or “Syncing” within the app. This confirms that the Fitbit Charge 3 is properly linked to your smartphone.
Check out this Amazon-listed Motorola Moto G Stylus. With its 2-day battery life, you can pair it with your Fitbit Charge 3 any time you desire.
Step 2: Check the Time Zone Settings
Setting the correct time zone is crucial for accurate time tracking on your Fitbit Charge 3. Here’s how to adjust it:
Access Device Settings: In the Fitbit app, tap your profile picture, then tap the image of your Fitbit Charge 3 device. This will open your device settings.
Find Time Zone Options: Scroll down to “Advanced Settings,” and tap on “Time Zone.”
Select Automatic or Manual: You can choose “Automatic” to allow the app to determine your time zone based on your smartphone’s settings. If you prefer to select manually, tap on the time zone list and scroll to find your specific region, then tap to select.
Save Changes: Tap “Done” or “Save” to confirm the changes. The selected time zone will now be applied to your Fitbit Charge 3.
Step 3: Sync Your Fitbit to Update the Time
After setting the time zone, you’ll need to sync your Fitbit Charge 3 to apply the changes. Here’s what to do:
Start Sync Process: Return to the main dashboard in the Fitbit app. Pull down on the screen and release to start the sync process.
Monitor Syncing: A spinning icon will appear at the top, showing that syncing is in progress. Wait for it to complete, which may take a few moments depending on your internet connection.
Confirm Sync Completion: Once the spinning icon disappears or a confirmation message is displayed, the sync is complete, and the time on your Fitbit Charge 3 has been updated.
Step 4: Verify the Time
Last but not least, you’ll want to verify that the time has been updated correctly on your Fitbit Charge 3. Follow these steps:
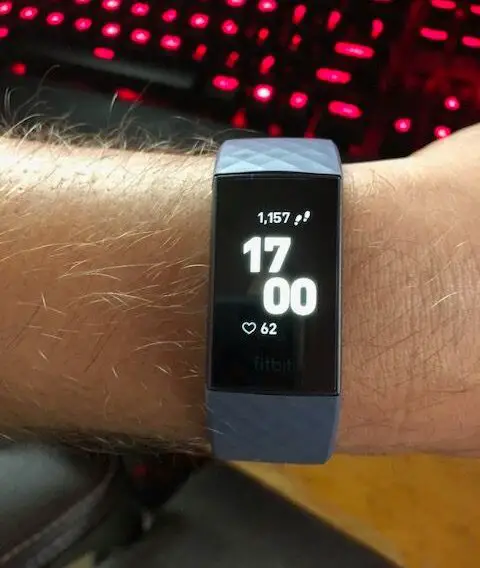
Check Fitbit Display: Look at the time displayed on your Fitbit Charge 3.
Compare with a Reliable Source: Compare the time on your Fitbit with the time on your smartphone or another reliable time source to ensure accuracy.
Repeat Steps if Necessary: If the time is still incorrect, revisit the previous steps to ensure all settings are correct. You may also restart your Fitbit by holding down the button on the side if you continue to experience problems.
Contact Support if Needed: If you still encounter issues, Fitbit’s support team can guide you through additional troubleshooting or provide solutions tailored to your specific situation.
