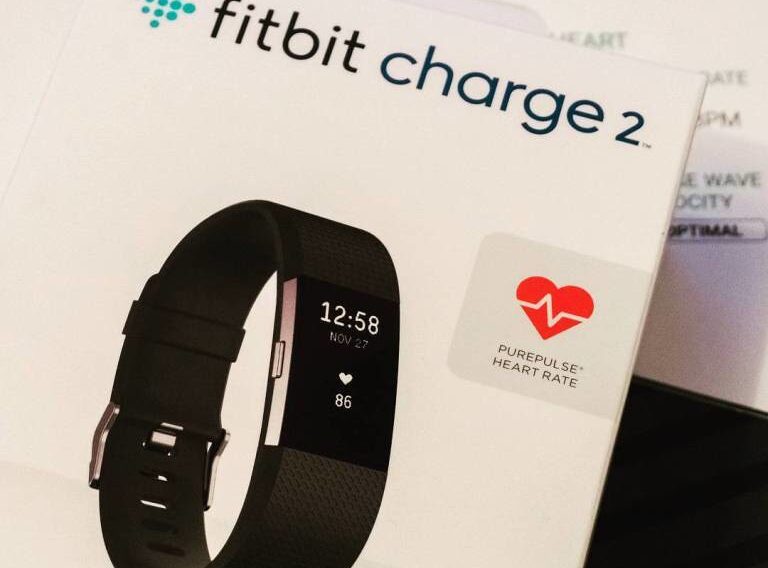
If you want to know how to set time on Fitbit Charge 2, you’ve come to the right place. This in-depth guide will explain every step in detail.
Step 1: Connect Your Fitbit Charge 2 to the Mobile App
This step is crucial to ensure your Fitbit communicates with your mobile device:
Download the Fitbit App: Go to the App Store (iOS) or Google Play Store (Android) and search for the Fitbit app. Tap the download button and wait for the installation to complete.
Open the App: Tap on the Fitbit app icon on your phone to open it. You’ll be greeted with a welcome screen.
Sign In or Create an Account: If you already have an account, enter your credentials. If not, follow the on-screen instructions to create one. This will include providing your email and creating a password.
Select Your Device: Tap the Today tab, then your profile picture. From the list, select Fitbit Charge 2. If it’s not listed, you’ll need to add it by tapping ‘Set Up a Device’ and following the prompts.
Enable Bluetooth: Make sure Bluetooth is enabled on your phone. Go to your phone’s settings, tap ‘Bluetooth,’ and switch it on if it’s off. Your Fitbit must be within range (about 30 feet) of your phone to connect.
Check out this SAMSUNG Galaxy A54 on Amazon if you’re looking to change your phone.
Step 2: Sync Your Device to Update Time Automatically
After connecting your Fitbit, you’ll want to sync it to update the time automatically:
Tap ‘Sync Now’: Within the Fitbit app, find the ‘Sync Now’ option. This could be under your device settings or on the main dashboard, depending on the app version.
Wait for Syncing: Syncing may take a few seconds to a minute. Keep your phone and Fitbit close together during this process. You’ll see a progress indicator to show that syncing is in progress.
Verify the Time: Check the time displayed on your Fitbit Charge 2. It should match the time on your smartphone. If not, try syncing again or restart the Fitbit app.
Step 3: Manually Set Time (If Needed)
If automatic syncing doesn’t work, you can set the time manually:
Access Advanced Settings: In the Fitbit app, go to the Account tab, then tap ‘Advanced Settings.’
Choose ‘Time Zone’: Tap the ‘Time Zone’ option to see a list of available time zones.
Turn Off ‘Set Automatically’: If the ‘Set Automatically’ option is on, tap it to turn it off. This allows you to choose a time zone manually.
Select Your Time Zone: Scroll through the list and tap your correct time zone. This ensures your Fitbit Charge 2 displays the correct time for your location.
Sync Again: Perform a manual sync again by tapping ‘Sync Now’ to ensure that the changes take effect on your Fitbit device.
