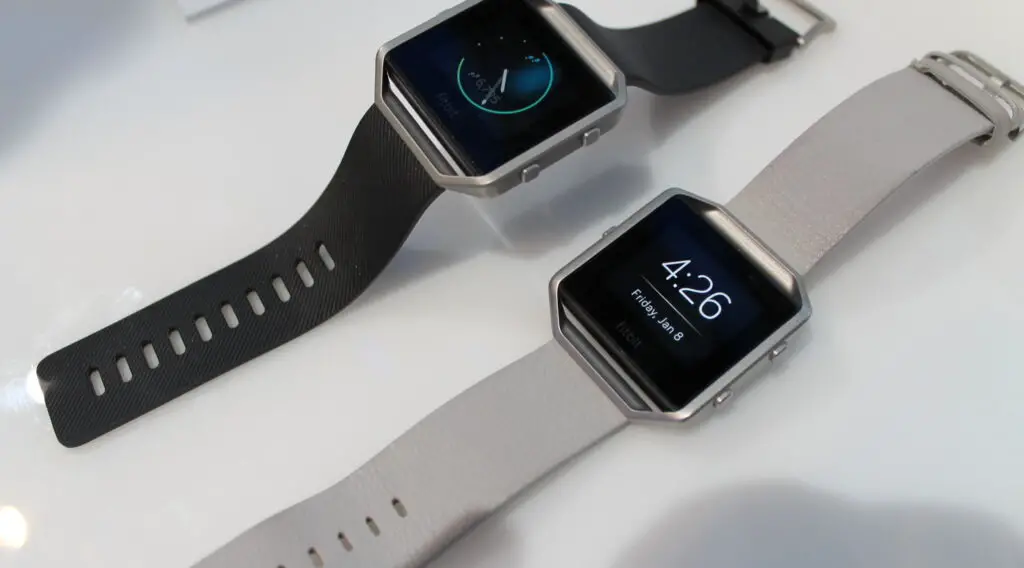
When it comes to personalizing your Fitbit, knowing how to buy Fitbit clock faces is the key to making your device uniquely yours. In this ultimate guide, you’ll learn each and every step involved in purchasing and installing new clock faces for your Fitbit.
Step 1: Open the Fitbit App on Your Phone
If you haven’t installed the Fitbit app on your smartphone, the first step is to visit your phone’s application store. On an iPhone, this is the Apple App Store; on Android devices, it’s the Google Play Store.
In need of a new Android smartphone? We recommend the SAMSUNG Galaxy S23 Ultra Cell Phone available at Walmart.
Search for the ‘Fitbit’ app and download it.
After it’s downloaded, locate the app icon on your phone’s home screen or app drawer. Tap the icon to open the app.
If you haven’t signed in or set up an account, you’ll need to do that first.
Step 2: Navigate to the Clock Faces Section
Once you’re in the Fitbit app, you’ll see your Dashboard, which shows various health metrics like steps, sleep, and more.
To get to the Clock Faces section, first tap your profile picture located in the top-left corner. This takes you to your account settings.
Scroll down to find the ‘Devices’ section. In ‘Devices,’ tap on the image or name of your Fitbit model to open its specific settings. Here, scroll down until you find the ‘Clock Faces’ option and tap it.
Step 3: Browse the Fitbit Clock Faces Store
You are now in the Fitbit Clock Faces Store. This is a marketplace within the Fitbit app where you can browse and purchase various clock faces. The store offers a variety of designs ranging from digital to analog styles, and even some that offer additional functionality like heart rate display.
You can scroll vertically to explore, or use the search bar at the top to find something specific. If you’re looking for free clock faces, these will usually be marked as ‘Free’ right below their preview image.
Step 4: Make a Purchase
After choosing a clock face you like, tap it for a more detailed view. This screen will show you more about what the clock face offers, its price, and customer reviews.
To make a purchase, locate the ‘Buy’ or ‘Purchase’ button. This is usually at the bottom of the screen. Tap on this button, and a pop-up window will appear, confirming that you want to proceed with buying this clock face.
Step 5: Complete the Payment
Upon tapping the ‘Buy’ button, you’ll be directed to the payment screen. This is where you enter your payment information. Options often include credit card, debit card, or sometimes even PayPal.
Input the required fields carefully. Once everything is filled out, a ‘Confirm Purchase’ button will appear. Tap this to finalize the transaction.
You should receive a confirmation, either within the app or via email, indicating the successful purchase.
Step 6: Sync Your Fitbit Device
The final step is to get your new clock face onto your physical Fitbit device. For this, you’ll need to sync your Fitbit with the app.
Return to the Fitbit dashboard by tapping the back arrow multiple times until you arrive at the main dashboard.
Now, to initiate a sync, pull down on the dashboard screen. You’ll see a spinning icon at the top, indicating that syncing is happening.
Once the icon disappears, your new clock face should be on your device. If for some reason it doesn’t appear, try syncing again.
