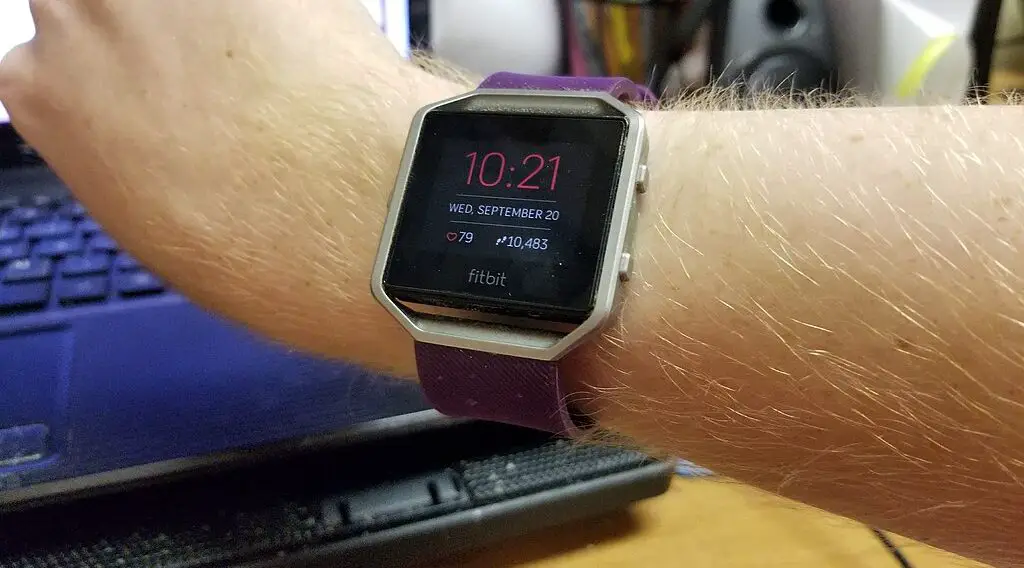
If your Fitbit time keeps changing unexpectedly, this in-depth guide aims to resolve this problem in an easy-to-understand, step-by-step manner.

Reasons Your Fitbit Time Keeps Changing?
Before troubleshooting, it’s essential to understand why your Fitbit time keeps changing. There could be several reasons, such as software glitches, poor syncing with your phone, or even incorrect time zone settings. Knowing the cause can help you choose the right solution.
How to Fix Fitbit Time Keeps Changing
If your Fitbit time keeps changing, try the following to fix the problem.
Check Fitbit Software Version
Fitbit regularly releases updates to fix bugs and improve performance. By updating, you make sure that your device functions optimally.
Open the Fitbit App: Locate the Fitbit app icon on your smartphone and tap it to open.
Check out the SAMSUNG Galaxy Z Fold on Amazon.
Navigate to ‘Today’ Tab: At the bottom of the app interface, you’ll find multiple tabs. Tap on the one labeled ‘Today’.
Access Profile: Your profile picture should be at the top left corner. Tap it to access your account settings.
Go to Devices: Under the account settings, you’ll find a section labeled ‘Devices’. This is where all linked Fitbit devices are listed. Tap on the device that is having the time issue.
Update Software: Scroll down until you see an ‘Update’ option. If an update is available, it will be indicated here. Tap ‘Update’ and follow the on-screen prompts. This usually involves downloading the update and then syncing your device to apply it.
Syncing Issues
When your Fitbit device fails to sync properly with the Fitbit app on your smartphone, it may not update its time settings correctly.
Open Fitbit App: Start by opening the Fitbit app on your smartphone.
Locate the ‘Today’ Tab: At the bottom of the app, tap on the ‘Today’ tab.
Manual Sync: To force a manual sync, pull down from the top of the screen until you see a spinning icon. This indicates that syncing is in progress.
Check Time: After the spinning icon disappears, signaling that syncing is complete, check your Fitbit device to see if the time has been corrected.
Manual Time Settings
If automatic time updates are causing problems, the Fitbit app allows you to manually set the time zone. This can provide a more consistent time reading.
Open Fitbit App: Launch the Fitbit app on your smartphone.
Access Profile: Tap on the ‘Today’ tab and then tap your profile picture to go into account settings.
Select ‘Advanced Settings’: In the account settings, scroll down until you see an option labeled ‘Advanced Settings’. Tap it.
Find ‘Time Zone’: Under ‘Advanced Settings’, you will see an option for ‘Time Zone’. Tap it to access time settings.
Disable Automatic Setting: Toggle off the ‘Set Automatically’ switch. This will allow you to set the time zone manually.
Select Time Zone: A list of time zones will appear. Scroll through it to find your correct time zone and select it.
Sync to Apply: Don’t forget to sync your device after making this change to ensure that it takes effect.
Factory Reset
If none of the above methods work, a factory reset can be a last-ditch effort to resolve time issues. But be cautious: a factory reset will erase all data from your device, including tracked activities, settings, and linked accounts.
Go to Device Settings: Access the settings menu directly on your Fitbit device. This is usually represented by a gear icon.
Find ‘About’: In the settings menu, scroll down until you see an option labeled ‘About’. Tap it to enter.
Locate ‘Factory Reset’: Scroll through the ‘About’ menu until you find ‘Factory Reset’ or ‘Clear User Data,’ depending on your Fitbit model.
Confirm Reset: You’ll be prompted to confirm that you want to reset your device. This is irreversible, so make sure you really want to proceed. Tap to confirm, and your device will restart, erasing all data and restoring to factory settings.