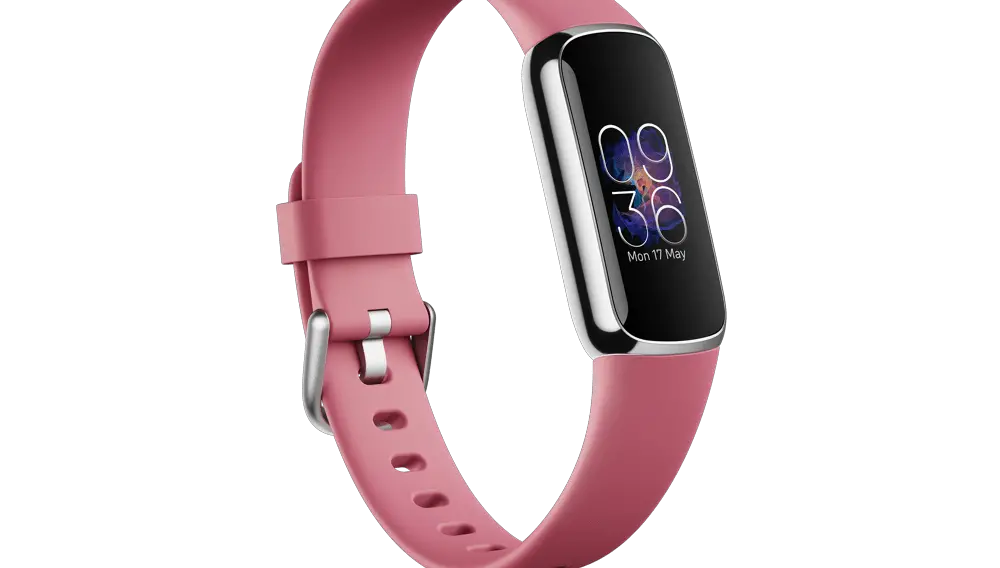
Is your Fitbit Luxe time not updating? In this article, you’ll learn everything you need to know to fix this issue effectively. We’ll cover various troubleshooting steps, from basic settings adjustments to more advanced measures like factory reset.

Why Is Your Fitbit Luxe Time Not Updating?
Understanding the root cause is essential for effective troubleshooting. Several factors can contribute to the Fitbit Luxe time not updating:
Software Glitches: Occasionally, minor software bugs can interfere with timekeeping.
Incorrect Time Zone Settings: If your device is set to a wrong time zone, the time display will be off.
Outdated Fitbit App: Older versions of the app might have issues that have been fixed in newer releases.
Syncing Issues: If the Fitbit Luxe fails to sync properly with your smartphone, the time may not update.
To address these root causes, you’ll have to go through a series of troubleshooting steps, which are detailed below.
Fitbit Luxe Time Not Updating Solutions
Now that we know the reasons behind your Fibit Luxe not updating, let’s discuss solutions.
Check Fitbit Luxe Settings
The first step in troubleshooting involves checking if the Fitbit Luxe is set to the correct time zone. An incorrect time zone can lead to a significant discrepancy in the displayed time. Here is how to adjust the time zone:
Open the Fitbit app on your smartphone. This is usually where your device settings are managed.
Check out the Motorola Moto G smartphone on Amazon.
Navigate to ‘Today’ at the bottom of the screen, then tap on your profile picture at the top left to access your account settings.
Scroll through the list to find your Fitbit Luxe under ‘Devices’ and tap on it.
Locate ‘Advanced Settings’ and tap to open.
You’ll find an option for ‘Time Zone’. Tap it.
Either set it to ‘Automatic’ if you want the device to pick up the time zone based on your phone’s settings or manually select your current time zone from the list.
Restart Your Fitbit Luxe
Often, a simple restart can clear temporary glitches and may solve your problem. Here’s how to safely restart your Fitbit Luxe without losing any data:
Press and hold the button on the side of your Fitbit Luxe.
Keep holding until you see the Fitbit logo, this usually happens within 10 seconds.
Once the logo appears, release the button.
Your device will restart, which might take a few seconds. Wait until you see the home screen again.
Update the Fitbit App
Software updates often include bug fixes and improvements. If your Fitbit Luxe time is not updating, you might be dealing with a known issue that has been resolved in a more recent version of the app. Here’s how to update the Fitbit app:
Open your device’s app store, either Google Play Store for Android or Apple App Store for iPhones.
Search for ‘Fitbit’ in the search bar.
If an ‘Update’ option is visible, it means that you are not using the latest version. Tap ‘Update’ to install the latest version.
Resync Your Device
Syncing your Fitbit Luxe with the Fitbit app ensures that all settings, including time, are updated. If the time is incorrect, a manual sync might solve the issue. Here is how to initiate a manual sync:
Open the Fitbit app on your phone.
Tap ‘Today’ at the bottom and then your profile picture at the top left.
Select your Fitbit Luxe from the list of connected devices.
On the device page, pull down to refresh and initiate a manual sync.
Factory Reset as a Last Resort
If none of the above methods work, your last resort is to perform a factory reset. This will erase all stored data, so proceed with caution. Here’s how:
On your Fitbit Luxe, go to the ‘Settings’ menu. This is usually represented by a gear icon.
Scroll until you find the ‘About’ option and tap it.
Among the options listed, you will see ‘Factory Reset’ or ‘Clear User Data’. Tap this option.
A prompt will ask you to confirm the action. Proceed as directed to complete the reset.