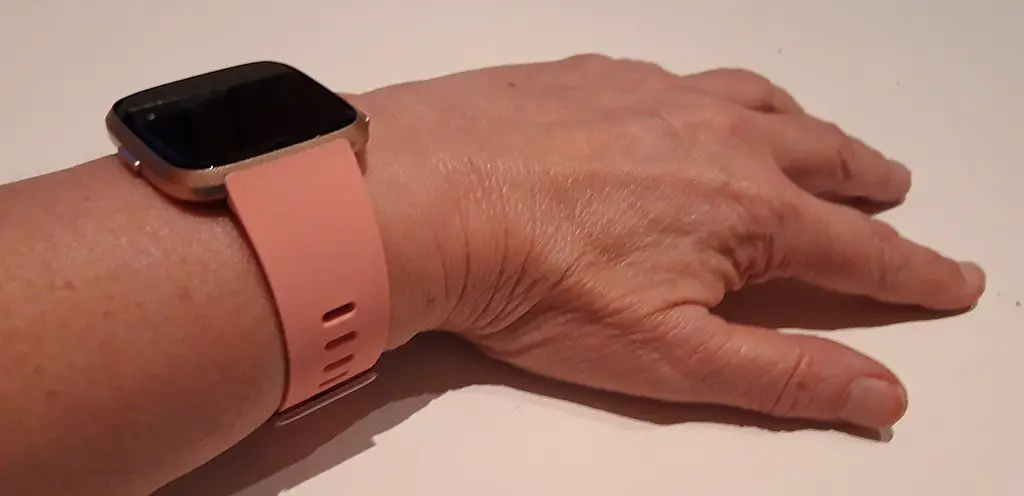
What does “Fitbit change screen timeout” mean? This article will reveal that and walk you through the entire procedure for adjusting the screen timeout, leaving no stone unturned.

Understanding Screen Timeout on Fitbit
Before we delve into the actual steps, it’s crucial to understand what screen timeout is. This feature controls the duration your Fitbit display remains on after your last touch, tap, or swipe.
For example, if the timeout is set for 5 seconds, the screen will go dark 5 seconds after the last interaction. This setting primarily exists to save battery life, but it can also be a matter of personal convenience.
What You’ll Need to Change the Screen Timeout
To successfully change the screen timeout settings on your Fitbit, you’ll need a few essentials:
Your Fitbit Device: Ensure it’s fully charged or has enough battery to last through the process.
The Fitbit App: Installed on a smartphone or tablet. If you don’t have the app, you can download it from the Apple App Store or Google Play Store.
Check out this SAMSUNG Galaxy Tab A8 from Walmart.
Internet Connection: A stable Wi-Fi or data connection is required for the app to sync changes to your Fitbit device.
Detailed Steps to Fitbit Change Screen Timeout
We will now dive into the detailed steps required for changing the screen timeout settings on your Fitbit device. Please follow these steps closely to ensure a smooth and successful adjustment.
Step 1: Open the Fitbit App
The first action you’ll take is to open the Fitbit app on your smartphone or tablet. Navigate to where your apps are listed, and look for the Fitbit app icon. It’s characterized by a blue background with white dots arranged in a diamond shape.
Tap on this icon to launch the app. If you haven’t downloaded the app yet, you can find it in the Google Play Store for Android devices or the Apple App Store for iPhones and iPads. Download and install the app, then sign in to your Fitbit account or create a new one.
Step 2: Access Your Device Settings
Once the Fitbit app is open, you will see your dashboard, which shows various health and fitness metrics like steps taken, heart rate, and more.
To access the settings, look at the top left corner of your screen for your profile picture. Tap on it. This action will take you to a new page listing all Fitbit devices linked to your account.
Find the device whose screen timeout settings you wish to change, and tap on its image or name. This will open yet another page dedicated solely to settings and options for that specific Fitbit device.
Step 3: Find the Screen Timeout Option
You should now be on a page that has several options, possibly including ‘General,’ ‘Notifications,’ ‘Quick Replies,’ etc. Scroll down until you locate an option that says “Screen Timeout” or something closely related, depending on your device’s model.
This option is generally listed under categories like ‘Display’ or ‘General Settings.’ Tap on it to proceed.
Step 4: Adjust the Timeout Duration
After tapping on the “Screen Timeout” option, you will be presented with a list of different time durations. These can vary from as little as 5 seconds to as much as several minutes, again depending on your specific Fitbit model.
If you prefer the screen to stay active longer, perhaps because you often refer to it during workouts, opt for a longer duration. On the flip side, if conserving battery life is your priority, a shorter duration would be ideal. Tap on your preferred time frame to select it.
Step 5: Confirm the Changes
Once you’ve selected the new duration for your screen timeout, the next crucial step is to confirm the changes. You’ll notice a “Save,” “Apply,” or “Confirm” button on this page, usually placed at either the bottom or top. Tapping this button will finalize your new settings.
Your Fitbit device may automatically sync these changes, or it might prompt you to initiate a manual sync. Follow any additional on-screen instructions to complete the process.
Additional Tips for Managing Screen Timeout
While using the mobile app is the primary method for changing screen timeout, some Fitbit models offer an option to change it directly from the device itself. To do this, navigate to the settings menu on the device, look for ‘Screen Timeout’ or a similar option, and choose your preferred duration.
In addition, keeping your device’s firmware up-to-date is crucial for smooth functioning. Updates often bring performance improvements and could offer more customization options, including screen timeout settings.