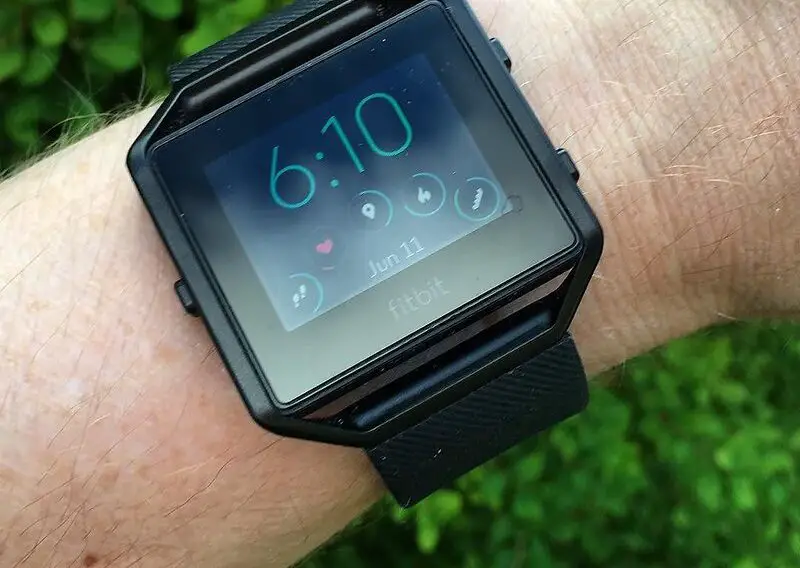
This comprehensive guide aims to address every aspect of the Fitbit Blaze time update process, helping you set your device to the correct time with ease.
Prerequisites for a Smooth Fitbit Blaze Time Update
Before attempting to update the time, make sure you have the following:
Your Fitbit Blaze: Ensure that it’s fully charged or has sufficient battery life.
A Compatible Smartphone: Android or iOS with the Fitbit app already installed.
Speaking of compatible smartphones, check out this SAMSUNG Galaxy S21 FE on Amazon.
Internet Connection: Wi-Fi or cellular data is needed to sync your device.
In addition, if your Fitbit Blaze is not already paired with your smartphone, you’ll need to do so. Simply open the Fitbit app, follow the on-screen instructions for ‘Set Up a Device’, and choose ‘Blaze’ from the list of devices to initiate the pairing process.
A Step-By-Step Guide to Perform Fitbit Blaze Time Update
If you’ve come this far, it means you’ve prepared your device and mobile app for the time update. Now, it’s time to get into the nitty-gritty of actually updating the time on your Fitbit Blaze. Don’t worry; we’ve broken down the entire process into easy-to-follow steps.
Step 1: Open the Fitbit App
The first step is opening the Fitbit app on your mobile device. This is where all the magic happens.
Navigate to the home screen of your smartphone, scroll through your apps, and tap the Fitbit app icon to open it. The icon usually resembles a diamond-like shape in shades of blue and white.
Step 2: Go to the Dashboard
Once the app opens, you’ll land on the Fitbit dashboard. This is the central hub where you’ll see a snapshot of your daily activities, sleep data, and more. The dashboard icon is typically represented by a house-like shape found at the bottom of the app screen.
If you can’t find it, make sure you’re signed in to your Fitbit account. If you’re not signed in, the dashboard won’t be accessible.
Step 3: Access Device Settings
On the dashboard, you should see an icon or image that represents your Fitbit Blaze device, often situated towards the top of the screen.
Tap on this icon to enter the device settings. This is where you can tweak various settings related to your Fitbit Blaze, including the time.
Step 4: Find ‘Advanced Settings’
After entering the device settings, you’ll be presented with multiple options, such as ‘Notifications’, ‘Apps’, and more.
Scroll down until you find the ‘Advanced Settings’ option. It’s usually located towards the bottom of the list.
Tap on ‘Advanced Settings’ to enter a submenu with additional settings.
Step 5: Select ‘Time Zone’
In the ‘Advanced Settings’ submenu, you’ll see a variety of options, including ‘Time Zone’. Tap on this to proceed to the list of available time zones.
The importance of selecting the correct time zone cannot be overstated, as it impacts not just the clock but also your activity and sleep data.
Step 6: Choose Your Time Zone
Once you tap ‘Time Zone’, a list of available time zones will appear.
Scroll through this list and find the one that corresponds to your current geographical location. Tap to select it.
If you’re unsure of your time zone, you can easily look this up on the internet or on your smartphone’s general settings.
Step 7: Sync Your Device
After setting your time zone, go back to the dashboard by tapping the house icon or by swiping right.
To update the time on your Fitbit Blaze, you need to sync it with the Fitbit app.
You can manually initiate a sync by pulling down on the dashboard screen until you see a spinning circle. This means the app is syncing with your device.
Once the circle disappears or turns into a green checkmark, the time on your Fitbit Blaze should be updated.
And there you have it! You’ve successfully updated the time on your Fitbit Blaze. Now you can continue with your fitness tracking, knowing that your time is accurately set.
Troubleshooting Common Issues With Fitbit Blaze Time Update
If you encounter problems while updating the time, don’t worry. First, check your internet connection. A weak or unstable connection can hinder the update. If everything seems fine but the issue persists, try the following:
Restart the Fitbit App: Close the app completely and open it again. This often resolves minor glitches.
Restart Your Fitbit Blaze: Turn off your device, wait a minute, and turn it back on. This can clear internal issues that may prevent the time update.
Manual Sync: In some instances, a manual sync from the dashboard may resolve the issue. Pull down on the dashboard to initiate this.
Why You Need to Keep Your Fitbit Blaze Time Updated
Having the correct time on your Fitbit Blaze is not just about knowing what hour of the day it is. It affects various functionalities of your device, such as activity tracking, sleep analysis, and timely notifications. Even a minor time discrepancy can distort your fitness data, so it’s crucial to keep the time updated for an accurate and smooth user experience.