If you are struggling with how to update Fitbit time on your device, this guide is for you. We’ve broken down the process into simple, easy-to-follow steps that can be managed by anyone, regardless of technical proficiency. Whether you’re using a smartphone or a computer, the process is accessible and manageable.
Step 1: Connect Your Fitbit to Your Device
This step is crucial for making any changes to your Fitbit, including updating the time. Without a connection between the Fitbit and your device, the settings can’t be changed.
Open the Fitbit App on Your Device:
If you’re using a smartphone or tablet, make sure you have the Fitbit app installed. If not, download it from the Google Play Store or Apple App Store.
Opening the app takes you to the login screen or home page if you’re already logged in.
Log in to Your Fitbit Account:
If you’re new to Fitbit, you’ll need to create an account.
If you have an account, simply enter your email address and password.
Select Your Fitbit Device:
In the app, you’ll see a profile icon; tap on it to access your account details.
Select your Fitbit device from the list. If you haven’t connected this device before, it may guide you through a pairing process.
Follow On-Screen Instructions:
The app may guide you through additional steps specific to your Fitbit model.
Ensure Bluetooth is turned on and that your Fitbit is close to your device for successful pairing.
Step 2: Verify Time Zone Settings
Time zone verification ensures that your Fitbit shows the correct time for your location.
Tap on Your Device’s Name Within the Fitbit App:
This takes you to a specific menu related to your Fitbit device where you can change various settings.
Select ‘Advanced Settings’ from the Menu:
This opens a list of advanced settings, including those related to time and date.
Choose ‘Time Zone’ and Select the Correct One:
Find and tap ‘Time Zone’.
Scroll through the list to find the time zone corresponding to your location.
Selecting the correct time zone ensures that your Fitbit will display the correct time.
Enable ‘Automatic’ Time Zone Setting (if available):
If this option is present, it will automatically update the time zone based on your geographic location.
Step 3: Sync Your Fitbit
Syncing ensures that all the changes made in the Fitbit app, such as updating the time zone, are applied to the Fitbit device.
Go Back to the Main Screen of the Fitbit App:
Navigate to the home page where you can find the sync option.
Find the Sync Icon and Tap It:
The sync icon is often represented by two circular arrows.
Tap it to initiate the sync process.
Wait for the Sync Process to Complete:
Syncing may take a few seconds to a minute.
You might see a notification or progress bar indicating that the sync is in progress.
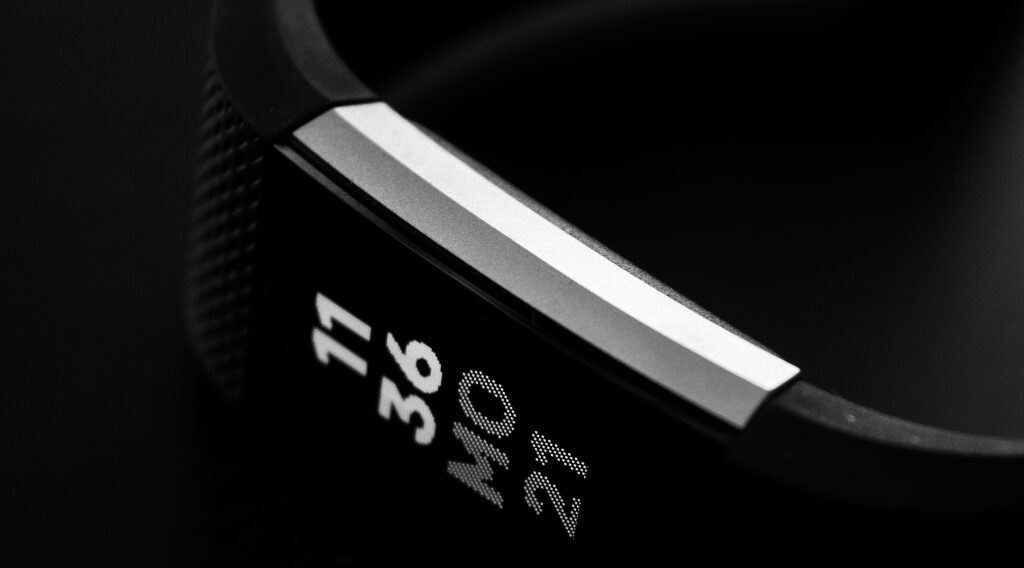
Check Your Fitbit Device to Make Sure the Time Has Been Updated:
Once the sync is complete, the changes made in the app should be reflected on your Fitbit device.
Confirm that the time on your Fitbit matches your local time.
