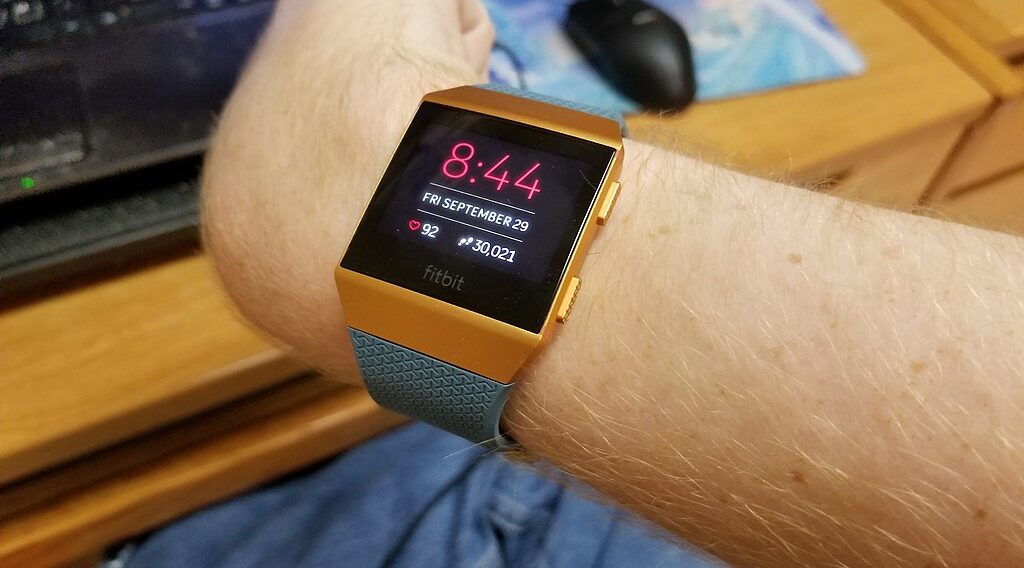
If you are puzzled about how to set correct time on Fitbit, this guide is tailor-made for you. Here, we will walk you through each step to ensure that your device is set up perfectly.

Automatic vs. Manual Time Setting
Before diving into the how-tos, it’s essential to understand that Fitbit offers two methods for setting the time—automatic and manual.
The automatic method syncs the time from your connected smartphone, making it unnecessary for you to adjust it manually. Manual setting, on the other hand, allows you the freedom to adjust time according to your needs.
Steps on How to Set Correct Time on Fitbit Automatically
The following steps will guide you on how to set correct time on Fitbit automatically:
Open the Fitbit App: Start by locating the Fitbit app on your smartphone. The app’s icon usually looks like a diamond-shaped blue background with white dots. Tap on it to launch the application.
We recommend this SAMSUNG Galaxy S23 Ultra listed on Amazon if you need a smartphone that is compatible with the Fitbit app.
Navigate to the ‘Today’ Tab: Once the app is open, you’ll be presented with a dashboard. At the bottom of your screen, you’ll notice various icons. One of them is labeled ‘Today’. Tap it to navigate to the main dashboard that shows your day’s stats and activities.
Go to Your Profile: On the top left corner of the dashboard, you’ll see your profile picture. It’s important to tap this because your profile houses all the settings linked to your Fitbit devices.
Select Your Device: After tapping on your profile, a new screen appears showing a list of devices connected to your Fitbit account. Choose the device whose time you want to set automatically. Just tap on it to open its specific settings.
Access Advanced Settings: Scroll down until you find an option labeled ‘Advanced Settings’. Tap on this option to access a list of additional customizable settings, including time management.
Toggle On ‘Set Automatically’: In ‘Advanced Settings’, you will see an option called ‘Set Automatically’. This is a toggle switch, usually gray when turned off and green when turned on. If it’s off, tap the toggle to turn it on. This will sync your Fitbit’s time settings with your smartphone.
Sync Your Fitbit: To make sure that the new time setting is applied, you need to sync your Fitbit device with your app. To do this, go back to the main dashboard and pull down the screen. You’ll notice a small spinning icon that indicates your device is syncing. Wait until it’s done to confirm that the changes have been applied.
Steps on How to Set Correct Time on Fitbit Manually
The following steps will guide you on how to set correct time on Fitbit manually:
Open the Fitbit App: The first step is identical to the automatic setting. Locate the Fitbit app on your smartphone and tap it to open.
Access the ‘Today’ Tab: Once the app is open, tap the ‘Today’ tab located at the bottom of your screen. This is where your activity summary for the day is displayed.
Tap Your Profile Picture: Your profile picture is situated at the top-left corner of the dashboard. Tap it to enter the settings for your Fitbit account and connected devices.
Select Your Device: A list of Fitbit devices associated with your account will be displayed. Select the specific device you want to set the time for by tapping it.
Go to ‘Advanced Settings’: Scroll down the screen until you find the ‘Advanced Settings’ option. Tap it to open a new screen with various advanced settings.
Toggle Off ‘Set Automatically’: In the Advanced Settings, find the ‘Set Automatically’ toggle switch. If it is turned on (usually indicated by a green color), tap it to turn it off. This will allow you to manually set the time.
Select ‘Time Zone’: Once ‘Set Automatically’ is off, a new option labeled ‘Time Zone’ will appear. Tap on this to proceed.
Choose Your Time Zone: A list of available time zones will appear. Scroll through until you find the one that corresponds to your current location. Tap on it to select it.
Sync Your Fitbit: The final step is crucial. Go back to the main dashboard by tapping the ‘Today’ tab. Then, pull down to refresh and initiate a sync. A spinning icon will appear indicating the syncing process. Wait for it to complete, confirming that your manual time setting has been applied.
