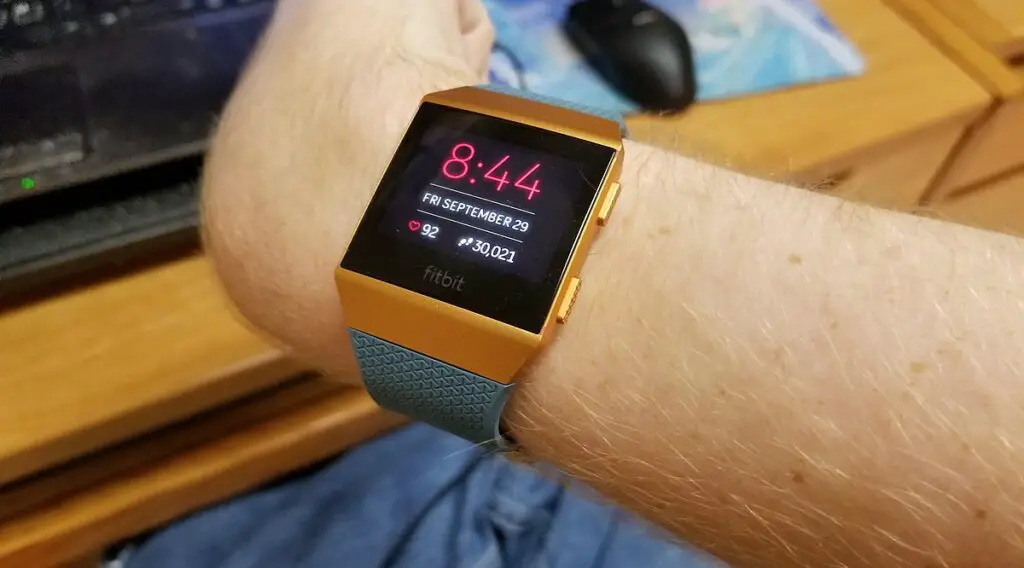
In this article, we’ll guide you on how to change time to daylight savings on Fitbit Versa, Charge, and Charge 4 in easy-to-follow steps.

Does Fitbit Change Time Automatically for Daylight Savings?
Yes, Fitbit devices generally update the time automatically based on your smartphone’s time zone settings. This feature is quite handy as it reduces the manual work involved in adjusting the time.
However, there are instances where the automatic update might not function as expected, necessitating a manual adjustment.
In the following sections, we’ll guide you on how you can manually update the time on your Fitbit device.
How to Change Time to Daylight Savings on Fitbit Versa
In this section, we’ll guide you on how to change time to daylight savings on Fitbit Versa:
Start with your smartphone: Ensure your smartphone, which is paired with your Fitbit Versa, is within reach and charged.
Speaking of smartphones, check out this SAMSUNG Galaxy Z Flip 5 listed on Amazon.
Open the Fitbit app on your smartphone: Locate and tap the Fitbit app icon on your phone’s home screen or app drawer to open the app. This is the platform where you can control all settings related to your Fitbit device.
Go to your profile: On the upper left corner of the app interface, you will find your profile picture. Tap on it to go to your account settings where you will have access to various options and settings for your devices.
Select ‘Versa’ from your list of devices: In your account settings, you will find a list of all devices paired with the Fitbit app. Scroll through this list to find ‘Versa’ and select it to access its individual settings and options.
Access ‘Advanced Settings’: After selecting Versa, scroll down through the options to find the ‘Advanced Settings’ menu. Tap on it to explore a variety of settings that control the advanced features of your device.
Turn off the ‘Automatic time zone’: Within the ‘Advanced Settings’, you will find an option labeled ‘Automatic time zone’ accompanied by a toggle button. By default, this option is enabled to allow your Fitbit to automatically update the time based on your phone’s time settings. Toggle this option off to manually set the time.
Set the correct time zone manually: Once you disable the automatic setting, the app will allow you to manually select your time zone from a list. Scroll through the list to find the correct time zone for your location during daylight savings. Be sure to choose a city or region in your time zone that observes daylight savings time.
Sync your Fitbit Versa: The final step is to sync your Fitbit Versa with the app to apply the changes made. You can do this by going back to the main screen of the app and pulling down to refresh and initiate the sync process. Ensure your Fitbit is close to your smartphone during this process to prevent any connectivity issues. Check your Fitbit Versa to see if the correct time is now displayed.
How to Change Time to Daylight Savings on Fitbit Charge and Charge 4
The steps on how to change time to daylight savings on Fitbit Charge and Charge 4 follow a similar procedure to that of Fitbit Versa. We have broken down each step into simple explanations:
Ensure your smartphone is available: Before you start, make sure your smartphone which is paired with your Fitbit device is within reach and adequately charged.
Open the Fitbit app: Locate the Fitbit app on your smartphone, which would be the control center for your Fitbit device settings. Open the app by tapping on its icon.
Access your profile: In the Fitbit app, tap on your profile picture situated at the upper left corner to access a menu where you can see all your personal details and settings related to your Fitbit devices.
Choose your Fitbit device: Under the account settings, locate the list of paired devices. Find ‘Charge’ or ‘Charge 4’ from the list and select it to view and change its settings.
Go to ‘Advanced Settings’: Once you have selected your device, scroll through the different options available until you find ‘Advanced Settings’. Tap on it to view more detailed settings for your device.
Disable ‘Automatic time zone’: In the ‘Advanced Settings’, you will find an option to enable or disable ‘Automatic time zone’. It is enabled by default to synchronize the time with your smartphone automatically. Turn this feature off to manually set the time for daylight savings.
Select the appropriate time zone: With the automatic setting off, you will now have the option to choose your time zone manually from a list of different regions. Find and select the appropriate time zone that corresponds with your location during daylight savings.
Sync your Fitbit device: After setting the time zone, ensure to sync your Fitbit device with the app to implement the changes. To sync, return to the main page of the app, pull down to refresh, and start the syncing process. Keep your Fitbit close to your smartphone to maintain a stable connection during syncing. Verify on your Fitbit device if the time has been updated correctly.
Verifying the Changes Post Adjustment
After adjusting the time settings, it becomes essential to verify if the changes have been implemented accurately. This ensures that you avoid any discrepancies in time. Follow these simple steps:
Check the time displayed on your Fitbit device: Start by looking at the time displayed on your Fitbit device to ascertain if it showcases the correct time.
Re-sync if necessary: If the time displayed is incorrect, attempt re-syncing your device with the app to update the time settings.
Restart your Fitbit device if necessary: As a last resort, if the time is still incorrect, restart your Fitbit device and check the time again.