Wondering how to change time on Fitbit Zip? You’re in the right place! Follow the instructions below to set the correct time and continue tracking your fitness activities seamlessly.
Step 1: Connect Your Fitbit Zip to Your Mobile Device
Ensuring a proper connection between your Fitbit Zip and your mobile device is the foundation for all other operations. Here’s how:
Open the Fitbit App: Find the Fitbit app on your mobile device and tap to open it. If you haven’t installed it, download it from the App Store or Google Play Store.
Enable Bluetooth: Your Fitbit Zip communicates with your mobile device via Bluetooth, so make sure Bluetooth is turned on in your device’s settings.
If your current mobile device is having issues connecting to your Fitbit Zip, you can get this Amazon-listed Google Pixel 6 5G phone.
Navigate to Devices: Inside the Fitbit app, locate the ‘Devices’ section. This is where you can manage your connected Fitbit devices.
Select Fitbit Zip: Find your Fitbit Zip in the list. If it’s not there, you’ll need to pair it by following the on-screen instructions. This usually involves pressing and holding a button on the Zip until it’s recognized.
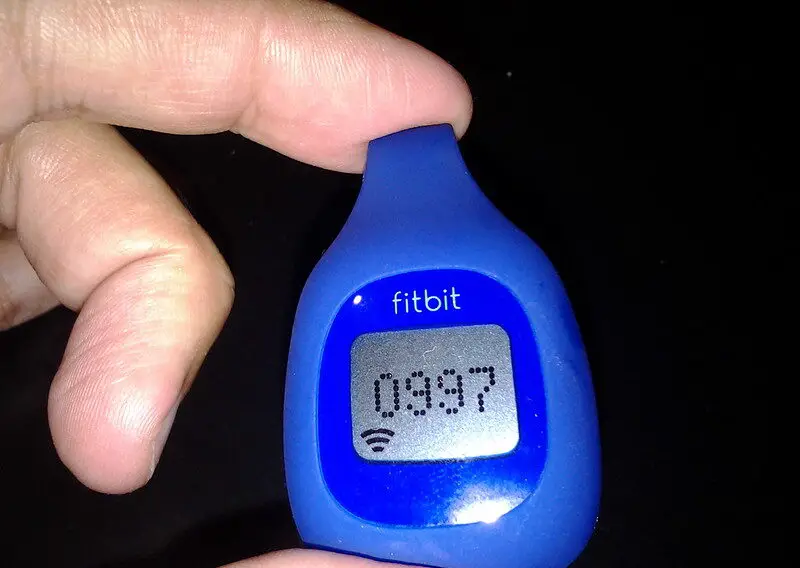
Confirm Connection: Check that the Fitbit Zip is displaying current data to ensure it’s connected to the app.
Step 2: Open the Settings Menu
Accessing the settings menu lets you adjust various aspects of your Fitbit Zip, including the time. Here’s what to do:
Tap on Fitbit Zip in the App: In the Fitbit app, tap on your Fitbit Zip to enter the device’s specific settings page.
Select ‘Settings’ or ‘Gear’ Icon: Look for an icon that represents settings. It might be labeled ‘Settings’ or depicted as a gear icon, depending on your app’s version.
Find the Time Option: Scroll through the various settings until you find the time adjustment options. This is where you’ll make the necessary changes.
Step 3: Change the Time
Changing the time on your Fitbit Zip involves a few key steps. Here’s how to proceed:
Locate the ‘Time’ Option: In the settings menu, find the ‘Time’ option. This is where you’ll make the adjustments.
Choose Manual or Sync: You can either set the time manually or sync it with your mobile device. Choose the option that fits your needs.
Adjust Manually: If choosing manual adjustment, use the selectors to set the correct hour, minute, and AM/PM. This may involve tapping arrows or typing numbers.
Sync with Mobile Device: If you choose to sync, the Fitbit Zip will match the time on your mobile device. Ensure your device’s time settings are correct first.
Follow On-Screen Instructions: Carefully follow any additional prompts on the screen to confirm the changes.
Step 4: Confirm and Enjoy
After adjusting the time, it’s important to save the changes and verify that everything is correct:
Save Changes: Press the ‘Save’ or ‘Confirm’ button to ensure that the time changes are saved to your Fitbit Zip.
Exit Settings: Return to the main screen of the Fitbit app by exiting the settings menu.
Verify Time on Fitbit Zip: Look at your Fitbit Zip’s display to ensure that the time is now correct. The display should reflect the new time.
Enjoy Your Fitbit Zip: With the time set correctly, you can continue to enjoy tracking your fitness goals. If there are any discrepancies, don’t hesitate to repeat the steps or consult Fitbit’s official support.
