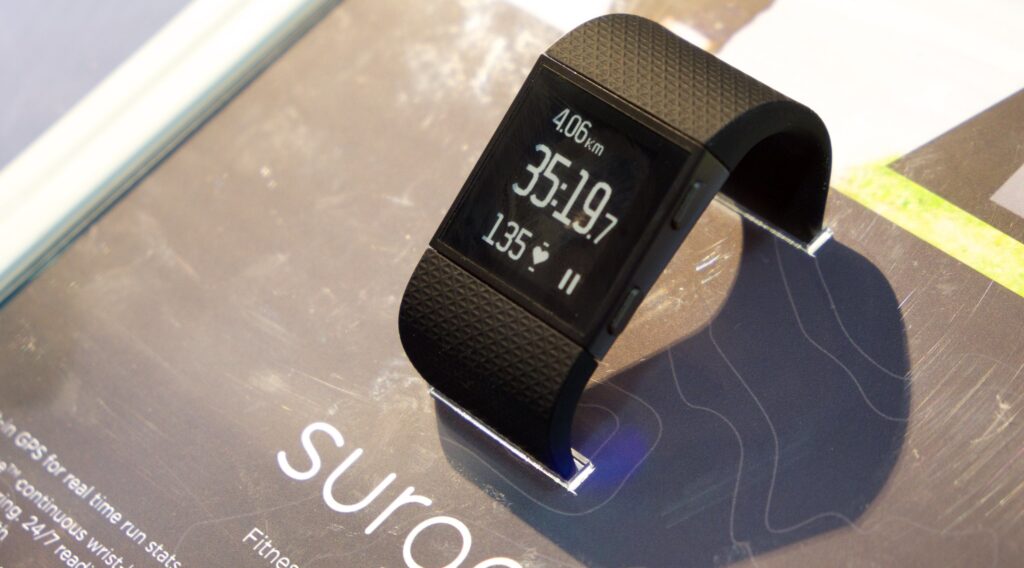
This article will guide you on how to change time on Fitbit Surge in easy-to-follow steps.
Step 1: Sync Your Fitbit Surge with the Fitbit App
Firstly, ensure your Fitbit Surge is in range of the smartphone with the Fitbit app installed. Bluetooth should be enabled on your phone to facilitate this connection.
Open the Fitbit app and log in. If your Surge isn’t listed under ‘My Devices,’ you’ll need to add it. Tap the ‘Account’ icon, then ‘Set Up a Device,’ and select ‘Surge.’
Follow the prompts to pair your Surge to your phone. This may involve pressing a button on your Surge or confirming a code displayed on your phone.
Once paired, your Surge will automatically sync data and time settings with your phone, provided it remains within Bluetooth range.
Check out this AT&T Motorola Moto G Stylus 2023 smartphone available at Walmart.
Step 2: Check for Automatic Time Zone Setting
In the Fitbit app, tap on the ‘Today’ tab and your profile picture, then select your Surge device. Under the device settings, you will find an option named ‘App Settings.’
Within this menu, there is a ‘Time Zone’ section. Here, ensure the ‘Set Automatically’ option is enabled. This allows your Fitbit Surge to automatically update its time based on your smartphone’s current location and time zone.
This feature is particularly useful for those who travel, as it adjusts the time according to your geographical location without manual intervention.
Step 3: Manually Change the Time Zone (If Needed)
If you prefer to set the time zone manually or the automatic setting is not functioning correctly, go back to the ‘Time Zone’ section in the app’s ‘App Settings.’ Turn off the ‘Set Automatically’ option, and a list of time zones will appear.
Scroll through the list and select the time zone that corresponds to your current location. This manual setting is beneficial if you are in a location with an unconventional time zone or if your phone’s location services are not reliable.
Step 4: Sync Your Fitbit Surge Again
After adjusting your time zone settings, it’s important to sync your Fitbit Surge with the app to apply these changes.
To initiate a manual sync, navigate to the ‘Today’ tab in the app, and pull down on the screen. A spinning icon will appear, indicating the sync process.
Keep your Surge close to your phone during this process. Once the icon disappears, the sync is complete. This ensures that your Surge updates its internal clock to reflect the new time zone settings.
Step 5: Verify the Time on Your Fitbit Surge
Finally, check the time displayed on your Fitbit Surge. If it reflects the correct time zone, your setup is successful. If not, ensure your phone’s own time settings are correct and retry the sync process.
In rare cases, restarting both your Fitbit Surge and your smartphone can resolve sync issues. To restart your Surge, press and hold the left and bottom right buttons for about 10 seconds until you see the Fitbit logo. Then release the buttons and allow your Surge to restart.
With these detailed steps, you can confidently manage the time settings on your Fitbit Surge, ensuring accurate time tracking for your daily activities and fitness goals.