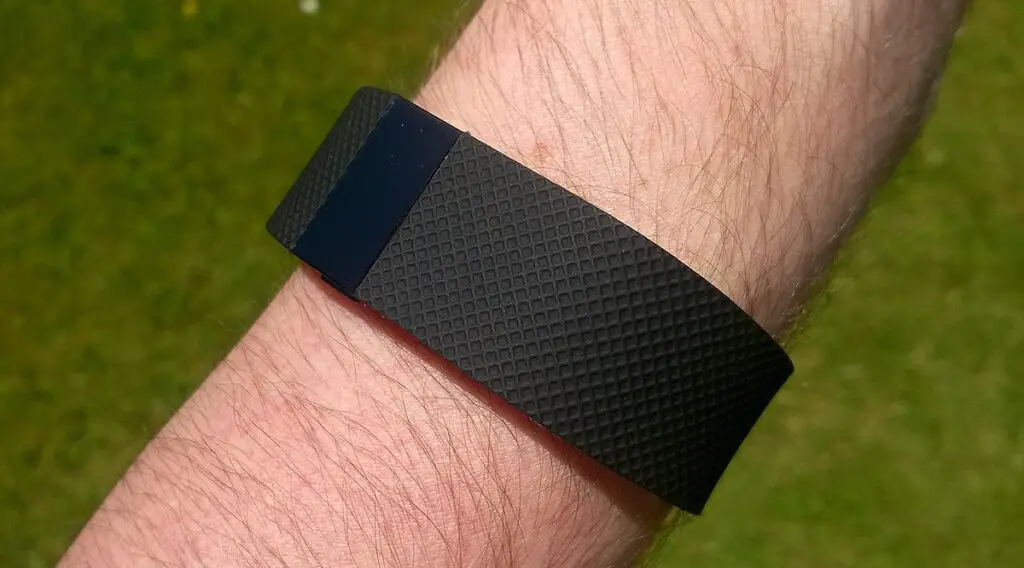
Knowing how to change time on Fitbit Charge 4 is essential for those who travel or face daylight saving adjustments. This step-by-step guide aims to make the process easy and stress-free for everyone, even if you’ve never tinkered with a Fitbit before.

Step 1: Connect Your Fitbit Charge 4 to the Fitbit App
Before you can change the time on your Fitbit Charge 4, you must first connect it to the Fitbit App. This connection allows your device to communicate with your smartphone.
Downloading the Fitbit App: Visit the Google Play Store or Apple App Store on your smartphone and search for the Fitbit App. Download and install it.
Creating an Account: Open the app and either log in with your existing Fitbit account or create a new one by following the on-screen instructions.
Pairing Your Device: Click on the device icon (usually found at the top left) and choose ‘Add a Device.’ Select ‘Charge 4’ and follow the on-screen instructions to pair via Bluetooth. Ensure that Bluetooth is enabled on your phone.
This step ensures that your Fitbit Charge 4 is connected to your Fitbit account, allowing you to access settings and synchronize data.
Step 2: Sync Your Fitbit Charge 4 with Your Smartphone
Syncing your Fitbit Charge 4 with your smartphone allows it to mirror your phone’s time. Here’s a detailed explanation:
Open the Fitbit App: Tap the app’s icon on your smartphone to open it.
Select Your Device: Tap on your device icon within the app, usually found at the top of the dashboard.
Sync Now: Tap ‘Sync Now.’ Wait for the ‘Last Sync’ time to update, confirming the successful sync.
This synchronization aligns all data, including the time, between your Fitbit Charge 4 and your smartphone.
This Google Pixel 7a on Amazon has 5G, Bluetooth, Wi-Fi, USB, and NFC.
Step 3: Access Time Settings on the Fitbit App
Adjusting the time settings on your Fitbit Charge 4 requires a few steps within the Fitbit App:
Access Account Details: Tap on your profile icon in the top left corner of the dashboard.
Select Device: Tap ‘Charge 4’ from your list of devices to access its specific settings.
Advanced Settings: Tap ‘Advanced Settings’ to find more options, including time settings.
Set Time Zone: Choose ‘Time Zone,’ and either select the correct zone or use the ‘Set Automatically’ feature, which uses your phone’s location to set the time zone.
These actions allow your Fitbit to reflect the correct time for your location, even if you travel between different time zones.
Step 4: Manually Sync to Update the Time
If the time doesn’t update automatically, you’ll need to manually sync your Fitbit:
Return to Dashboard: Navigate back to the main dashboard in the Fitbit App.
Select Device: Tap your device image at the top of the dashboard.
Initiate Manual Sync: Pull down on the dashboard screen to initiate the manual sync.
Wait for Completion: A message such as ‘Sync Complete’ will appear once it’s done, and the time should update on your device.
Manual synchronization ensures that the time on your Fitbit Charge 4 reflects the new settings you’ve adjusted in the app.
Step 5: Verify the Time on Your Fitbit Charge 4
The final step is to verify that the time on your Fitbit Charge 4 matches your selected time zone:
Check Display: Look at the main display of your Fitbit Charge 4. It should now show the updated time.
Compare with Other Sources: Compare the time on your Fitbit with a reliable source like your smartphone or computer to ensure accuracy.
Repeat if Necessary: If there is a discrepancy, you may need to repeat the steps or consult Fitbit Support for further assistance.
This verification ensures that the time on your Fitbit Charge 4 is accurate, allowing you to rely on it without concerns.
