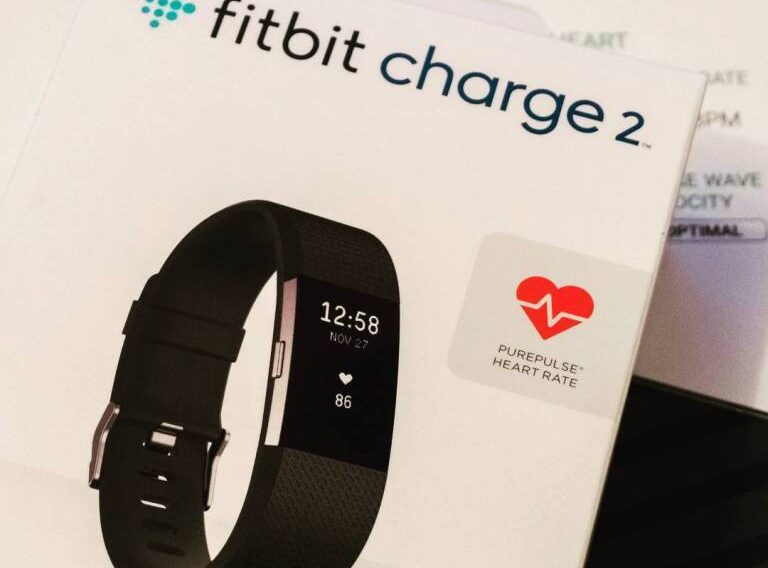
Whether it’s a change in daylight savings time or a move to a different time zone, it’s essential to have the correct time on your device. This guide provides step-by-step instructions on how to change time on Fitbit charge 2 that even a complete novice can follow.
Step 1: Sync Your Device
Syncing your Fitbit Charge 2 is the first step in making sure that your device is communicating with the Fitbit app on your smartphone. Here’s what to do:
Open the Fitbit app on your phone: Find the Fitbit icon on your phone’s home screen or app drawer. Tap on it. If you don’t have the app installed, download it from your device’s app store.
The Amazon-listed Google Pixel 7a is a versatile smartphone with amazing app-compatibility.
Login to your Fitbit account: If you’re not already logged in, you’ll need to enter your email address and password. If you don’t have an account, you’ll need to create one by following the on-screen instructions.
Navigate to the device you want to sync: Once logged in, look for a picture or name of your device (Fitbit Charge 2). It might be on the dashboard or under a ‘Devices’ tab. Tap on it to select it.
Tap ‘Sync Now’: This button begins the process of updating your Fitbit with any changes made on the app, including time settings. You may see a loading symbol; wait for it to complete. If any errors occur, try restarting the app and your device.
Step 2: Change the Time Settings
Changing the time settings on your Fitbit Charge 2 is done through the app on your smartphone. Here’s how to adjust the time:
Go to the ‘Settings’ in the Fitbit app: This is often represented by a gear icon. If you’re having trouble finding it, consult the app’s help section.
Select ‘Advanced Settings’: This option may be listed under ‘Device Settings’ or a similar menu. It allows you to access more detailed configurations, including time settings.
Tap on ‘Time Zone’: This opens a list of time zones. Here, you can manually pick your time zone or set it to adjust automatically based on your phone’s location.
Select the appropriate time zone or switch on ‘Automatic’: Manual selection is best if you know your exact time zone. ‘Automatic’ is convenient as it updates the time zone based on where you are, useful if you travel frequently.
Sync the device again to apply the changes: Repeating Step 1 ensures that the time changes are sent to your Fitbit Charge 2. Check to make sure the time updates on your device’s display.
Step 3: Confirm the Changes
It’s essential to confirm that the changes have taken effect on your Fitbit Charge 2. Here’s how:
Look at the device’s display to check the time: After syncing, the display on your Fitbit Charge 2 should show the correct time. Make sure it matches the current time in your location.
If the time is still incorrect, repeat the steps or contact Fitbit support: If repeating the steps doesn’t solve the problem, reach out to Fitbit’s customer support. They can guide you through more advanced troubleshooting or identify if there is a problem with your device.

