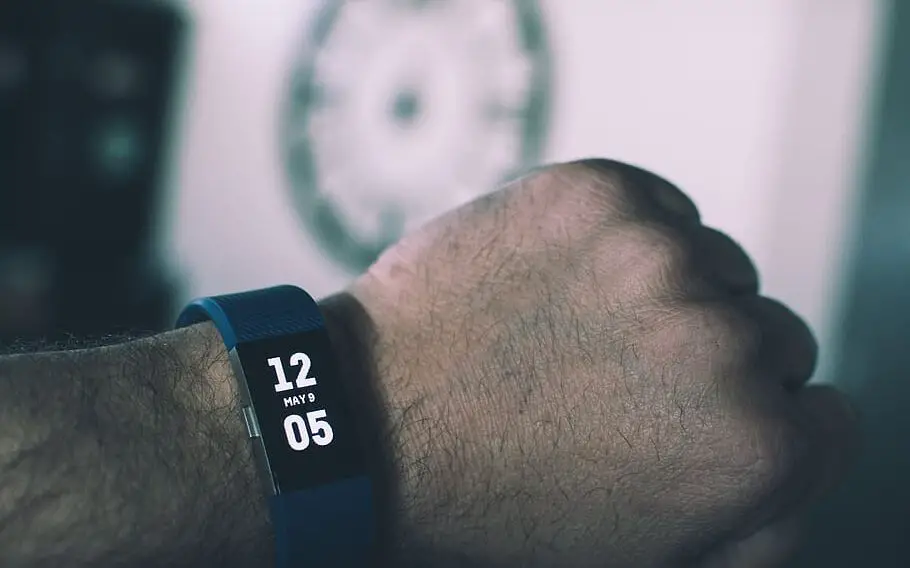
This comprehensive guide will walk you through the process of Fitbit time change when traveling, ensuring that you keep your device up to date, no matter where you are.

Understanding Automatic vs. Manual Time Update
Before diving into the manual steps, it’s good to know that some Fitbit models have an automatic time update feature. This feature syncs your Fitbit’s time with the time on your paired smartphone.
The Google Pixel Fold listed on Amazon is a smartphone you can trust while crossing multiple time zones.
So, if your smartphone updates its time automatically when traveling, your Fitbit should too. However, not all Fitbit devices have this feature, or you may want to turn it off for some reason. In such cases, manual updating is necessary.
Manual Steps for Fitbit Time Change When Traveling
If your Fitbit device doesn’t automatically update its time when you travel, you’ll need to adjust it manually.
The following steps are designed to guide you through this process with as much detail as possible. Don’t worry; each step is easy to follow, even if you’re not tech-savvy.
Access the Fitbit App: First, unlock your smartphone and locate the Fitbit app icon. This will usually look like a blue background with white dots forming the shape of a diamond. Tap it to open the app. If you haven’t installed the Fitbit app yet, visit the App Store for iOS or the Google Play Store for Android to download it.
Navigate to Your Profile: Upon opening the Fitbit app, you’ll find several tabs at the bottom. Look for the profile icon, which is usually located at the top left corner of the home screen. The profile icon often looks like a small avatar or person shape. Tap this to open your user profile and access your personalized Fitbit dashboard.
Select Your Device: In your Fitbit dashboard, you will find a section that lists all the devices connected to your Fitbit account. Each device will be represented by its name and a small image. Tap on the name or image of the Fitbit device you wish to change the time for. This will open a new screen showing detailed settings for that specific device.
Access Advanced Settings: Scroll down through the options until you find a section called ‘Advanced Settings.’ It might require a bit of scrolling, as it usually appears below options for notifications, apps, and other features. Once you find ‘Advanced Settings,’ tap on it to access a new list of configurable settings for your device.
Find the Time Zone Option: Inside ‘Advanced Settings,’ you’ll see several options such as ‘Heart Rate,’ ‘Main Goal,’ and ‘Time Zone.’ Tap on the ‘Time Zone’ option. This will lead you to a screen that lists all available time zones. The list is usually arranged alphabetically, but some devices might also categorize time zones by country or region.
Choose the Appropriate Time Zone: Scroll through the available time zones and find the one that corresponds with your current location. Once you’ve found it, tap to select it. This action will highlight or check-mark the selected time zone, indicating that it has been chosen.
Sync Your Device: Now, return to the Fitbit dashboard by navigating back to the home screen of the app. To manually sync your device and update the time, pull down from the top of the screen or hit the sync button, often represented by two rotating arrows. Wait a few moments for the sync to complete. Your Fitbit device should now reflect the correct time of your current time zone.
Troubleshooting Common Issues
If you encounter any problems while trying to manually update your Fitbit time, here are some troubleshooting tips that could help.
Check Internet Connection: Make sure your smartphone is connected to a stable internet connection. Internet access is required for accurate time zone information and successful sync.
Reboot Your Fitbit: Sometimes, glitches can prevent the time from updating. Rebooting your device often solves this issue. To reboot, press and hold the button(s) on your device as per the model-specific instructions until you see the Fitbit logo.
Update the Fitbit App: An outdated app might cause syncing issues. Check the App Store or Google Play Store for any available updates and install them.
Why You Need to Change Time on Fitbit While Traveling
Your Fitbit device is a valuable companion for monitoring various aspects of your daily life—from your sleep cycle to your physical activities. When you travel across different time zones, it’s important to update the time settings on your Fitbit.
Failing to do so can result in inaccurate sleep and activity data, misaligned alarms, and incorrect reminders to move or hydrate. Ensuring your Fitbit reflects the correct time zone will maintain the accuracy and reliability of all these features.