If you’re trying to keep your Fitbit time always on, you’re in the right place. This comprehensive guide will provide you with all the information you need to keep your Fitbit clock visible 24/7, including compatibility checks, settings adjustments, and battery considerations.
How to Keep Fitbit Time Always On
The steps below will guide you on how to keep Fitbit time always on:
Step 1: Check Fitbit Model Compatibility
The first step in your quest for an always-on Fitbit time is to check whether your Fitbit model supports this feature. Fitbit has released a variety of models, and not all of them offer an always-on display. The feature is mostly found on newer models, like the Fitbit Versa 2 to 4, and Sense and Sense 2.
You can get the Fitbit Versa 4 from Amazon now if you need an upgrade from the older models.
To check for compatibility, visit the official Fitbit website and navigate to your specific model’s page. Alternatively, consult the user manual that came with your device. You can usually find a section about display settings that will indicate if an always-on display is an option for your model.
Step 2: Access the Settings Menu
Once you have confirmed that your Fitbit model supports the always-on feature, the next step is to navigate to the settings menu. To do this, wake your device by tapping on it or lifting your wrist.
Swipe down from the clock face to reveal a panel of icons. Among them, you should see a gear-shaped icon, which represents ‘Settings’. Tap on this icon to enter the settings menu.
If you can’t find it, you may have to swipe left or right to scroll through the panel of icons.
Step 3: Navigate to Display Settings
In the settings menu, you’ll find a range of options for configuring your device. These options cover everything from notifications to exercise settings. For our purpose, we need to find the ‘Display’ settings.
Scroll down through the list of options until you spot ‘Display’. It may also be labeled as ‘Screen’ or ‘Screen Display’ in some models. Tap on this to open the display settings submenu.
Step 4: Enable Always-On Display
Upon entering the display settings, you’ll be presented with various options for adjusting screen brightness, timeout, and other visual elements.
What you’re looking for here is the ‘Always-On Display’ option. It should be clearly labeled, but the location within the menu can differ based on the model.
When you find the ‘Always-On Display’ option, tap on it. A toggle switch will appear next to the option. If the toggle switch is greyed out, that means the feature is turned off.
Tap the toggle switch, and it should change color, usually to green, indicating that the feature is now active.
Step 5: Customize Always-On Display
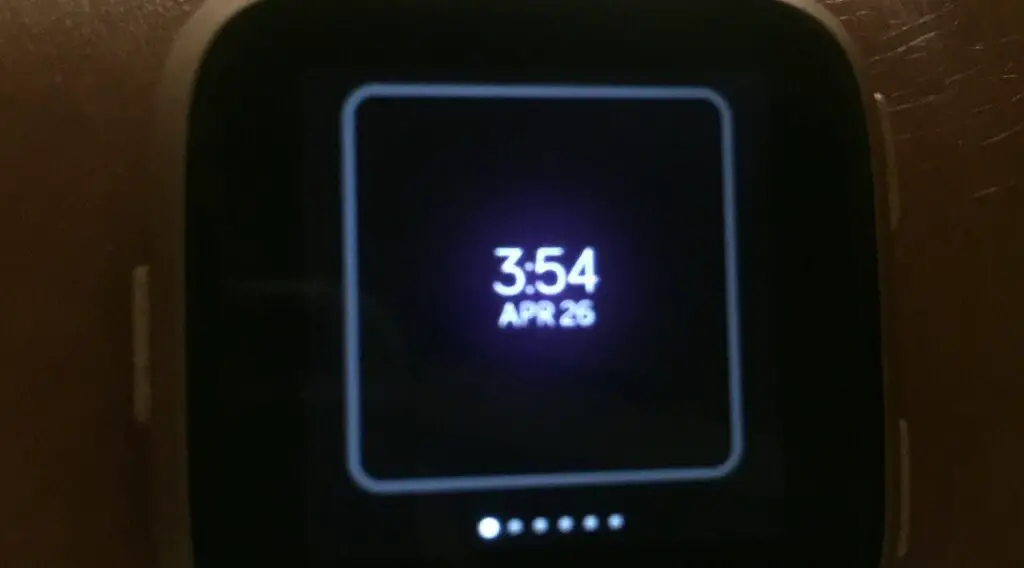
After enabling the always-on feature, you usually have the opportunity to customize the display according to your preferences. You can choose different clock faces, decide whether you want the date displayed, and sometimes even add health metrics like your current heart rate or step count.
To access these customization options, stay in the ‘Display’ settings where you enabled the always-on feature. Look for a submenu or option that says ‘Customize’, ‘Clock Style’, or something similar. Tap on it to explore the available customization options.
After selecting your preferences, make sure to save your settings. Your Fitbit should now display the time continuously, styled just the way you like it.
Why You Might Want Your Fitbit Time Always On
When you set your Fitbit time to be always on, you can glance at your wrist to know the time without any taps or swipes.
This is particularly helpful when your hands are full or you’re in the middle of an activity. For example, if you’re running, cycling, or cooking, you might find it inconvenient to interact with the device just to check the time.
With the always-on feature, you can keep an eye on the clock effortlessly.
Considerations for Battery Life
Enabling the always-on feature will consume more battery life than usual. However, you can manage this extra drain effectively. Some Fitbit models allow you to schedule the always-on feature to be disabled during specific hours, like nighttime. This way, you can conserve battery when you don’t need the always-on feature.
To set this up, return to the ‘Display’ settings and look for options like ‘Scheduled Off Time’ or ‘Battery Saver’ to customize when the feature is active.
