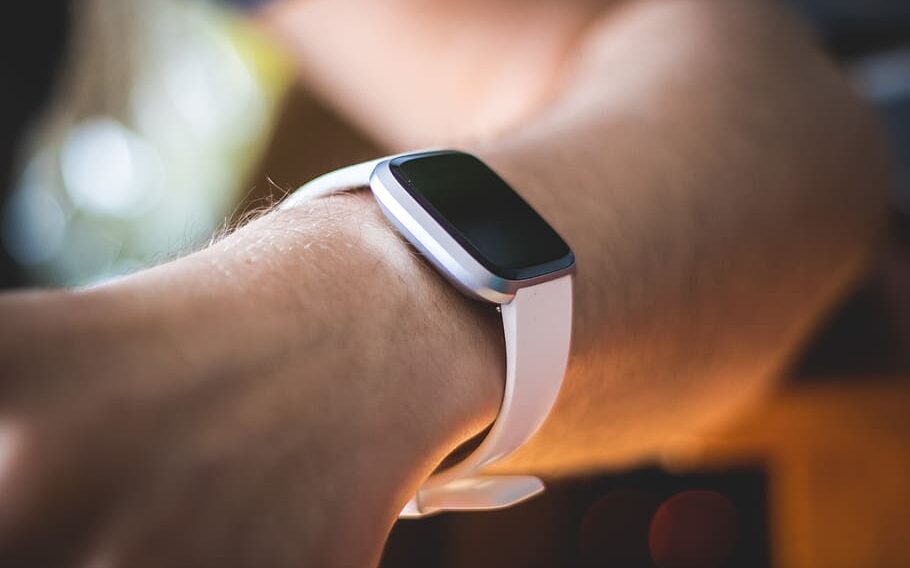
When your Fitbit stops keeping time, it disrupts not just your schedule but also your fitness goals. This comprehensive guide is designed to walk you through a systematic troubleshooting process to restore your device’s time-keeping abilities.
Check the Basic Settings
Before diving into more complex troubleshooting methods, it’s crucial to eliminate the possibility that incorrect settings are causing the issue. Here’s how to confirm that the basic time and time zone settings are correct on your Fitbit:
Open the Fitbit App: Locate the Fitbit app on your smartphone and open it. If you don’t have the app, download it from the App Store for iOS devices or Google Play for Android devices.
Sign In: If you’re not already signed in, enter your credentials to access your Fitbit profile.
Go to Profile: Locate the ‘Profile’ tab usually represented with a human-like icon at the bottom of your app interface and tap on it.
Select your device: Your profile page lists all devices linked to your account. Select the Fitbit device experiencing the time issue.
Navigate to ‘Advanced Settings’: After selecting your device, scroll down to find ‘Advanced Settings’ and tap on it.
Check ‘Time Zone’: Here, look for the ‘Time Zone’ setting. Ensure it corresponds to your current geographic location. If it doesn’t, select the correct time zone from the list provided. This should automatically update the time on your Fitbit device.
Update Fitbit Firmware
Outdated firmware can lead to all kinds of technical issues, including time-related problems. Make sure your Fitbit is running the latest firmware version. Here’s how:
Ensure Battery Life: Plug your Fitbit into its charger to ensure it has enough battery for the update. A minimum of 50% battery is recommended for a smooth update process.
Open Fitbit App: Navigate to the Fitbit app on your smartphone.
Check for Updates: As soon as you open the app, look at the top for any notifications indicating a firmware update is available. If it’s there, tap ‘Update’.
Follow On-screen Instructions: The app will provide a set of instructions, which may include terms and conditions. Read them carefully and confirm to proceed with the update. Do not disconnect or use your Fitbit during this process as it may interrupt the update.
Restart the Fitbit Device
Restarting your device can often resolve minor glitches and should be your go-to for almost any issue. Here’s how to restart various Fitbit devices:
Locate Buttons: Different Fitbit models have various button configurations. Locate the buttons on your specific device. For instance, some have one button, while others have two or three.
Press and Hold: Press and hold down the buttons. On some models, you might have to press two buttons simultaneously.
Look for Fitbit Logo: Continue holding the buttons until the Fitbit logo appears on the screen, signaling that the device is restarting.
Release Buttons: Once the logo appears, release the buttons and allow your device to complete the restart process.
Factory Reset
When all else fails, a factory reset can be your last resort. However, note that this will erase all data on your device and return it to its original settings. Here’s how to perform a factory reset:
Navigate to Settings: On your Fitbit device, go to the ‘Settings’ menu, which is usually represented by a gear icon.
Locate ‘About’: Scroll through the options until you find ‘About’, then select it.
Initiate Factory Reset: Within the ‘About’ menu, find ‘Factory Reset’ or ‘Clear User Data’. When you select this, you will be prompted to confirm that you want to erase all data. Confirm to initiate the factory reset.
When to Contact Customer Support
If you’ve tried all the troubleshooting steps and your Fitbit is still not keeping time, the next step is to reach out to Fitbit Customer Support. They may be able to diagnose the issue and offer a solution. Check your device’s warranty as you may qualify for free repair or replacement.
