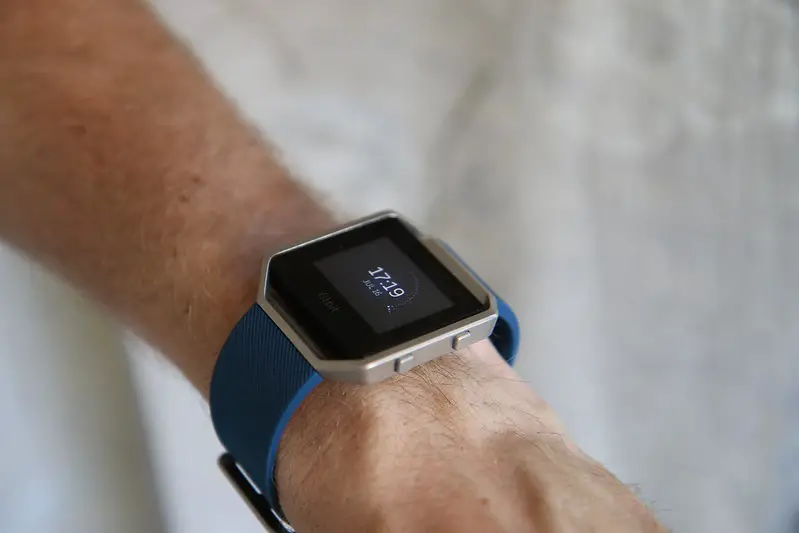
Is your Fitbit showing military time and you’re wondering how to adjust it to the standard 12-hour format? This article offers an in-depth step-by-step guide to help you navigate through the entire process of switching time formats on your Fitbit device.

Where to Locate Time Settings on Your Fitbit
Finding the time settings on your Fitbit is the first step in changing the time format. Knowing where these settings are located will help you make quick changes when needed. Depending on the specific Fitbit model you own, the navigation might slightly differ. However, most Fitbit devices offer a ‘Settings’ menu accessible from the main screen.
To reach the time settings, usually, you would tap or swipe to access the main menu of your device. Here you’ll see various options like ‘Exercise’, ‘Alarms’, ‘Timers’, and ‘Settings’. Scroll through these until you see the ‘Settings’ option. Tap on it.
Inside the ‘Settings’ menu, you’ll find another list of options. Scroll through these until you find one that’s labeled ‘Clock’, ‘Time’, or something similar. The option to change the time format will typically be found here.
Take note that if you can’t find these settings, you may have a model that requires the Fitbit mobile app to change time settings, which brings us to the next section.
How to Change Fitbit Showing Military Time Format via the Fitbit App
Some Fitbit models don’t allow time format changes directly from the device and require you to use the Fitbit mobile app. Even if your device allows on-device changes, using the app often provides a more user-friendly interface.
Open the Fitbit App: Locate the Fitbit app icon on your smartphone screen. Tap on it to open the application. If you’re not already logged in, the app may ask you for your Fitbit account credentials.
Access Your Profile: Once you’re in the app, your attention should be directed to the top left corner of the screen. Here you’ll see a small profile picture or icon. Tapping this will take you to your Fitbit account details and device settings.
Select Your Device: In your profile section, you should see a list of devices connected to your Fitbit account. Each device will have its own set of configurable settings. Tap the image or name of the device you want to adjust.
Go to Clock Face Settings: Scroll down through the device-specific menu until you find an option that says ‘Clock Face’ or something similar. This is where you can change the appearance of your device’s display, including the time format.
Find Time Format: Once in the ‘Clock Face’ menu, look for an option that says ‘Time Format’. It’s often a sub-menu that lets you pick between different formats.
Choose Format: After tapping ‘Time Format’, you’ll be given a choice between ’12-hour’ and ’24-hour’ time formats. Pick the one you prefer by tapping it.
Sync Your Device: Finally, after choosing your preferred time format, a sync may be necessary to apply the changes to your device. You can initiate a sync by pulling down on the app’s main screen or by tapping the ‘Sync Now’ option if available.
How to Change Fitbit Showing Military Time Format Directly on the Fitbit Device
If you prefer a hands-on approach, many Fitbit models allow you to change the time format directly from the device itself. Here is a more detailed explanation of each step:
Access Settings: The settings menu is the control center of your Fitbit device. Depending on your model, you may need to swipe down, swipe left, or press a button to access the main menu. Look for an icon that resembles a gear, usually labeled ‘Settings’, and tap or click on it.
Find Clock or Time Settings: Once inside the settings, you will be presented with a list of configurable options for your device. These can include settings for notifications, brightness, and more. Scroll through this list until you find an option labeled ‘Clock’ or ‘Time Settings’.
Select Time Format: Tap on ‘Clock’ or ‘Time Settings’ to go into a sub-menu where you can adjust various aspects of your device’s clock display. Look for an option that says ‘Time Format’. Here, you’ll usually be presented with two choices: ’12-hour’ and ’24-hour’.
Confirm Changes: After you’ve made your selection, it’s important to confirm the change. This is usually done by tapping a ‘Confirm’ or ‘OK’ button, though the exact label can differ by model. Once confirmed, your device’s display should instantly switch to your chosen time format.