Fitbit Clock Maker tools have redefined customization for fitness enthusiasts. This in-depth guide covers every corner of the tool, empowering you to effortlessly craft your signature clock face.
Understanding the Basics of Fitbit Clock Maker
The Fitbit Clock Maker is more than just a customization tool; it’s a reflection of your personality on your wrist. It allows Fitbit users to take control of their device’s visual appearance, extending beyond the standard options provided.
This tool isn’t just about aesthetics; it’s about functionality. By customizing your clock face, you decide what information is essential for you, ensuring a streamlined and optimized user experience.
Getting Started with the Fitbit Clock Maker Tool
To harness the full potential of the Fitbit Clock Maker tool, proper setup is crucial. Let’s break it down:
Firmware & Software: Firstly, always ensure that your Fitbit device and the accompanying app are updated to the latest versions. This ensures maximum compatibility and access to all the latest features.
Syncing Your Device: Your Fitbit device should be correctly synced with the app. This step ensures that any designs you create are easily transferable to your device.
Accessing the Tool: Within the Fitbit app, navigate to the ‘Clock Faces’ section. Here, you’ll see various options, including a ‘Create’ or ‘Customize’ button. Clicking this will open up the Fitbit Clock Maker tool, ushering you into a world of customization.
Designing Your Custom Clock Face
With preparations out of the way, it’s time to let your creativity run wild. Designing your clock face involves multiple steps:
Starting Point: Choose a base or template. While some prefer building from the ground up, using a pre-existing template can make the process smoother. These templates often cover various styles, from classic to modern.
Color & Font Selection: The aesthetics play a crucial role in your clock face. Choose colors that resonate with you. Remember, while bright and bold colors can be eye-catching, subtle shades can offer a classic look. Font selection is equally vital. Opt for fonts that are easy to read, keeping in mind the size and style that suits your overall design.
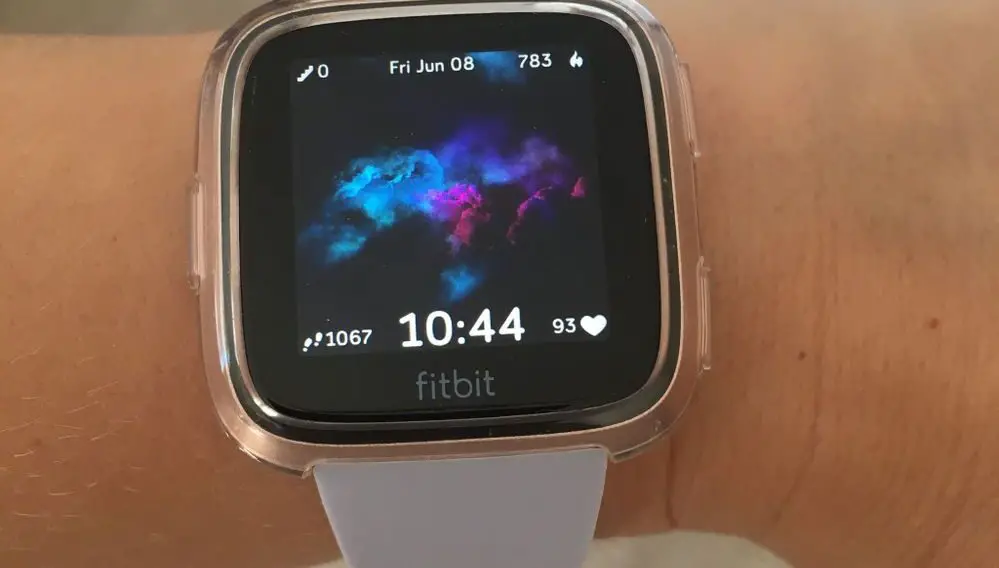
Adding Features: Beyond the visual appeal, your clock face is also about functionality. Decide on the features you want to display. This could include your daily steps count, current heart rate, notifications, battery status, and more. Strategically position these elements for easy access and readability.
Preview: Always make use of the preview feature. This lets you see how your design looks on the actual device, allowing for any adjustments before finalizing.
Final Touches: Before saving and syncing your design, revisit every element. Ensure everything aligns with your vision. Once satisfied, save your design and sync it to see it come alive on your Fitbit.
Tips for a Successful Fitbit Clock Face Design
Like any design process, some best practices can elevate your clock face:
Clarity is Crucial: While intricate designs can be beautiful, ensure they don’t compromise on readability. Your clock face’s primary function is to display time and other chosen features clearly.
Maintain Balance: A well-balanced design is pleasing to the eye. Ensure that your design elements aren’t too clustered in one area, which can make the clock face seem lopsided.
Less Can Be More: A minimalistic design can sometimes be more effective than a cluttered one. If in doubt, keep it simple and prioritize functionality.
Feedback is Gold: Before finalizing your design, show it to friends or family. Their feedback can provide new insights and help refine your design.
Experiment & Evolve: The beauty of the Fitbit Clock Maker tool is the freedom to change. If you grow tired of a design, or your preferences change, you can always revisit and redesign.