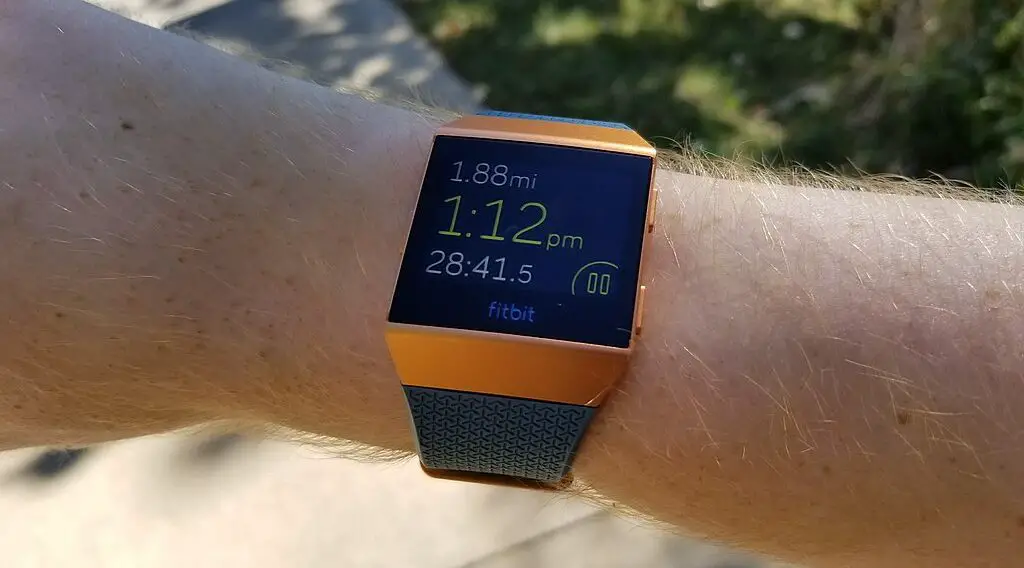
Can your Fitbit change time format? The answer is yes, and this article will provide you with easy-to-follow steps on how to perform this change.

Accessing Fitbit’s Settings for Time Format Change
Changing the time format on your Fitbit is an easy process, but first, you need to know where to find these settings. Depending on your Fitbit model, these settings can either be accessed directly on the device or through the Fitbit mobile app. Here’s how to get started:
Directly on Your Fitbit (For Supported Models): Some Fitbit models allow you to change the time format directly on the device. To do this, navigate to the settings menu on your Fitbit. Look for an option labeled ‘Clock’ or ‘Display.’ Within this menu, you should find the option to change the time format. This method is quick and doesn’t require the use of your smartphone.
Using the Fitbit Mobile App: For models that do not support direct changes, or if you prefer using the app, start by downloading the Fitbit app from the Apple App Store or Google Play Store. Once installed, open the app and ensure your Fitbit is paired and synced with your smartphone. The app not only allows you to change the time format but also provides access to a variety of settings to customize your Fitbit experience.
Check out this SAMSUNG Galaxy S23 Ultra Cell Phone available at Walmart.
Note: If you’re using the Fitbit app, make sure your device is connected to the internet and your Fitbit is within range for Bluetooth connection.
‘Fitbit Change Time Format’ Step-by-Step Guide
Once you’ve accessed the appropriate settings, changing the time format is a straightforward process. Here’s a detailed step-by-step guide:
Open the Fitbit App: Launch the Fitbit app on your smartphone. Ensure you’re logged in to your Fitbit account, and your device is connected and synced.
Go to the ‘Today’ Tab: At the bottom of the screen, tap on the ‘Today’ tab. This tab gives you an overview of your daily activity and allows you to access device settings.
Access Your Profile: Tap on your profile picture or icon at the top of the screen. This will take you to a page where you can view and manage your personal information and connected devices.
Select Your Fitbit Device: From your profile, find the list of connected devices and select the Fitbit device you wish to change the time format for. This will open the specific settings for that device.
Navigate to Clock Settings: In the device settings, find an option labeled ‘Clock Display Time,’ ‘Clock Settings,’ or something similar. This is where you can adjust the time display format on your Fitbit.
Select Your Preferred Time Format: Choose between the 12-hour format (with AM/PM) and the 24-hour format. Some Fitbit models may show a preview of how the time will be displayed.
Sync Your Fitbit Device: After selecting the time format, sync your Fitbit device to apply the changes. This is often done by pulling down on the screen within the app or following any on-screen prompts to initiate syncing.
It’s important to note that the changes might not reflect immediately. Give it a few moments, and ensure that your Fitbit stays connected during the sync process. If the time doesn’t update, try syncing again or refer to the troubleshooting tips provided in the article.
Troubleshooting Common Issues
At times, you may encounter issues where the time format doesn’t change immediately or doesn’t reflect accurately on your Fitbit. Here are some troubleshooting steps:
Ensure Proper Sync: Confirm that your Fitbit device has synced properly with the app after making the changes. Sometimes, a second sync might be necessary.
Check Firmware Updates: Occasionally, outdated firmware on your Fitbit can cause syncing issues. Ensure your Fitbit’s firmware is up to date through the Fitbit app settings.
Restart Your Fitbit: If the issue persists, try restarting your Fitbit device. This can resolve minor glitches and refresh the system.
Reinstall the Fitbit App: In rare cases, the problem might lie with the app itself. Uninstalling and then reinstalling the Fitbit app can sometimes resolve these issues. Remember to log in with your existing account to retain your data.