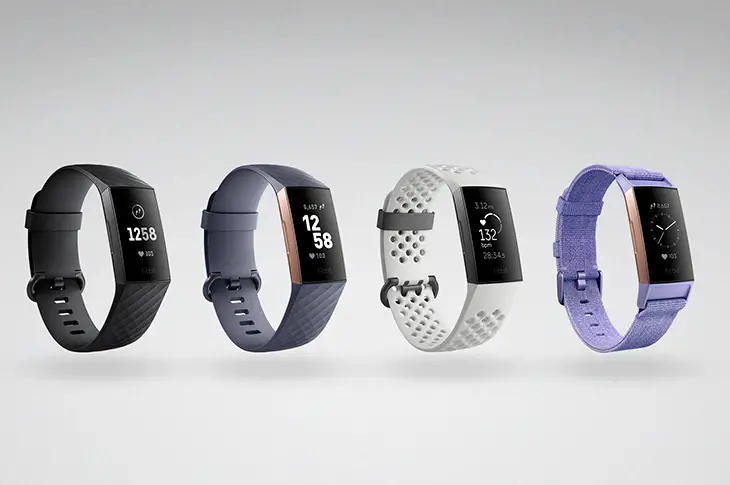
This comprehensive guide aims to walk you through each step of personalizing Fitbit 3 clock faces. Whether it’s a Charge 3, Versa 3, or Inspire 3, we’ve got you covered.

Understanding Fitbit 3 Clock Faces
A clock face on your Fitbit is more than just a watch face. It’s a dashboard that presents various fitness stats and notifications. Each Fitbit 3 model supports different clock face designs and can show a range of information—from basic time and date to steps, heart rate, and even your current battery life.
It’s important to choose a clock face that not only fits your aesthetic preference but also aligns with your fitness goals and daily needs for information.
Accessing Clock Faces Through the Fitbit App
To explore clock face options, the Fitbit app on your smartphone is the gateway. Download it from the Apple App Store or Google Play Store if you haven’t already. Once installed, create your Fitbit account or sign in.
Ensure that your Fitbit device is connected via Bluetooth to your smartphone. This connection is crucial for syncing any changes you make within the app to your Fitbit device.
Speaking of smartphones, check out this Samsung Galaxy S21 available at Walmart.
Navigating the Clock Face Gallery
Tap the ‘Today’ tab at the bottom of the Fitbit app, then your profile picture, and select your device. This action will open your device’s dashboard. Here, tap on ‘Clock Faces’ to enter the gallery.
You’ll find a wide array of options sorted into categories such as ‘Stats Heavy’, ‘Digital’, ‘Analog’, and ‘Fun’. Consider using the search feature if you have a particular style or feature in mind.
Previewing and Choosing a Clock Face
Each clock face thumbnail in the gallery offers a glimpse of the design. Tap on any clock face that interests you to see a larger preview. This screen will also provide detailed information about what data the clock face can display and whether it requires payment or is free to use.
Some clock faces offer customizable features such as different themes or data points; these details will be listed on the preview page as well. Select a clock face that provides the data you need in a layout that’s appealing and easy for you to read at a glance.
Installing Your New Clock Face
With your chosen clock face previewed, tap the ‘Select’ or ‘Install’ button to initiate the installation. This process may take a few seconds to a few minutes, depending on your internet connection. Keep your Fitbit close to your smartphone during this process to maintain a stable Bluetooth connection. You’ll know the installation is successful when you see the new clock face appear on your Fitbit’s display.
Customizing Your Clock Face (Optional)
After installation, if your chosen clock face supports customization, you can adjust its settings. In the Fitbit app, navigate back to the ‘Clock Faces’ section and look for a ‘Settings’ icon next to the clock face you’ve installed. Tapping this will allow you to tweak different elements, such as color themes, statistics to display, and other available features. Make sure to tap ‘Save’ or ‘Done’ to apply any changes you make.
Managing Battery Life
While aesthetic and data display are important, also consider the clock face’s impact on your device’s battery life. More complex clock faces with animations or advanced sensors can consume more power. If you notice a significant drop in battery life after changing to a new clock face, you might want to select a simpler design. In addition, reducing the brightness or turning off the ‘Always On Display’ feature can help conserve battery.
Troubleshooting Common Issues
Should you encounter issues where the clock face does not update correctly or the device won’t sync, a restart often helps. To restart your Fitbit, press and hold the button on your tracker for 8 seconds until you see a smile icon or the Fitbit logo.
After the device restarts, try applying the clock face once more. If problems persist, checking for updates in the Fitbit app or consulting Fitbit Support can provide further assistance.