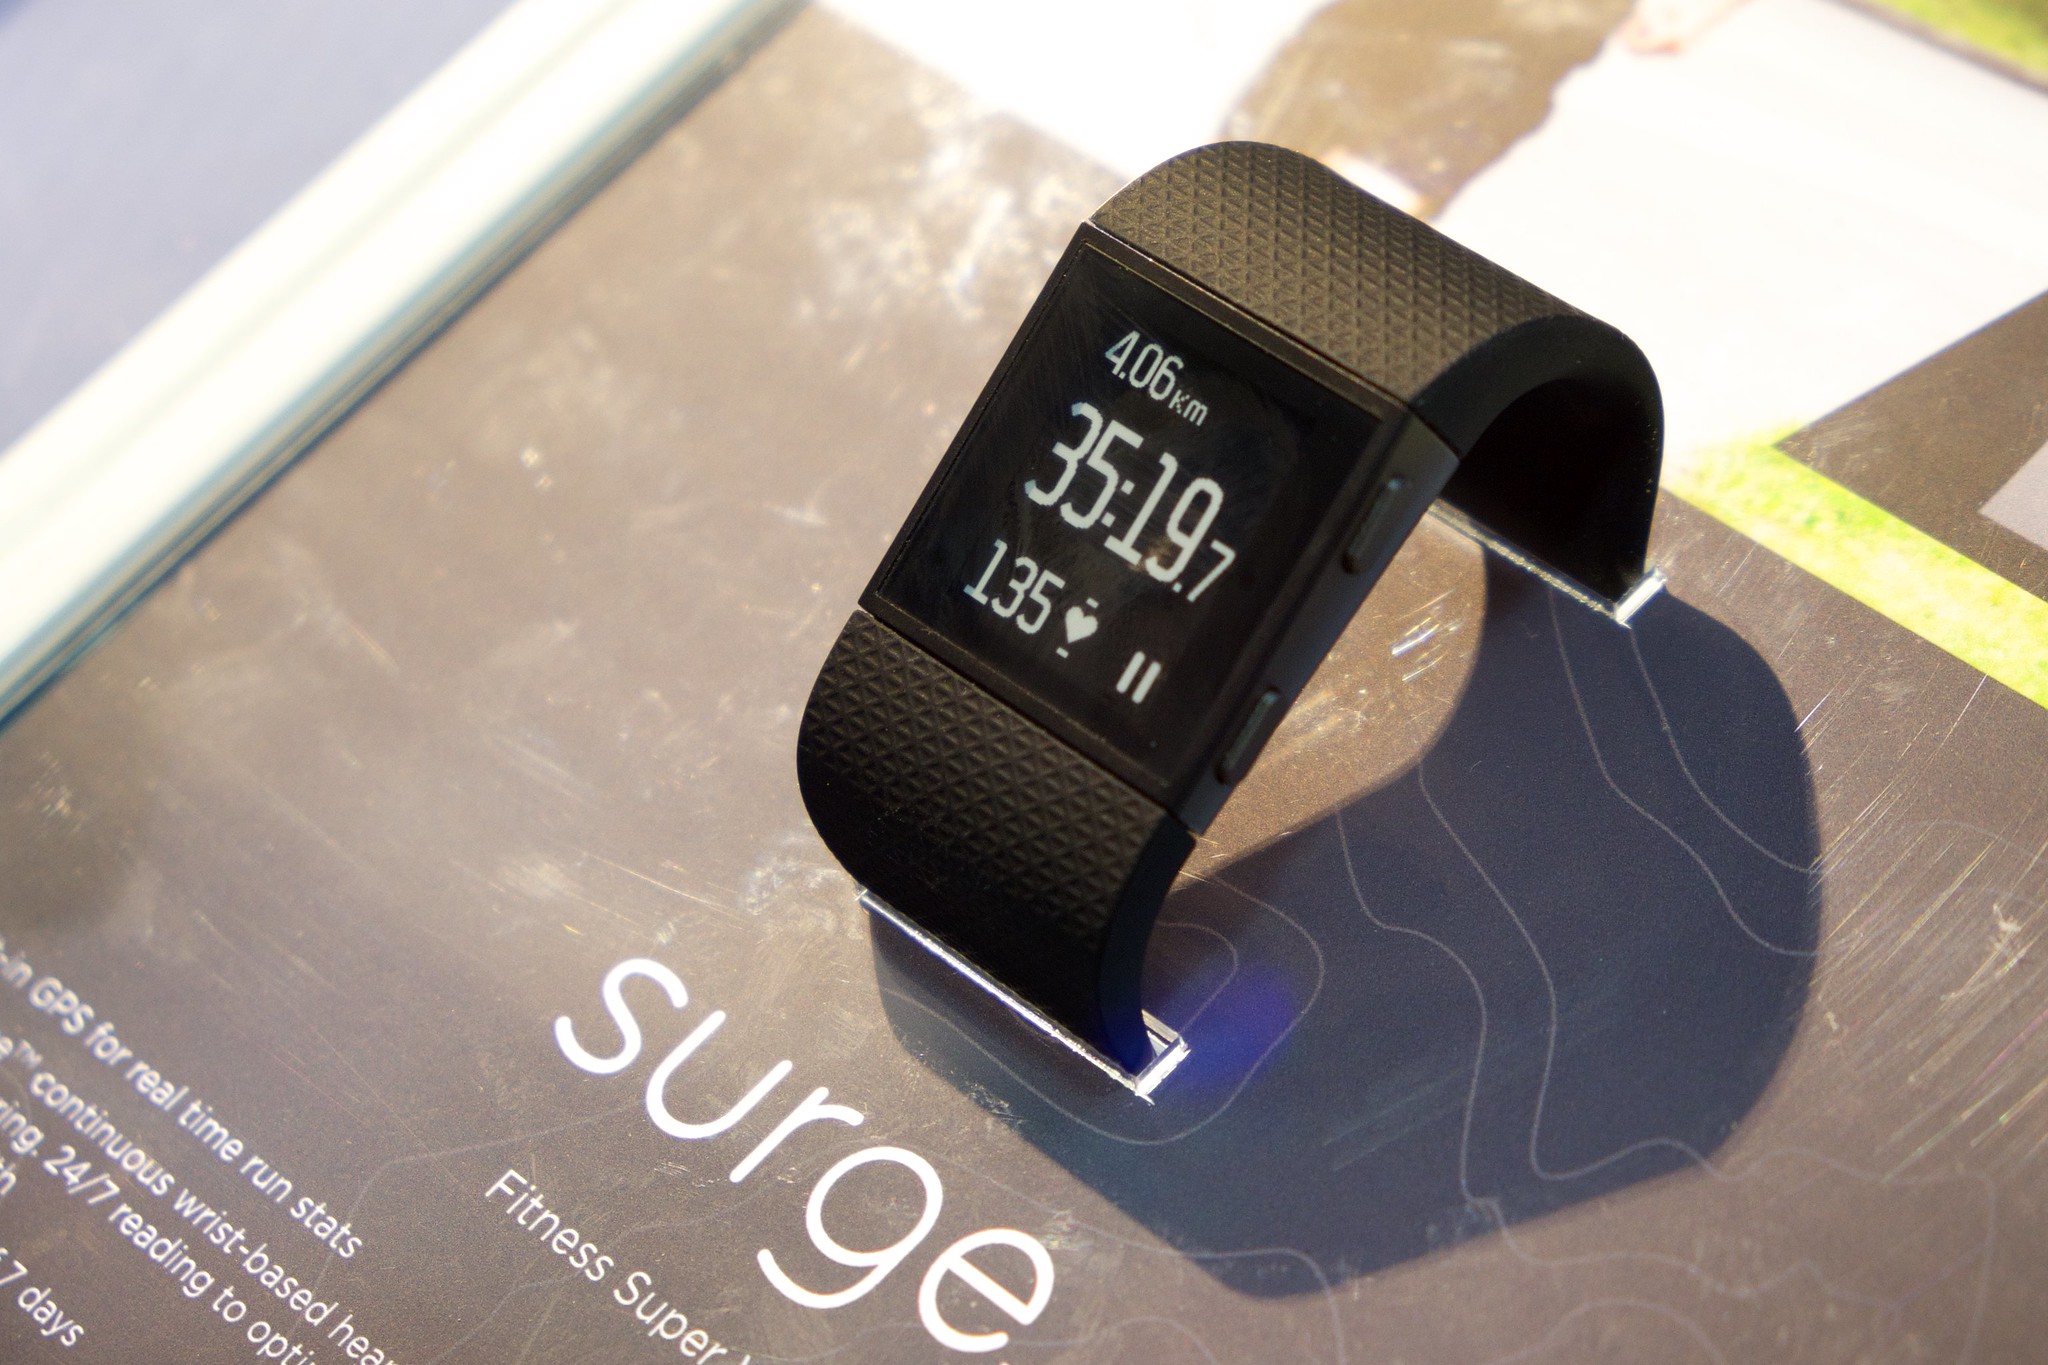
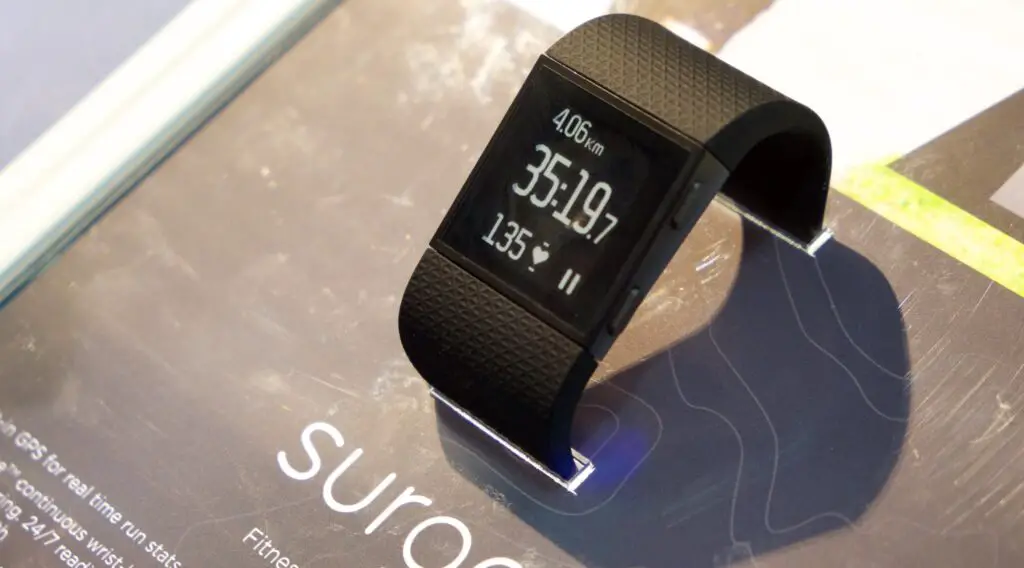
This article will guide you on how to set time on Fitbit Surge in easy-to-follow steps.
Steps on How to Set Time on Fitbit Surge
The steps below will guide you on how to set time on Fitbit Surge:
Step 1: Syncing Your Fitbit Surge with the Fitbit App
Syncing your Fitbit Surge with the Fitbit app is the first and most crucial step in setting the time on your device. This process allows your Fitbit to automatically update its time based on your smartphone’s settings. Here’s how to do it:
Install the Fitbit App: If not already installed, download the Fitbit app from the Apple App Store or Google Play Store. Ensure your phone has a stable internet connection for the download. The app is free and available for most smartphones.
Open the App and Log In: Launch the app. If you are a new user, the app will guide you through creating a Fitbit account. Existing users can log in using their credentials. Ensure you remember your login details, as they are crucial for accessing Fitbit’s services.
Activate Bluetooth: Go to your smartphone’s settings and turn on Bluetooth. This is essential for your phone to communicate with your Fitbit Surge. Make sure your phone’s Bluetooth is visible to nearby devices.
Pair Your Fitbit Surge: Keep your Fitbit Surge close to your smartphone (ideally within a few feet). In the Fitbit app, follow the on-screen instructions to locate and connect to your Fitbit Surge. The process may involve tapping ‘Pair’ on your phone and possibly pressing a button on your Surge. If prompted, accept any permissions requests to ensure full functionality.
Speaking of smartphones, check out this Straight Talk Samsung Galaxy A03s available at Walmart.
Step 2: Manually Setting the Time
Occasionally, you may need to set the time on your Fitbit Surge manually, especially if you are in a different time zone or if automatic updates are not functioning correctly. Here’s how to manually set the time:
Go to Account Settings: In the Fitbit app, tap on the ‘Account’ icon, which is usually located in the lower-right corner of the app’s main screen. This will take you to your personal account settings.
Select Your Fitbit Surge: In your account settings, you will see a list of connected Fitbit devices. Select your Fitbit Surge to access its specific settings.
Access Time Zone Settings: Look for the ‘Advanced Settings’ or ‘General Settings’ option and tap on it. Find the ‘Time Zone’ setting within this menu. This is where you can manually adjust the time zone of your Fitbit Surge.
Disable Automatic Time Zone: If the ‘Set Automatically’ option is enabled, you will need to disable it to manually choose your time zone. Toggle off this option.
Select Your Time Zone and Sync: After disabling automatic updates, a list of time zones will become available. Scroll through and select the time zone that corresponds to your current location. After selecting, pull down on the app screen or press the ‘Sync Now’ button to initiate a manual sync. This action updates your Fitbit Surge with the new time zone setting.
Step 3: Checking the Time on Your Fitbit Surge
After syncing or manually setting the time, it’s important to verify that the time displayed on your Fitbit Surge is correct. Here’s how you can check:
Activate Your Fitbit Surge: To wake up your Fitbit Surge from sleep mode, press any button on the device or tap the screen if it is a touchscreen model. The display should light up, showing you the home screen or the last accessed screen.
Find the Clock Face: If the clock face is not immediately visible, swipe through the screens on your device. The clock face is usually the default screen and should display the current time once you find it.
Confirm the Correct Time: Compare the time on your Fitbit Surge with a reliable source, such as your smartphone or a wall clock. If the times match, your setup is successful. If there is a discrepancy, you may need to repeat the syncing process or recheck your time zone settings.
Troubleshooting Common Issues
If you encounter difficulties while setting the time on your Fitbit Surge, here are some troubleshooting tips to help you resolve common issues:
Check Fitbit Surge Charge and Range: Make sure your Fitbit Surge is adequately charged. A low battery can interfere with syncing and functionality. Also, ensure that your Fitbit Surge is within range of your smartphone (typically within 30 feet or 10 meters) for effective Bluetooth communication.
Restarting Your Fitbit Surge: If syncing or time setting issues persist, a restart can often resolve these problems. To restart your Fitbit Surge, press and hold the button(s) on the device for about 10 seconds until you see the Fitbit logo, then release the button. After it restarts, try syncing again.
Update the Fitbit App: Regularly check for updates to the Fitbit app. App updates can include fixes for syncing issues and improvements to device compatibility. To update, go to the app store on your smartphone and see if there are any available updates for the Fitbit app.