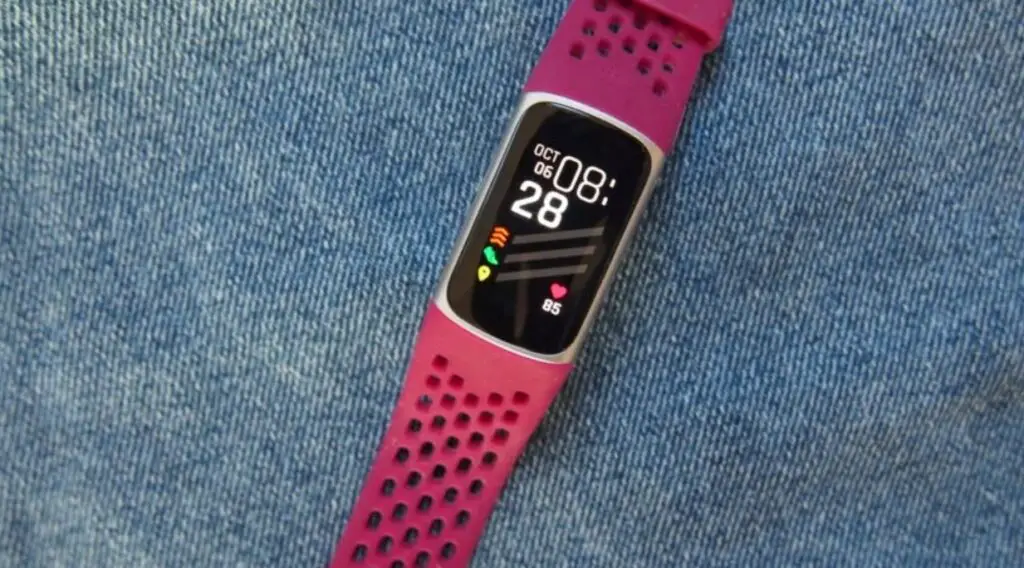
If you’re struggling with how to change time on Fitbit Charge 5, you’ve come to the right place. Follow these clear and straightforward steps to adjust the time with ease.

Step 1: Connect Your Fitbit Charge 5 to the Fitbit App
Connecting your Fitbit Charge 5 to the Fitbit app is the first essential step in the process. Here’s how you can do it:
Download and Install the App: If you don’t have the Fitbit app, download it from the App Store (for iOS) or Google Play Store (for Android). Install it on your smartphone.
Speaking of smartphones, check out this TCL 20 Pro on Amazon
Create or Sign In to Your Account: Open the Fitbit app and either create a new account or sign in with your existing credentials.
Pair Your Device: Follow the on-screen instructions to pair your Fitbit Charge 5. Ensure Bluetooth is enabled on your phone, and keep the device close during pairing.
Your Fitbit Charge 5 should now be connected to the app, and you can proceed to the next step.
Step 2: Access the Device Settings
Accessing the device settings is where you’ll find the options to customize your Fitbit. Follow these instructions:
Tap Your Profile Picture: In the Fitbit app, tap on your profile picture located at the top left corner.
Select Your Device: From the list of connected devices, tap on your Fitbit Charge 5.
You’ll now be on the device settings page where various customization options, including time adjustments, are available.
Step 3: Change the Time Settings
Here’s where you change the time settings to suit your preference:
Find the ‘Time’ Option: Scroll down to the ‘General’ category and tap on the ‘Time’ option.
Choose the Time Zone: You can either set the time zone manually or have it set automatically. For manual selection, make sure to pick the correct time zone for your location.
Select the Time Format: You can also choose between 12-hour and 24-hour time formats if available.
Once you’ve made your selections, the changes will be ready for syncing to your device.
Step 4: Sync the Changes
Syncing ensures that the changes you made are applied to your Fitbit Charge 5. Here’s how:
Return to Main Page: Press the back button to go back to the main page of the app.
Perform Manual Sync: Pull down on the screen to initiate the sync. Wait for the confirmation that the sync is complete.
Your changes should now be reflected on your Fitbit Charge 5.
Step 5: Verify the Time Change
It’s always good to confirm that the changes have taken effect. Here’s what to do:
Check the Time on Your Device: Look at the time displayed on your Fitbit Charge 5. Compare it with the time on your phone or another reliable source to ensure accuracy.
Repeat If Necessary: If the time hasn’t changed or if you encounter any issues, you can repeat the steps above or consult Fitbit’s official support.