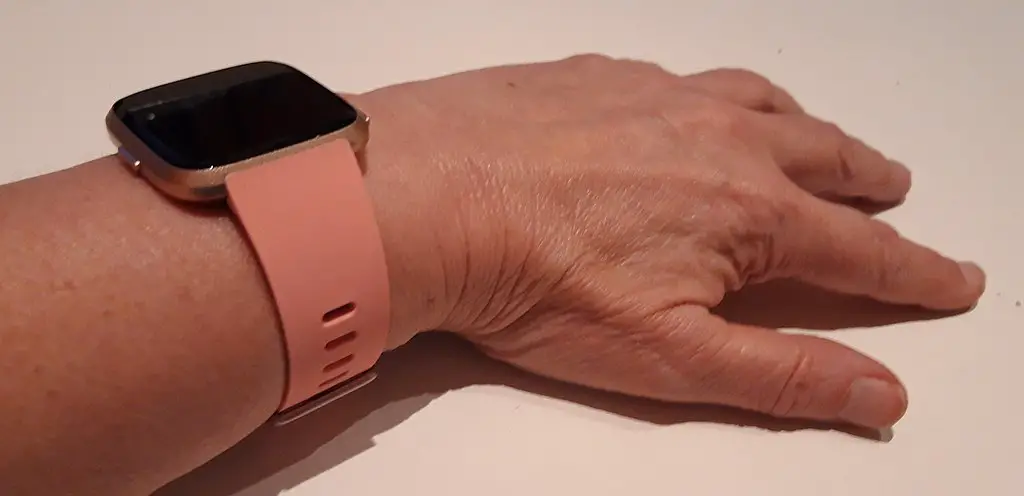
Is your Fitbit time not showing up? This comprehensive guide will take you through a step-by-step troubleshooting process to resolve the issue effectively.

Restart Your Fitbit
Restarting your Fitbit device serves as the first line of action. This is the equivalent of rebooting a computer when it acts up. Here’s why it works and how to do it:
Locate the Button(s): The first thing you need to do is find the button or buttons on your Fitbit model. For most models, these are located on the sides of the device.
Understand the Process: Different Fitbit models have different restart methods. Refer to your device’s manual to understand how to restart it. Some require you to hold down a combination of buttons.
Press and Hold: Hold down the appropriate button(s). Keep them held down until you see the Fitbit logo appear on the screen.
Release and Wait: Once the logo is visible, release the button(s). Your device will automatically restart. During this process, your Fitbit will also perform a self-check to look for internal issues.
Check for Success: After your device restarts, check if the time is displayed correctly. If it isn’t, proceed to the next troubleshooting step.
Sync Your Fitbit
Syncing your Fitbit ensures that it communicates with the Fitbit app on your smartphone. This is crucial because it updates the time and other information. Let’s understand this in detail:
Why Syncing: Syncing is essentially a data exchange between your Fitbit and your smartphone. It updates steps, calories burned, and importantly, the time.
Check out this Motorola Moto G Stylus on Amazon.
Open the Fitbit App: Access the Fitbit app on your smartphone. Make sure your Bluetooth is turned on.
Navigate to Profile: Tap the profile icon usually situated at the top left corner. This takes you to your account details and device list.
Select Your Device: Under the devices section, tap on the Fitbit model you are using.
Initiate Sync: Tap ‘Sync Now.’ This action triggers a manual synchronization. Please wait for a couple of minutes for the sync to complete.
Time Update: Once the sync is complete, check your Fitbit to see if the time is displaying as it should.
Update Your Fitbit
Software updates are essential for the smooth functioning of any device, including Fitbit. They usually include fixes for bugs and glitches that may cause issues like time not showing up.
Preparation: Before updating, make sure your Fitbit is charged at least up to 50%. This ensures that your device won’t shut down during the update.
Check for Updates: Open the Fitbit app, go to your profile, and tap your device. An ‘Update’ button will appear if an update is available.
Begin the Update: Tap ‘Update’ to start the process. Your Fitbit will download the new firmware and initiate the update.
Patience Is Key: Updates can take time—up to several minutes. Do not disconnect or tamper with your Fitbit during this time.
Completion: Once the update is complete, your device will usually restart automatically.
Perform a Factory Reset
If all else fails, a factory reset could be your last resort. Be advised that this action will erase all your data and return your Fitbit to its initial setup state.
Backup Your Data: Before proceeding, make sure you’ve backed up all important data like your fitness stats because a factory reset will delete everything.
Access Settings: Navigate to your device’s settings by tapping the gear icon on your Fitbit.
Find ‘About’: In the settings menu, scroll until you find the ‘About’ option.
Select Reset Option: Depending on your Fitbit model, you’ll see either ‘Factory Reset’ or ‘Clear User Data.’ Tap on it.
Confirm the Reset: You will be asked to confirm your action. Once you confirm, the factory reset will initiate, and your Fitbit will restart.
Re-setup: Post reset, you’ll need to set up your Fitbit as if it were a new device. This will include pairing it with your smartphone again.