Adjusting your “Fitbit time display format” is a pivotal step to personalizing your device to mirror your style and preferences. While it might seem a bit challenging initially, you don’t have to worry. We have created a detailed step-by-step guide to walk you through each stage of customizing your Fitbit time display format.
Preparations
Before we delve into changing the Fitbit time display format, ensure that your device is fully charged to prevent any interruptions during the setup process.
Familiarize yourself with the home screen as this is the starting point of customizing your device.
Steps to Adjust Fitbit Time Display Format
The steps below will guide you on how to adjust Fitbit time display format.
Accessing the Fitbit Settings
Accessing the settings menu is your first active step in customizing the Fitbit time display format. This is where all the personalization happens.
Starting from your device’s home screen, which is the main screen that appears when you turn on or wake your device, look for the ‘Settings’ option. Usually, this option is represented by a gear icon. Tap on this icon to open the settings menu.
Once you’re in the settings menu, you want to find the ‘Clock Face’ option. This is the segment devoted to all things display-related. It might be nestled among other options like ‘Brightness’ and ‘Vibration Intensity.’ Once you find it, tap to open it and set the stage to tailor your Fitbit time display format.
Choosing Your Preferred Fitbit Time Display Format
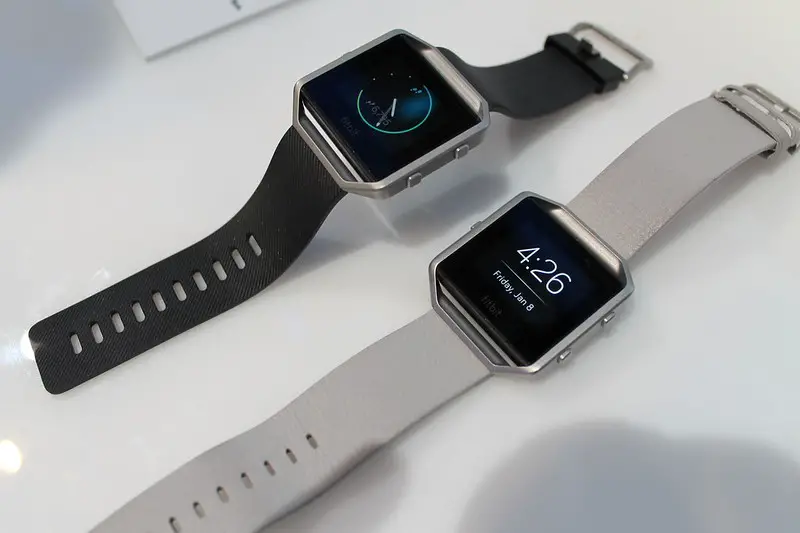
Upon tapping open the ‘Clock Face’ option, you are welcomed to a gallery of time display formats. The formats vary widely to cater to different tastes and preferences. You will find digital formats, which are numerical and offer a modern, sleek display. Alternatively, there are analog formats that replicate the look of traditional watches with hour, minute, and sometimes second hands.
But it doesn’t stop there; each category harbors a variety of styles, some simplistic and others more detailed, possibly offering additional information such as date, day of the week, or even your fitness stats. These variations are designed to provide you with a personalized experience, allowing you to choose a format that mirrors your style and preferences.
As you peruse the options, you may notice that some formats come with unique functionalities, such as a built-in stopwatch or a heart rate display. Take your time to explore these functionalities, as understanding them will not only allow you to choose a format that is visually pleasing but also one that aligns with your usage needs, adding convenience and efficiency to your Fitbit experience.
Previewing Your Selection
After selecting a potentially fitting time display format, the next step is to preview your choice. This step is crucial as it allows you to visualize how the chosen format will look on your device before making a final decision. The preview option is usually available as a button or an icon that you can tap to activate.
During the preview, you will see a simulation of how the time display format will appear on your home screen, giving a realistic depiction of the day-to-day view. It’s recommended to pay attention to how the display looks in this preview stage, considering the ease of reading the time and how the additional elements (like date and heart rate) are presented.
This step ensures that you are making an informed choice, tailored to your liking and needs.
Confirming Your Choice
Now that you have previewed and hopefully are satisfied with your selection, it is time to confirm your choice. This final step is executed by tapping a ‘Select’ or ‘Apply’ button, which will be prominently displayed, usually at the bottom of the screen. A simple tap will lock in your choice, applying it to your Fitbit device.
Upon confirmation, your device will take a moment to apply the changes. Once this process is complete, your new Fitbit time display format will be live.
To witness the changes, exit the settings menu by pressing the back button, often located at the top left corner of the screen, and return to the home screen. Here, you will see your personalized clock face greeting you, bringing a fresh touch to your Fitbit experience, one that is uniquely you.
