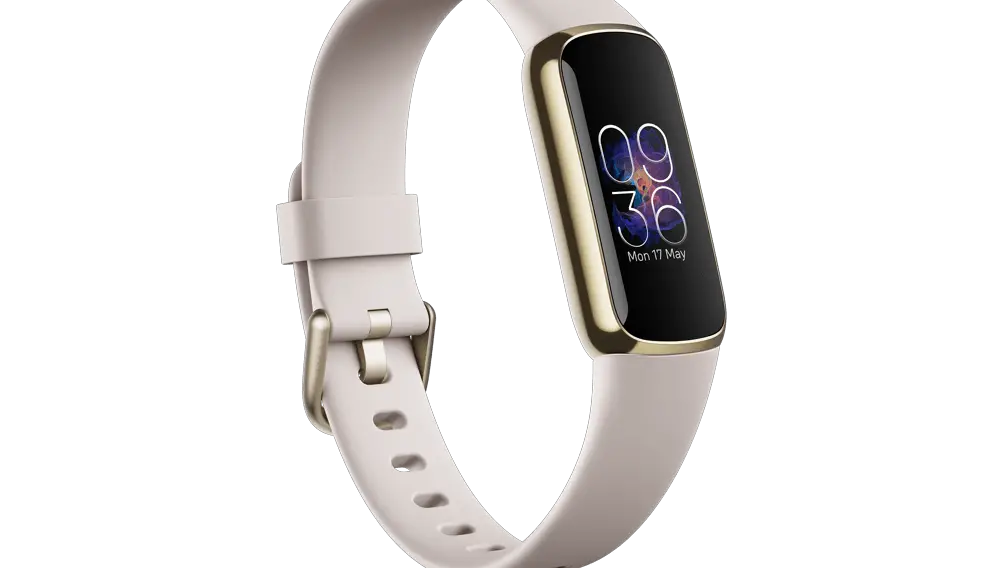
Is your Fitbit Luxe time and date wrong? This in-depth guide provides a detailed, step-by-step approach to address and resolve this issue.

Restart Your Fitbit Luxe
A restart serves as a soft reset, clearing temporary data that might be causing glitches. It’s akin to rebooting a computer when it’s acting up.
Locate the Button: On the side of your Fitbit Luxe, there’s a button. This is the only physical button on the device, and it’s used for various controls, including initiating a restart.
Initiate Restart: Firmly press and hold the button for approximately 10 seconds. This process might feel long, but it’s essential to ensure the device enters the restart phase.
Fitbit Logo: You’ll know the restart is in progress when the Fitbit logo appears on the screen, and you feel a short vibration. This is the device’s way of acknowledging the restart command.
Release and Wait: Once you see the logo, release the button. Your Fitbit Luxe will go through its restart sequence, which might take a few seconds. Once it powers back on, it will have completed the restart process.
After these steps, the device will have had a fresh start, and many minor issues, including incorrect time and date, often get resolved.
Ensure Automatic Time Zone is Enabled
Fitbit Luxe relies on the paired smartphone to provide accurate time and date data. Ensuring the Automatic Time Zone feature is enabled makes sure your device gets this data.
Launch the Fitbit App: Open the Fitbit app on your smartphone, which you initially used to set up your Fitbit Luxe.
Check out this SAMSUNG Galaxy S23+ smartphone on Amazon.
Access Device Settings: At the top left corner, there’s your profile icon. Tapping on it will reveal various settings and options. From this list, tap on the image or name of your Fitbit Luxe. This takes you to your device’s specific settings.
Automatic Time Zone Setting: Scroll down and look for ‘Advanced Settings’. Inside this menu, there’s an option labeled ‘Automatic Time Zone’. This feature, when toggled on, allows your Fitbit to use the time and date data from your phone.
Activate the Feature: If it’s not activated (i.e., the toggle is grayed out), tap on it to enable it. It should turn blue, indicating that it’s active.
This procedure ensures your Fitbit Luxe will automatically adjust its time and date according to the paired smartphone, given they sync regularly.
Manual Time and Date Adjustment
In instances where automatic syncing doesn’t do the trick, you can set the time and date manually.
Access Advanced Settings: Using the Fitbit app, tap your profile picture followed by your Fitbit Luxe’s image. Scroll down to ‘Advanced Settings’.
Disable Automatic Time Zone: Before setting the time manually, ensure the ‘Automatic Time Zone’ toggle is turned off. This ensures your manual settings aren’t overridden.
Select Time Zone: With the automatic setting off, tap on ‘Time Zone’. A list of global time zones will appear. Scroll through this list and select the one that corresponds to your current location.
Sync and Check: After setting the time zone, go back to the main screen of the Fitbit app and pull down to initiate a sync. Once done, your Fitbit Luxe should display the time and date of the manually selected time zone.
It’s essential to remember that if you travel or move to a different time zone, you’ll need to adjust this setting again manually, or re-enable the automatic time zone feature.
Update Fitbit Luxe Firmware
Firmware updates are vital as they bring enhancements and fixes to known device issues. It’s possible that an outdated firmware version is causing the time and date error.
Wi-Fi Connection: Your Fitbit Luxe needs a stable Wi-Fi connection to download updates. Ensure it’s connected to Wi-Fi either via your phone’s settings or a home network.
Check for Updates: In the Fitbit app, tap the ‘Today’ tab at the bottom. Then tap on your profile picture and select your Fitbit Luxe from the list. If there’s an available update, you’ll see a pink update banner.
Initiate Update: Tap on the pink banner and follow the on-screen instructions. This will download and install the firmware update on your Fitbit Luxe.
Post-Update Sync: Once the update completes, your device might restart. After that, initiate a sync from the Fitbit app to ensure all settings, including time and date, are accurate.
Regularly checking for and installing firmware updates can help prevent various device issues, ensuring optimal performance.
Contact Fitbit Support
If none of the above solutions rectify the time and date issue on your Fitbit Luxe, it might be time to reach out to Fitbit’s official support. They can provide further assistance or determine if there’s a hardware-related issue.