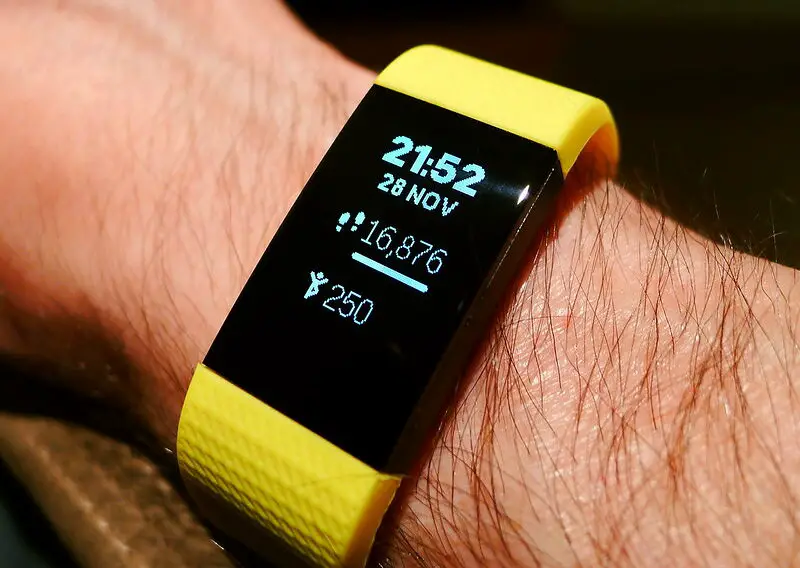
As the seasons change, it’s pivotal to adjust your Fitbit daylight savings settings to ensure the accuracy of time displayed on your device. In this detailed guide, we will take you through each step meticulously, clarifying every necessary detail to facilitate a smooth adjustment process.

Getting Your Fitbit Device Ready
Before embarking on the adjustment process, there are preliminary steps you need to undertake to ensure success:
Charge Your Device: Make sure your Fitbit device is fully charged to avoid interruptions during the setup.
Internet Connection: Connect your Fitbit to a stable internet connection through your smartphone or a Wi-Fi network to facilitate an uninterrupted synchronization process.
Fitbit App: Ensure that you have the latest version of the Fitbit app installed on your smartphone or tablet. If not, update or download it from the official app store.
Check out this SAMSUNG Galaxy Tab S7 listed on Amazon.
Adjusting the Time Settings
Adjusting the time settings to accommodate Fitbit daylight savings is a crucial step in ensuring that your device functions optimally during the period of daylight savings time change. In this section, we will delve deep into each step, providing a rich and detailed explanation to ensure that even the most novice users can successfully adjust their time settings with ease.
Open the Fitbit App
The first step is to open the Fitbit app on your mobile device. This is where all the settings and preferences for your Fitbit device are managed. Locate the Fitbit icon on your smartphone or tablet and tap it to launch the app.
If you haven’t installed the app yet, download it from the Google Play Store for Android devices or the App Store for iOS devices.
Access the ‘Today’ Tab
Once the app is open, you will find various tabs at the bottom of the screen. The ‘Today’ tab is generally located at the far left. This tab presents an overview of your daily activities and houses essential settings.
Tap on it to proceed to the next step.
Visit Your Profile
In the upper left corner of the ‘Today’ tab, you will find your profile picture or icon. Tapping on this will lead you to a section where all your personal information and account settings are stored.
It is essentially the control room for your Fitbit account, allowing you to adjust a wide range of settings, including those for daylight savings.
Navigate to ‘Advanced Settings’
In your profile section, scroll down to find a menu with various options. Locate the ‘Advanced Settings’ option and tap on it to enter a submenu where more detailed settings can be adjusted.
This is where we will find the settings to adjust the time for daylight savings.
Automatic Time Zone
Inside the ‘Advanced Settings’, you will find the ‘Time Zone’ setting. It generally offers two options: automatic and manual.
When you choose ‘Automatic’, your Fitbit device will automatically update the time based on your geographical location, using the location services of your phone. This is the easiest and most hassle-free method as it requires no manual adjustment from your end.
However, ensure that your location services are enabled on your mobile device for this feature to work effectively.
Manual Setup: If you prefer to have more control over the time settings or if you are traveling to a different time zone, you might opt for the ‘Manual’ setting.
Unselect the ‘Automatic’ option first, and then a list of time zones will appear. Scroll through the list to find and select the correct time zone for your current location.
Setting the time manually ensures that you have the correct time displayed, irrespective of the network or location services. This option is perfect for those who are in areas with fluctuating network services or prefer not to have location services enabled on their devices.
Each of these steps has been explained to guide you through adjusting the Fitbit daylight savings time settings seamlessly. Following this detailed procedure will help in keeping the time on your Fitbit device accurate, ensuring a harmonious flow in your fitness tracking and daily routines.
Ensuring the Adjustments are Successful
It is prudent to confirm that the changes have been executed accurately. To do this, perform the following:
Sync Your Device: Sync your Fitbit device with the app by pulling down the screen on the dashboard.
Check the Time: Look at your Fitbit device to ensure that the time displayed is correct.
Tackling Common Issues and Troubleshooting
Occasionally, users may face issues while adjusting the time settings. Here we address common problems and how to troubleshoot them:
Restart Your Device: If the time fails to update, try restarting your Fitbit device and repeating the adjustment process.
Reinstall the App: As a last resort, if issues persist, consider uninstalling and then reinstalling the Fitbit app.
Contact Support: If you’ve tried the above solutions without success, don’t hesitate to contact Fitbit’s customer service for assistance.
Understanding the Importance of Fitbit Daylight Savings Adjustment
Daylight savings time adjustments occur twice a year, influencing our daily routines significantly. By updating your Fitbit daylight savings settings, you ensure that alarms, sleep tracking, and other time-dependent features function correctly.
Proper synchronization of time enhances your user experience, helping you adhere to your fitness goals and daily schedules accurately.