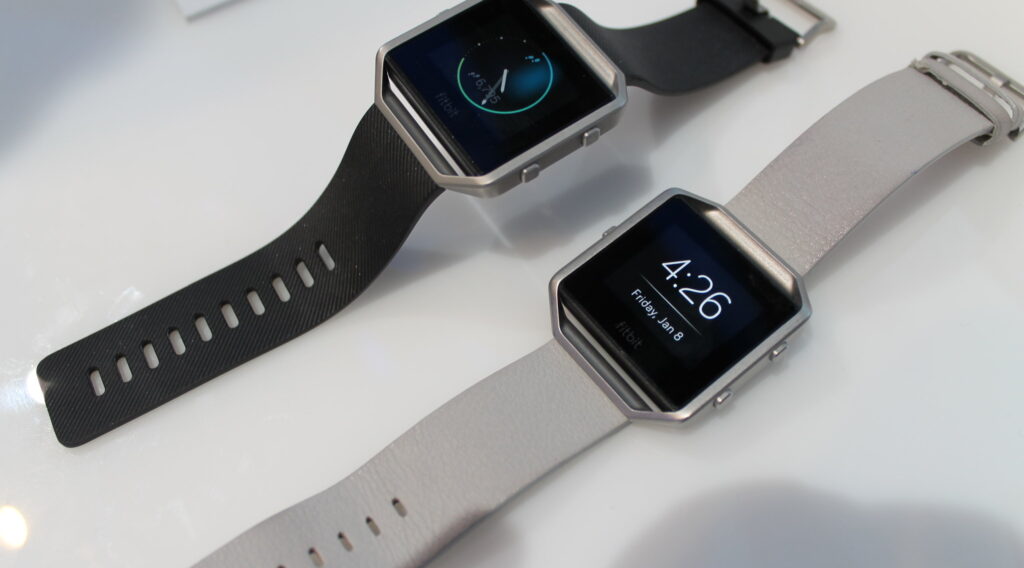
This article will guide you through the ‘Fitbit change time display’ process in easy-to-follow steps.
Understanding Your Fitbit’s Settings
Firstly, it’s important to recognize that your Fitbit device relies on its connection to another device for accurate timekeeping. The device might be your smartphone or computer.
The Fitbit app on your connected device plays a vital role in setting up and syncing your Fitbit. Before you start, make sure that your smartphone or computer is displaying the correct time. Also, confirm that it is connected to the internet for accurate synchronization.
‘Fitbit Change Time Display’ Steps
To perform the ‘Fitbit change time display’ process, do the following steps:
Step 1: Sync Your Fitbit with a Connected Device
To ensure your Fitbit displays the correct time, the first step is to sync it with a device that has the correct time, usually your smartphone.
Check out this AT&T Motorola Moto G Stylus 2023 smartphone available at Walmart.
To do this, open the Fitbit app on your smartphone. Make sure your phone’s Bluetooth is turned on and your Fitbit is nearby.
In the Fitbit app, your device should appear at the top. Pull down on the screen to initiate syncing. You’ll see a spinning icon indicating that syncing is in progress. Wait until this process is complete.
Syncing not only updates the time but also any other data like steps and sleep tracking.
Step 2: Manually Changing the Time
If your Fitbit doesn’t automatically update the time after syncing, you can manually change it. First, ensure your phone’s time zone settings are correct as Fitbit relies on these settings.
In the Fitbit app, go to the ‘Today’ tab, then tap your profile picture at the top. Select your Fitbit device from the list.
Scroll down and tap on ‘App Settings.’ Here, you’ll find ‘Time Zone.’ Disable ‘Set Automatically’ and select your correct time zone from the list.
This manual setting is especially useful if you are in a location where your phone does not automatically update the time zone.
Step 3: Changing Time Format
Your Fitbit can display time in either 12-hour or 24-hour format. To change this, remain in the ‘Account’ section of the Fitbit app.
Tap your device name, and look for ‘Clock Display Time’ under ‘General.’ Tap on it, and you will see options for 12-hour or 24-hour format.
Choose your preference. This setting will change how time is displayed on your Fitbit – for instance, whether it shows 3 PM or 15:00.
Step 4: Updating Your Fitbit
After adjusting the time or format, sync your Fitbit again to apply these changes. Open the Fitbit app and pull down on the screen to start syncing. A successful sync will ensure that the time settings you selected are now reflected on your Fitbit.
This step is crucial to confirm that your manual settings have been accurately transferred to the Fitbit device.
Additional Tips
Beyond these steps, it’s important to regularly sync your Fitbit to ensure the time remains accurate, especially after traveling across time zones or during daylight saving changes.
Keeping your Fitbit’s software updated through the app is also crucial for optimal performance. Occasionally, Fitbit releases updates that can improve timekeeping accuracy and add new features to your device.

