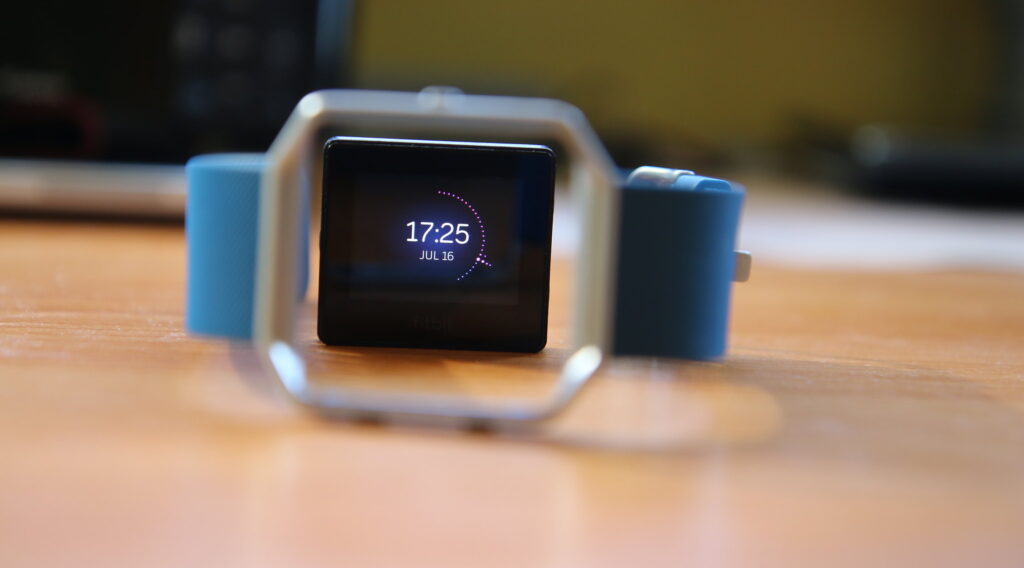
Managing Fitbit and time zone changes can seem daunting, but with the right guidance, it becomes straightforward. This guide provides a comprehensive walkthrough on how to manage time zone changes on your Fitbit.

Understanding Fitbit’s Time Zone Feature
Fitbit’s time zone feature is designed to ensure that your device displays the correct local time, no matter where you are in the world. The primary way it achieves this is by synchronizing with the connected smartphone.
When your smartphone detects a change in time zone, typically through its location services, it automatically updates its internal clock. The Fitbit device, when synced with the smartphone, mirrors this change. This synchronization is crucial for accurate tracking of activities, sleep patterns, and other metrics that are time-dependent.
Ways to Manage Your Fitbit and Time Zone Changes
The following are the ways you can manage your Fitbit and time zone changes ensuring that your Fitbit time is correct and using the appropriate time zone.
Syncing Your Fitbit with Your Smartphone
Syncing is the process of ensuring that the data on your Fitbit device and the Fitbit app on your smartphone are consistent. This is especially important when considering time and time zone adjustments. Here’s a more detailed breakdown:
Open the Fitbit App: Begin by launching the Fitbit app. This app serves as the primary interface between your smartphone and the Fitbit device.
Access Profile Settings: Navigate to your profile. This section contains settings and information specific to your account and connected devices.
Select Your Device: In your profile settings, you will see a list of Fitbit devices associated with your account. Tap on the device you’re currently using or want to sync.
Initiate Sync: Once you’ve selected your device, find the ‘Sync Now’ option. Activating this initiates a data exchange between your Fitbit device and the smartphone, ensuring both have the latest shared data, including time zone information.
Manually Adjusting the Time Zone
While automatic synchronization works in most scenarios, there might be instances where manual intervention is necessary. This could be due to issues with the smartphone’s location services or personal preference. Here’s how to go about it:
Access Advanced Settings: Within the Fitbit app, after accessing your profile and selecting your device, navigate to ‘Advanced Settings’ or ‘App Settings’. This section allows for more granular control over device features.
Locate Time Zone Settings: Here, you’ll find an option labeled ‘Time Zone’. This setting determines the time displayed on your Fitbit.
Disable Automatic Option: By default, the time zone is set to adjust automatically based on your smartphone’s settings. To manually set the time zone, you’ll need to disable this feature.
Select Desired Time Zone: With the automatic option off, you can now manually select your desired time zone from a comprehensive list. Ensure you choose the time zone that corresponds to your current or intended location.
Finalize Changes: After setting the time zone, it’s essential to sync your Fitbit device again. This ensures that the manual time zone adjustment reflects on the device itself.
Tips for Travelers
Traveling between different time zones can present some challenges, especially when ensuring that your Fitbit device reflects accurate time. Here are some expert tips to consider:
Check Smartphone Settings: Before your journey, verify that your smartphone’s location services are active and set to update its time zone automatically. This setting ensures that your Fitbit, when synced, will also adjust its time zone accordingly.
Regular Syncing: As you travel, it’s a good habit to sync your Fitbit device regularly, especially after landing in a new time zone. This action ensures that any time zone updates on your smartphone are mirrored on your Fitbit.
Restart if Necessary: Sometimes, devices can experience minor glitches. If you notice your Fitbit isn’t adjusting its time zone correctly, consider restarting both the Fitbit device and your smartphone. This action often resolves minor technical issues and ensures smoother synchronization.