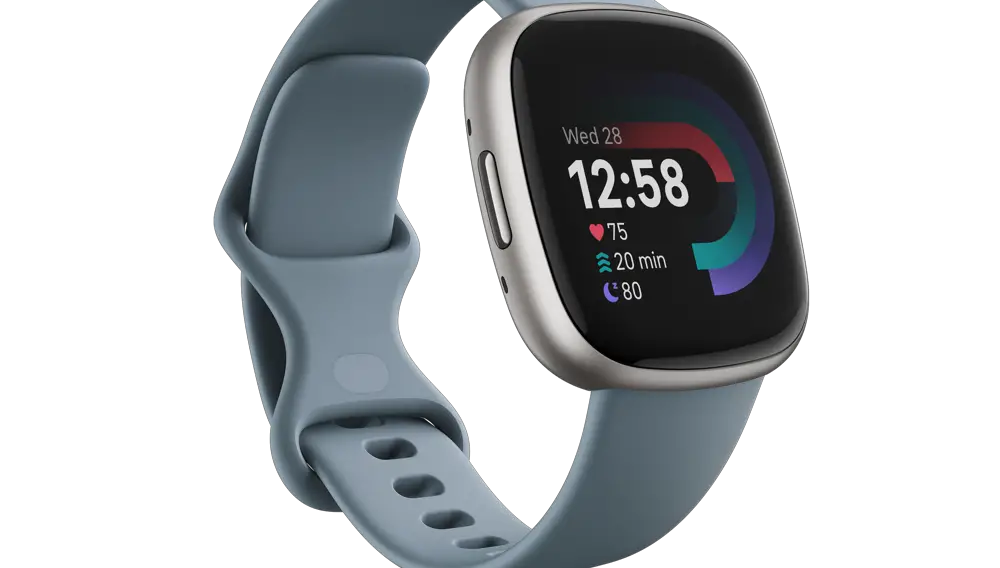
In this article, we’ll guide you on how to personalize Fitbit 4 clock faces for both Charge 4 and Versa 4.

Choosing the Right Fitbit 4 Clock Face
With a plethora of options available, selecting the right Fitbit 4 clock face can enhance both your device’s functionality and its harmony with your personal style. To begin the selection process:
Reflect on the type of information you deem essential at a glance
For a fitness-centric user, a clock face displaying real-time stats like steps, heart rate, and calories burned might be preferable. On the contrary, if simplicity is your style, a minimalistic clock face that shows only time and date could be ideal.
Dive into your personal aesthetic preferences
Fitbit provides a variety of themes and styles ranging from sleek and modern to quirky and colorful. This step is where you let your personality shine through your Fitbit 4.
Account for the potential battery impact
Clock faces that are active or display constant animations might consume more power, leading to more frequent charges. Hence, consider a balance between functionality and battery efficiency when making your choice.
To review the available clock faces:
Launch the Fitbit app and use the ‘Discover’ tab to explore. This marketplace showcases both free and paid clock faces, with each listing providing user ratings and reviews to help inform your decision.
Utilize the search function within the app if you have a specific style or feature requirement in mind. This will filter the results to clock faces that cater to your needs.
Take your time to preview the clock faces. The preview screen often offers multiple images and a detailed description that can provide insight into the clock face’s design philosophy and functionality.
Installing Your Chosen Clock Face
Installation is a breeze once you’ve selected your preferred clock face. Follow these steps to apply it to your Fitbit 4:
Ensure your Fitbit device is charged and remains close to your smartphone to maintain a stable connection during the installation process.
Navigate to the ‘Today’ tab in the Fitbit app, then tap your profile icon to enter your account settings.
Under the ‘Devices’ section, select your Fitbit 4 model. This step will direct you to a dashboard specific to your device.
Within the device dashboard, locate and select ‘Clock Faces’, followed by ‘All Clocks’. This action opens the clock face library, where you can view the full spectrum of options.
Upon finding your desired clock face, tapping it will present a detailed view with an option to install. If the clock face is free, you’ll see an ‘Install’ button; if it’s paid, you’ll be prompted to complete a purchase.
Confirm your selection and begin the installation. The clock face will then synchronize with your device, a process indicated by a progress bar on the screen.
Stay patient while the clock face syncs. Interruptions could potentially disrupt the installation, requiring you to start over.
Customizing Fitbit 4 Clock Faces
After installation, many Fibtit 4 clock faces offer customization options to adjust their appearance and the information they display. To access these settings:
Go back to the ‘Clock Faces’ section within the device settings in your Fitbit app.
The currently active clock face will appear under ‘My Clock Faces’. Tap it to see customization options, which will vary based on the clock face’s design.
Look for the ‘Settings’ icon, often denoted by a gear. Here, you can change aspects like color themes, data points shown, and even animation settings.
Experiment with the settings until you’re satisfied with the clock face’s look and feel. Be sure to hit ‘Save’ to apply any changes you make.
Once saved, give your device a moment to update the new settings. The changes should reflect on your Fitbit 4 shortly after.
These customizations can be changed at any time, allowing you to adjust your clock face to suit different occasions or moods.
Managing Your Fitbit 4 Clock Faces
As your collection of Fitbit 4 clock faces grows, managing them effectively ensures you can switch styles with ease. To keep your favorites organized:
Visit the ‘Clock Faces’ section in the Fitbit app and tap on ‘My Clock Faces’ to see your installed and previously used designs.
This repository is convenient for quick changes; it saves you from searching through the library for a clock face you’ve used in the past.
When you’re in the mood for a change, simply tap on a previously used clock face in your history, and select ‘Install’ to reapply it to your device.
This management feature allows you to cycle through your favorites as you desire, keeping your Fitbit 4 fresh and aligned with your current preference.
Troubleshooting Fitbit 4 Clock Faces
Encountering issues while changing Fitbit 4 clock faces can be frustrating. Here’s a detailed troubleshooting guide to smooth out any hiccups:
Start by verifying that your Fitbit device has ample charge; a low battery can impede the installation process.
Check that your smartphone and Fitbit device are in close proximity to each other to maintain a reliable Bluetooth connection, which is crucial for a successful sync.
Restarting your Fitbit can resolve many issues. Look up how to restart your specific model as the steps can differ. For example, for some devices, you’ll press and hold a button until you see the Fitbit logo.
If a problem persists, consider updating your Fitbit app. Developers frequently release updates to patch bugs and enhance performance. Check your smartphone’s app store to ensure you have the latest version.
If these steps don’t resolve your issue, Fitbit’s customer support is a valuable resource. They provide expert assistance and can guide you through more in-depth troubleshooting procedures.