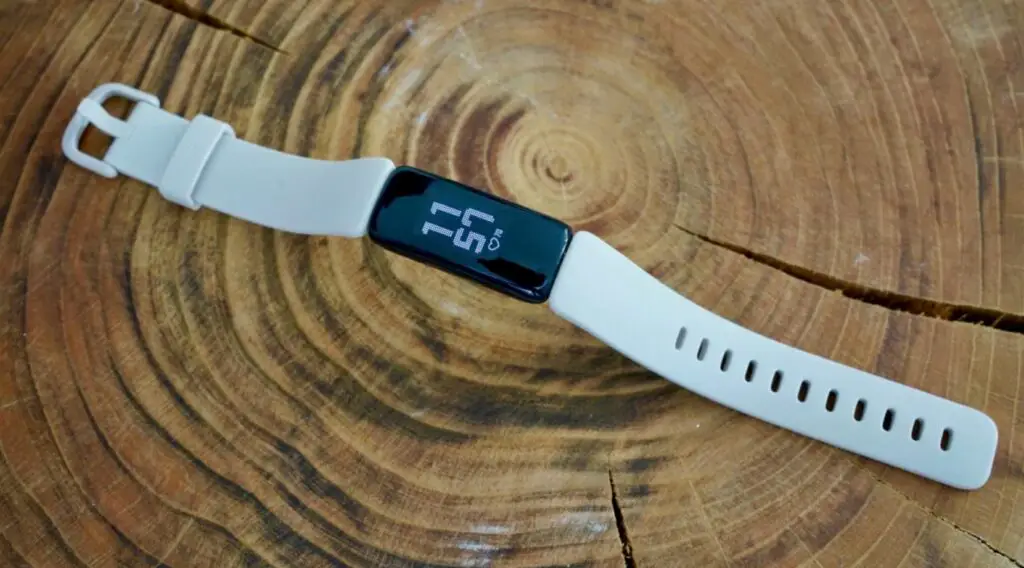
If you’ve recently purchased a Fitbit Inspire and are struggling with how to change time on Fitbit Inspire, this guide is designed specifically for you. In a simple, step-by-step manner, we will walk you through the process, ensuring you can easily make the adjustment even if you’re a complete beginner.

Step 1: Connect Your Fitbit Inspire to the Fitbit App
To change the time on your Fitbit Inspire, the first step is to connect it to the Fitbit App on your mobile device. Follow these detailed instructions:
Download and Install the Fitbit App: Visit the Apple App Store or Google Play Store. Search for the Fitbit App and download it. Once downloaded, open the app to install it.
Create or Sign into Your Account: If you’re new to Fitbit, you will need to create an account by entering your email and a secure password. If you already have an account, simply sign in with your credentials.
Navigate to Device Settings: Upon logging in, look for the device icon, usually found in the top corner of the app. Tap on it to view the list of devices.
Select ‘Inspire’: Tap on ‘Inspire’ from the list of devices. If you don’t see it, you may need to tap ‘Add a Device’ and follow the prompts to locate and select ‘Inspire’.
Follow On-Screen Instructions: A series of instructions will appear, guiding you through the connection process. This may include turning on your Fitbit Inspire, ensuring Bluetooth is enabled on your phone, and entering a code displayed on your Fitbit’s screen.
Step 2: Accessing the Time Settings
Once connected, you will need to access the time settings to change the time. Here’s how to do this in detail:
Tap on Your Profile Icon: This icon is usually found in the top left corner of the Fitbit App. It will lead you to your profile and device settings.
Select the Inspire Device: If you have multiple Fitbit devices, you’ll see a list. Choose Inspire to proceed to its specific settings.
Navigate to ‘Advanced Settings’: Look for ‘Advanced Settings’ or a similar option that allows you to customize various features of your Inspire, including time settings.
Select ‘Time’: This will open a new menu where you can see the current time settings and the options to change them.
Step 3: Changing the Time
You are now ready to change the time on your Fitbit Inspire. Here’s what you need to do:
Select ‘Time Zone’: If you want the time to adjust based on your location, make sure the ‘Automatic’ option is enabled. If you want to set it manually, select your specific time zone from the available list.
Adjust Time Manually (if required): If you turned off the automatic option, you’ll need to manually set the hours and minutes. Use the on-screen controls to select the correct time.
Confirm and Sync: Press the confirmation button (it might be labeled ‘Save’ or something similar) to apply the changes. You may then need to sync your Fitbit Inspire by pulling down on the main screen of the Fitbit App, allowing the new time settings to be sent to your device.