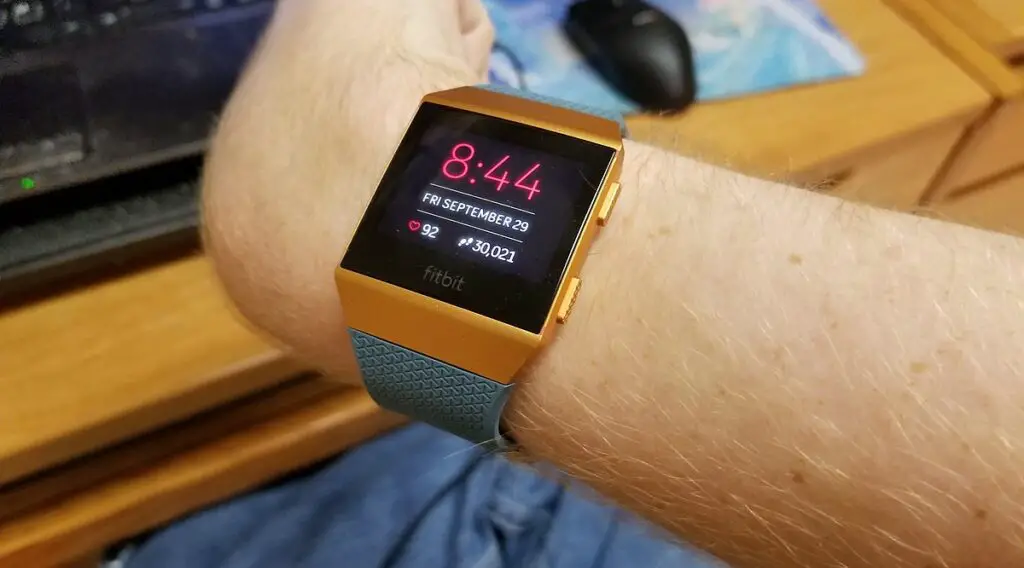
If you’ve noticed that your Fitbit time and date is wrong, you’re not alone. This step-by-step guide will show you how to identify and resolve the issue, ensuring your Fitbit displays the correct time and date.

Why Your Fitbit Time and Date Could Be Wrong
Understanding the root cause of the problem can help you fix it faster. There are several factors to consider:
Syncing Issues: If your Fitbit isn’t syncing correctly with your phone, the time and date may be incorrect.
Incorrect Time Zone: Traveling or residing in a different time zone can cause discrepancies.
Outdated Firmware: Software glitches or old firmware versions may also be the culprit.
Steps to Fix Fitbit Time and Date Is Wrong
If your Fitbit time and date are wrong, these steps will help you fix the problem:
Step 1: Check Your Fitbit Sync Settings
Automatic syncing is the foundation of accurate time and date settings on your Fitbit. This feature allows your device to communicate regularly with your smartphone, updating any setting changes you’ve made, including time and date.
To check your Fitbit sync settings, do these:
Open the Fitbit App: This is generally the first step for most Fitbit-related activities. Locate the Fitbit app on your smartphone and tap it to open.
Navigate to Account Settings: Once you’re in the app, you’ll see a profile icon, usually at the top-left corner. Tap it to access your account settings where you can manage all your Fitbit devices.
Select Your Device: Under the ‘Devices’ section, you’ll see a list of all Fitbit devices connected to this account. Tap the name of the device you’re experiencing issues with.
Enable All-Day Sync: Scroll until you find ‘All-Day Sync.’ If the toggle next to it is grayed out, tap it to turn it green, signifying that the feature is enabled. This ensures that your Fitbit will regularly sync data, including time and date, with your smartphone.
Need a new smartphone, then check out this SAMSUNG Galaxy S23 Ultra on Amazon.
Step 2: Manually Sync Your Device
Even with ‘All-Day Sync’ enabled, glitches may prevent a successful sync. This is where manual syncing comes in handy. Manual syncing forces your Fitbit to connect with your smartphone immediately.
To manually sync your device, do these:
Access the Fitbit App: If you’ve closed it, reopen the Fitbit app on your smartphone.
Go to Account Settings: Tap your profile picture, usually found at the top-left corner of the screen.
Select Your Device: Under ‘Devices,’ tap the name of the Fitbit device in question.
Initiate Manual Sync: Once inside your device’s dashboard, swipe down on the screen. You’ll see a spinning icon at the top, indicating the sync process is happening.
Step 3: Check Time Zone Settings
If the time and date are still off, incorrect time zone settings may be the cause. The Fitbit app allows you to set the time zone manually or automatically based on your location.
To check time zone settings, do these:
Access ‘Settings’ in the App: Within the Fitbit app, navigate to ‘Settings’ by tapping on your profile picture and then selecting your device.
Find ‘Advanced Settings’: Scroll down until you locate ‘Advanced Settings’ and tap it.
Adjust ‘Time Zone’: Here, you’ll find the ‘Time Zone’ setting. You can either pick your time zone manually from the list or set it to ‘Automatic’ so that Fitbit will adjust it based on your location.
Step 4: Update the Firmware
An outdated firmware can cause various issues including incorrect time and date. Firmware is essentially the operating system of your Fitbit, and it needs to be updated for optimal performance.
To update the firmware, do the following:
Prepare for Update: First, make sure your Fitbit is connected to its charger and has at least a 50% charge. This ensures that the device won’t turn off during the update, which can cause complications.
Open Fitbit App: Navigate to your Fitbit app on your smartphone.
Check for Updates: Tap your profile picture and select your device. If a firmware update is available, you’ll see an ‘Update Available’ notification. Tap it.
Follow Update Prompts: The app will guide you through the update process. Do not disconnect or use the Fitbit until the update is complete.
Step 5: Reset Your Fitbit
If none of the above steps work, a factory reset might be the last resort. This process will erase all the data on your Fitbit and restore it to factory settings, which will likely fix the issue of incorrect time and date.
To reset your Fitbit, do these:
Refer to Your Manual: Different Fitbit models have different reset procedures. Check the user manual for your specific model for precise instructions.
Perform Factory Reset: Follow the steps outlined in the manual to complete the factory reset. Note that this will delete all data on the device, so make sure to back up any important information first.